***This is the step-by-step blog post for Sweetheart Bunny! The free crochet pattern can be found HERE! You can purchase an INEXPENSIVE AD-FREE PDF of this pattern on Etsy HERE The printable PDF with step-by-step pictures has been condensed into a total of 4 pages including the cover page!
My sister Ashley came to me almost half a year ago, asking if I could design and make a special amigurumi for a silent auction that she was helping to organize. The proceeds of this special evening were going to a local children’s hospital, and the theme was the “Queen of Hearts” of Alice in Wonderland. Of course, I happily obliged and started thinking what crocheted creature I could make to tie in with the theme. I thought about the White Rabbit from Alice in Wonderland and thought it was the perfect opportunity to make this cutie on my pencil case:
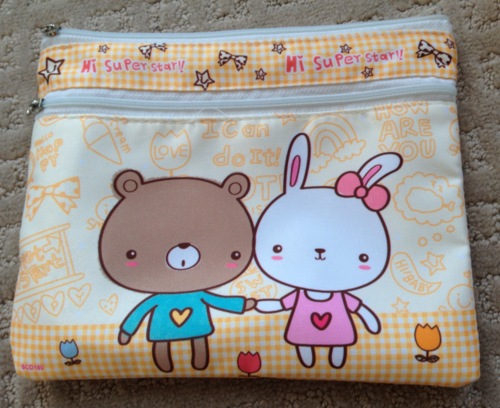
I found this pencil case at a store along CityWalk at Universal Studios Hollywood and had been itching to make this sweet bunny ever since. Thus, we began planning how to turn this two-dimensional cute picture into a three-dimensional amigurumi!
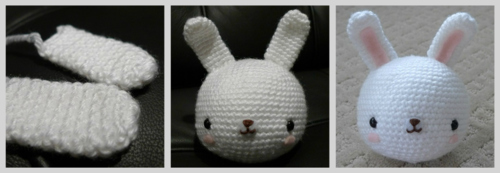
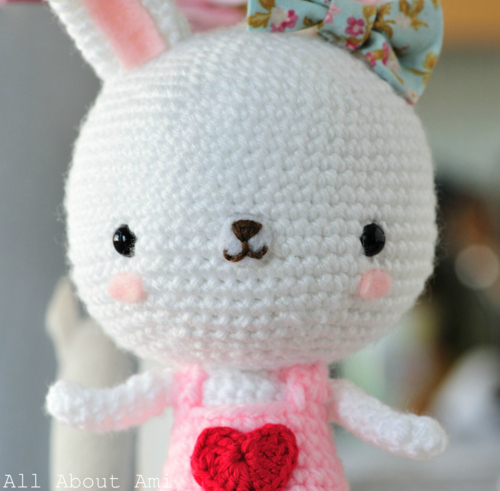
I crocheted a wide, round head and Ryan added the sweet pink cheeks and petite nose/mouth.

I crocheted these long, relatively narrow ears and attached them to the head. Then we added pink felt for the lining!
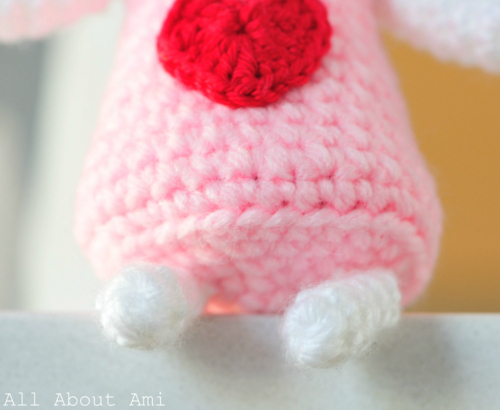
This body was crocheted differently than my other amigurumi as I wanted to create a flat circular base that would serve as the bottom of her dress. I expanded outwards into a circle, crocheted in the back loops only to give it a distinct edge, and then decreased my stitches.
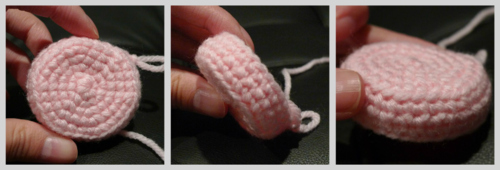
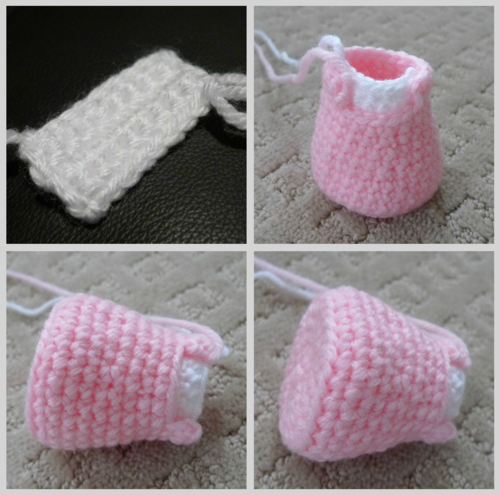
Once I reached my desired height for the dress, I fastened off my yarn. Then I reattached the pink yarn into any stitch, crocheted about ¾ of the way around, turned, and then crocheted around the raised edge I had just created. The gap in the dress serves as the neckline for the bunny!

Next, I crocheted a small white panel as the bunny’s neck. We then glued this panel into the gap, making sure to leave a long end of white yarn to attach this part to the bunny’s head later. We also inserted a circular piece of cardboard into the base of her dress to give it more structure (see my Crocheted Desserts post to see this cardboard tip).
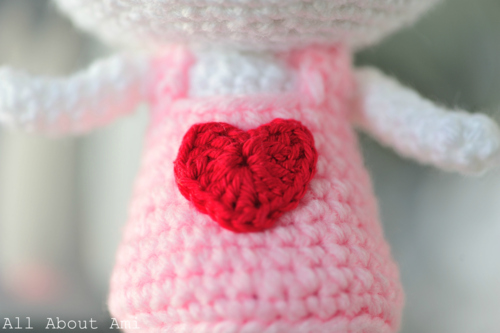
I then crocheted a dainty red heart using this pattern from Little Birdie Secrets and then some skinny arms and legs…
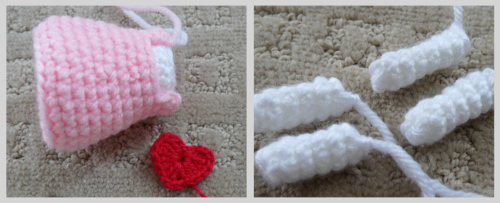
Ready for assembly!
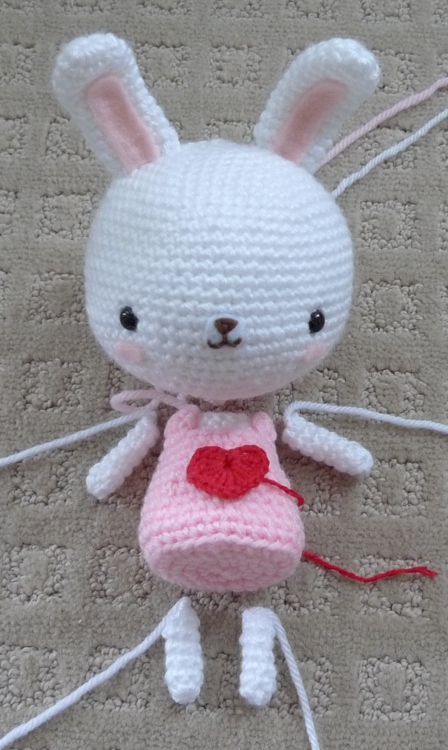
First I attached the legs onto the base of her dress. Next, I used the white yarn to attach the white neck to the head, and then the pink yarn to attach the rest of the dress to her head.
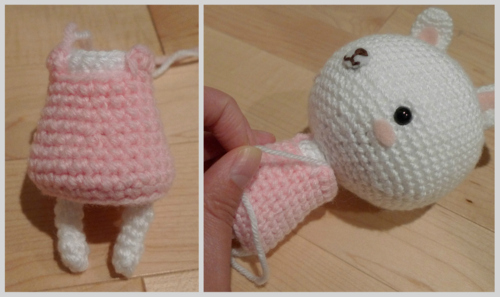
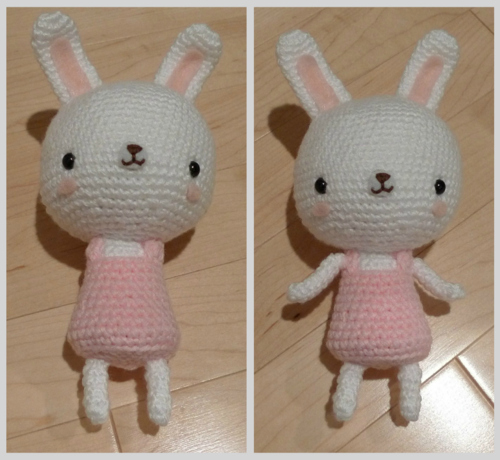
I attached her arms around the same level as her neck so it looks like she’s wearing a cute dress or jumper!
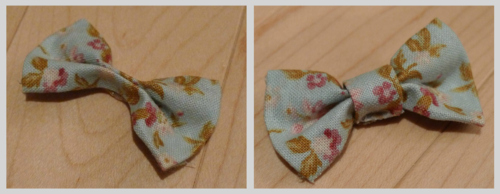
We decided to use fabric to make her bow. Does anyone recognize this fabric? Once again, it’s the same fabric I used for the Spring Bunnies and as the lining of my cell phone cozy. That material sure has been well-used! You could also crochet a bow using your desired yarn colour by following the videos here or here.
And now the finished Sweetheart Bunny with her bow 🙂
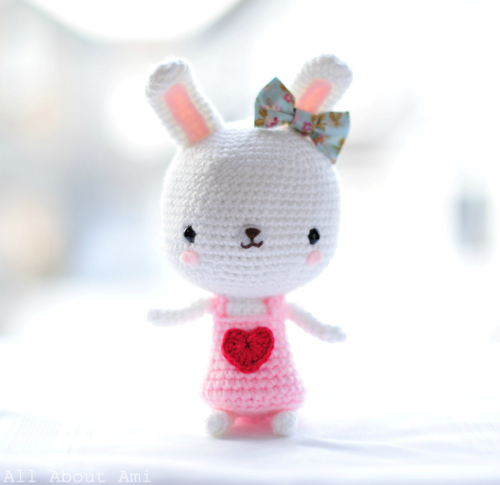
Thus, I actually made this bunny back in September/October, around the same time I made the Minion from Despicable Me and the Scarecrow. I was so sad to see this little bunny go, as I really felt like she exemplified all that my blog is about: cuteness, sweetness, hearts, bows, pinkness and bunnies! And so, I decided to quickly whip another one up so I could keep the original and still give Ashley an item for the silent auction!
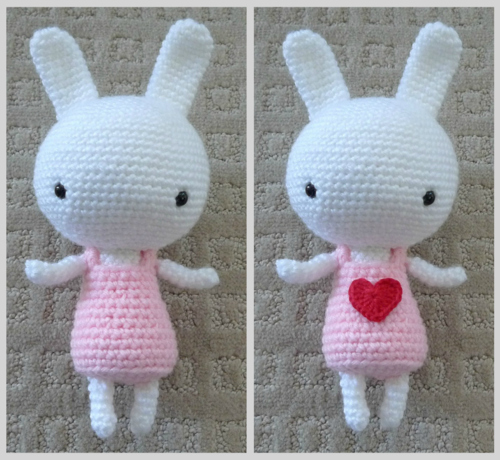
She’s pretty cute without a face too, hey?
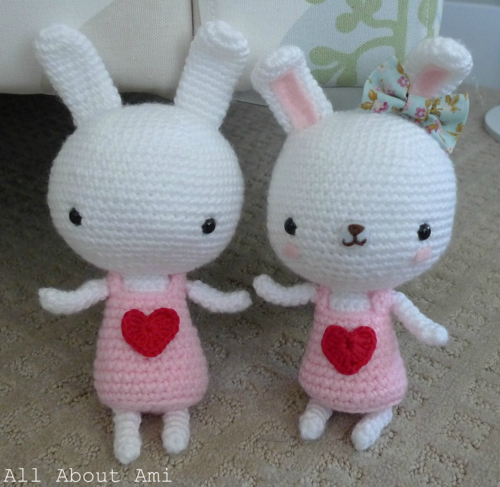
Double the cuteness and sweetness!!!
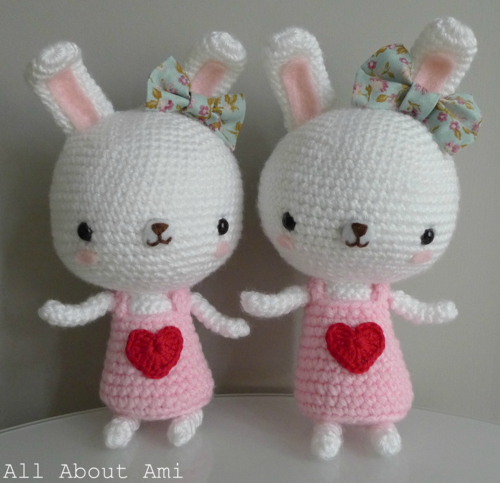
I was so excited to hear how my Sweetheart Bunny did at the silent auction! Apparently there were two moms in particular who were outbidding each other, and you’ll never guess how much she went for in the end! I was STUNNED when Ashley told me: Sweetheart Bunny went for a whopping $200! I was ecstatic to hear that my little crocheted creation had raised so much money! Bless their generousity- they knew their money was going to a great cause. Ashley told me that the little girl presented the money to them and happily walked away with her new crocheted bunny in hand 🙂
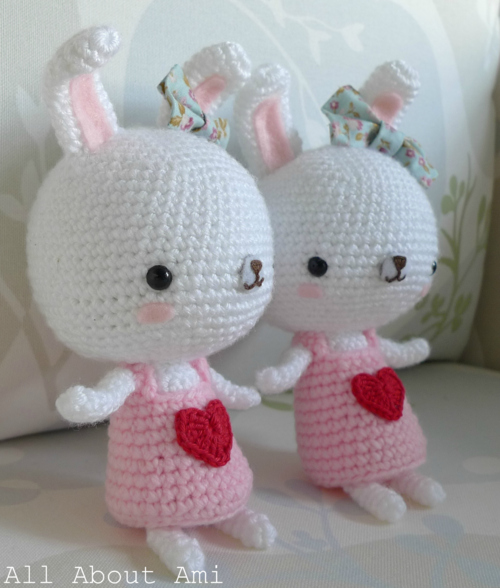
Even though I made her so long ago, I knew I wanted to save her as my Valentine project on my blog since Valentine Teddy was such a hit last year! Time certainly flies by, and I can’t believe it’s February already…
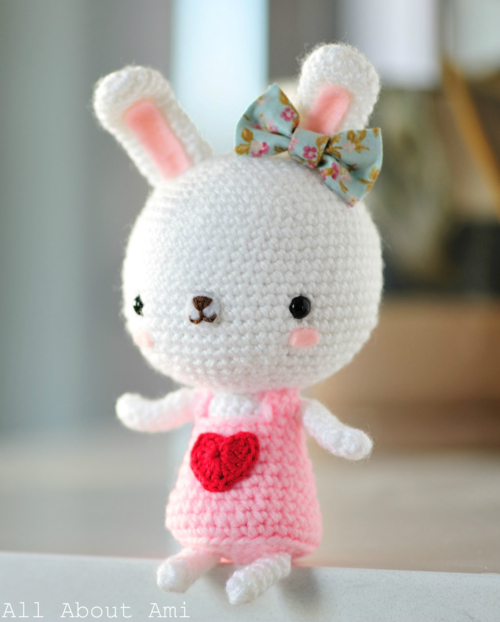
I absolutely LOVE this picture! Doesn’t she look adorable sitting on the edge of our island? She looks like she’s waiting patiently for someone to give her a hug 🙂
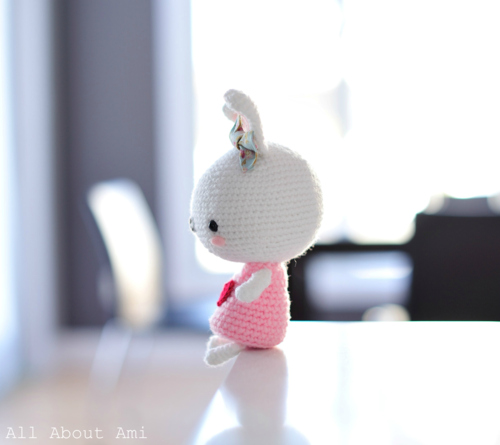
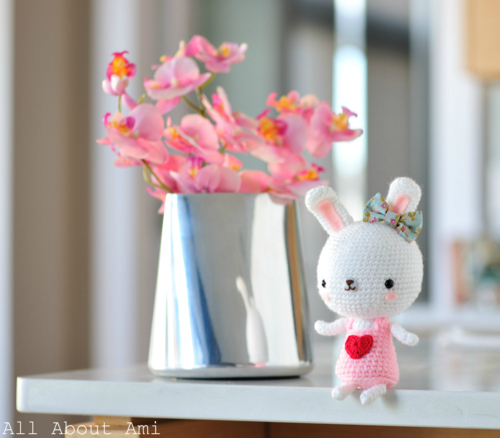
A sweet bunny and some beautiful flowers…wouldn’t that be the perfect Valentine’s gift?
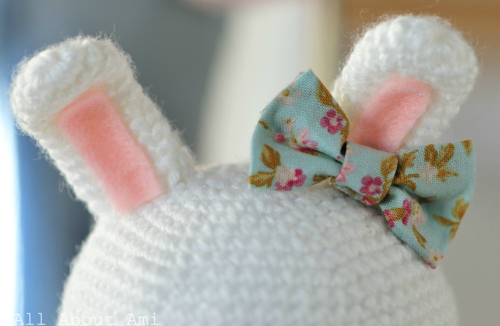
Here are some close-up’s of the Sweetheart Bunny: her floral bow and pink-lined ears!
Her cute smile and pink cheeks
Red heart and jumper
The bottom of her structured jumper and little legs 🙂
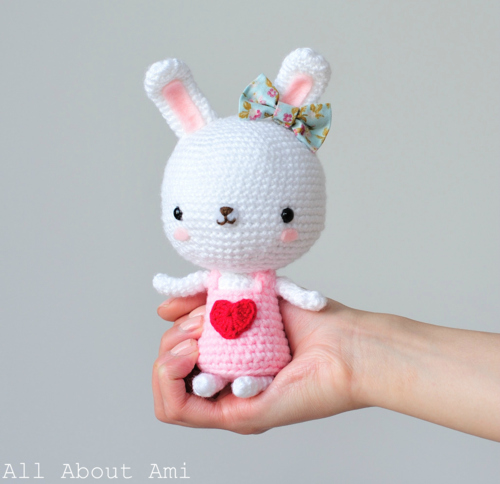
Her relative size! How perfect was it that I was sporting pink nails when taking this pic?
White bunnies galore! It certainly was a challenge getting all these cuties to balance on my arm, but Ryan thought it’d be such a great shot. Needless to say, I tried to stay as still as possible and not move a muscle. I was so worried I was going to sneeze or cough, but I managed to hold still long enough to get a couple shots! From left to right we have Sweetheart Bunny, the girl Spring Bunny, the Bunny from Ana Paula Rimoli’s book, and the tiny little bunny that was held by the Chinese New Year Doll last year for the Year of the Rabbit!
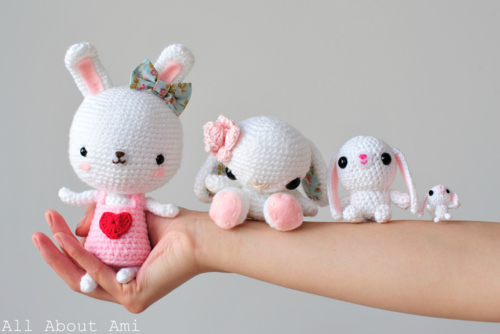
As you can tell, I do love my teddies and bunnies! We had so much fun creating this bunny based on the picture on my pencil case, and I am still beyond thrilled with how much money she raised for the children’s hospital! It makes me so happy when I can put my love and talent of crocheting to help benefit such a great cause. I’ve received e-mails from some of you who also use your love and talent of crocheting to raise money for charity, and I love hearing your stories. I commend you all! It’s amazing what we can do with our hobbies and passions! ***The free pattern can be found HERE, just in time for Valentine’s Day! Also be sure to check out my Valentine Teddy from last year too!


