***You can purchase an INEXPENSIVE AD-FREE PDF of this pattern on Etsy HERE and on LoveCrochet HERE! This beautifully formatted PDF includes the step-by-step pictures and is a total of 6 pages including the cover page! You can also check out my Chinese New Year Zodiac Amigurumi Bundle HERE as it includes ALL my special zodiac designs to date at a discounted price! You can follow along with my step-by-step blog post HERE to see more detailed photos and read the inspiration behind this amigurumi pig!
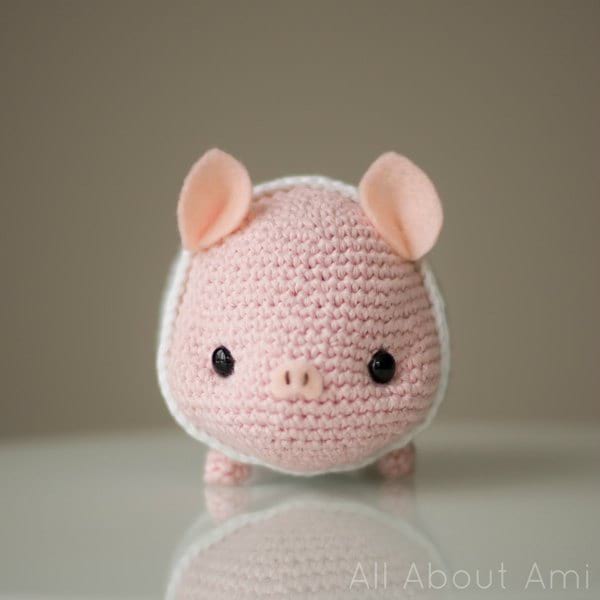
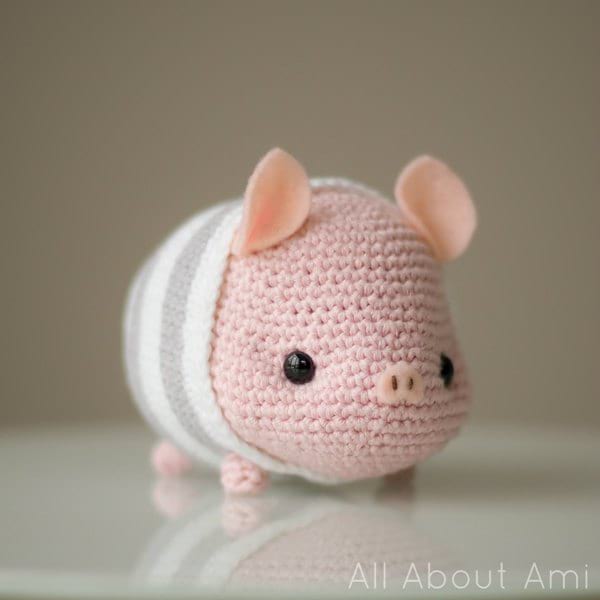
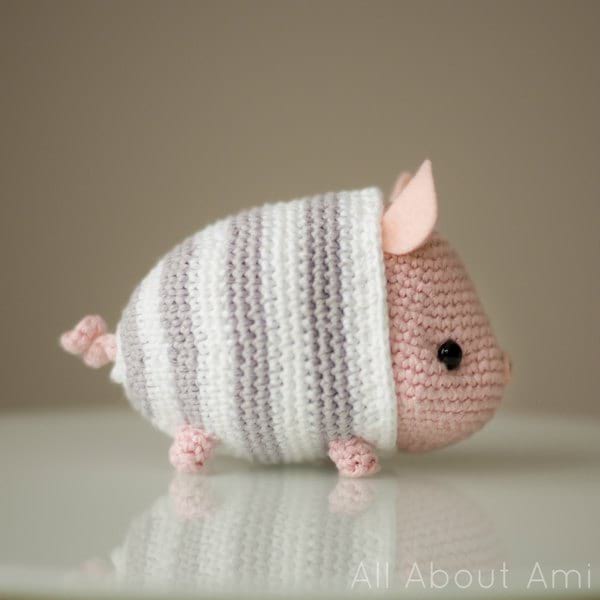
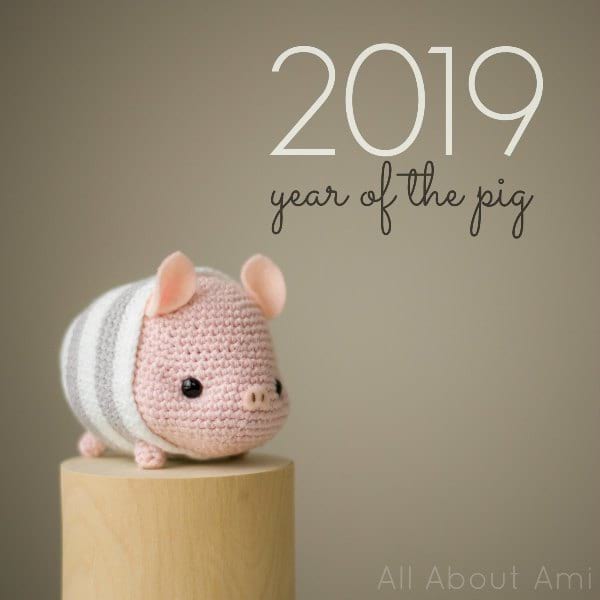
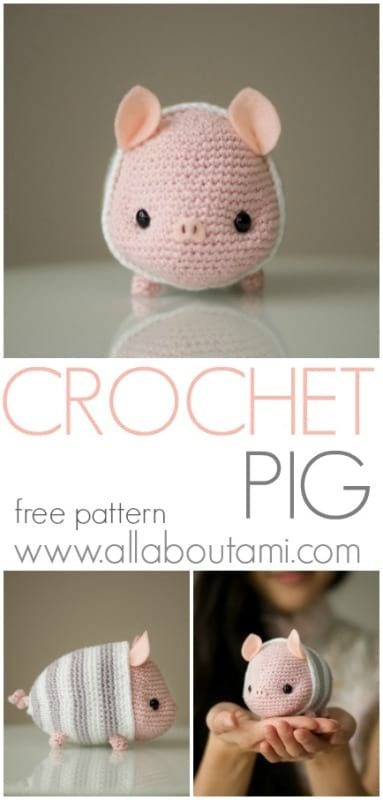
Crochet your own sweet little pig wearing cozy striped pajamas! The face has wonderful definition using a technique called eye indentation! He is sure to bring a smile with his curly little tail, protruding cheeks and adorable snout.
Materials
- Coboo Yarn (lightweight level 3) in “Pink” (~22 g), “”White” (~11 g) and Silver” (~9 g)
- 2.75 mm Clover Amour Hook
- Yarn needle (bent tip helpful for attaching amigurumi parts- see HERE)
- fiberfill
- 9 mm safety eyes
- brown embroidery floss
- pink felt (for ears and snout)
- glue gun
Notes:
- Work in continuous rounds so there is no visible seam (do not slip stitch after each round).
- For a cleaner colour change, when working last stitch in old colour: work as if typical single crochet until two stitches are left on the hook (i.e. insert hook into stitch, yarn over, pull up a loop). Use new colour to yarn over and pull through both loops. Work slip stitch in next stitch using new colour. Then continue crocheting single crochets as normal with new colour.
- When working colour changes, do not cut the yarn. Simply drop the colour you are not using and pick it back up when you need it again during subsequent rounds.
- To give the face more definition, we will be using a technique called eye indentation as described in more detail below. This technique pulls the safety eyes back to give them more depth and to allow the cheeks to protrude.
- Before you begin crocheting the head, cut two long strands of pink yarn (approximately 20″ each) to use for the eye indentation.
- The head and striped pajamas are crocheted first. After attaching the head into the striped pajamas, then the legs and tail are attached to the striped pajamas. The ears and snout are added at the end.
Finished Dimensions: 3.25″/8 cm tall , 3.5″/9 cm wide, 9.75″/25 cm circumference around body
PATTERN
Before beginning to crochet, cut two long strands of pink yarn (at least 20″) and set aside for eye indentation.
HEAD
Using pink yarn,
R1: 6 sc in Magic Ring. (6 sts)
R2: Inc around. (12 sts)
R3: Sc 1, Inc x 3, Sc 3, Inc x 3, Sc 2. (18 sts)
R4: Sc 2, Inc, Sc 1, Inc, Sc 1, Inc, Sc 3, Inc, Sc 1, Inc, Sc 1, Inc, Sc 3. (24 sts)
R5: Sc 3, Inc, Sc 1, Inc, Sc 1, Inc, Sc 7, Inc, Sc 1, Inc, Sc 1, Inc, Sc 4. (30 sts)
R6: *Sc 4, Inc*, rep 6 times. (36 sts)
R7: *Sc 5, Inc*, rep 6 times. (42 sts)
R8-10: Sc 42
R11: *Sc 6, Inc*, rep 6 times. (48 sts)
R12-13: Sc 48. (48 sts)
R14: *Sc 7, Inc*, rep 6 times (54 sts)
R15-16: Sc 54.
R17: *Sc 8, Inc*, rep 6 times. (60 sts)
R18-21: Sc 60.
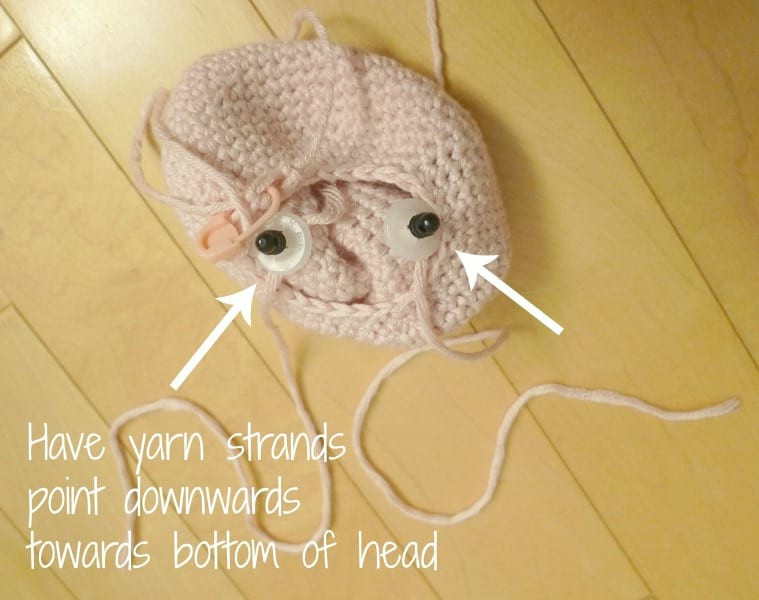
Place 9 mm safety eyes between Rounds 16 and 17, about 10 stitches apart. DO NOT snap in washers yet!
To give the face more definition, we will be using a technique called eye indentation. After inserting the safety eyes (without attaching washer yet), use pink yarn strands you set aside at the beginning and tie knots around post of each safety eye. Add the washers. Have the yarn ends point downwards towards the bottom of the head as you begin working your decreases so that the eyes will be pulled back at the correct angle.
R22: *Sc 8, Dec*, rep 6 times. (54 sts)
R23: *Sc 7, Dec*, rep 6 times. (48 sts)
R24: *Sc 6, Dec*, rep 6 times. (42 sts)
R25: *Sc 5, Dec*, rep 6 times. (36 sts)
R26: *Sc 4, Dec*, rep 6 times. (30 sts)
R27: *Sc 3, Dec*, rep 6 times. (24 sts)
R28: *Sc 2, Dec*, rep 6 times. (18 sts)
Stuff head. Pull each yarn strand diagonally back across the head (ensure the strands cross each other to form an X inside the head). Using your crochet hook, pick up the strands and have them exit the head approximately between Rounds 27 and 28, about 8 stitches apart. Before completely closing up the head, tug on the yarn ends to check how the eye indentation is looking and whether the stuffing is adequate (if too much stuffing, the cheeks will not protrude as much). We recommend erring on the side of caution and using less stuffing.
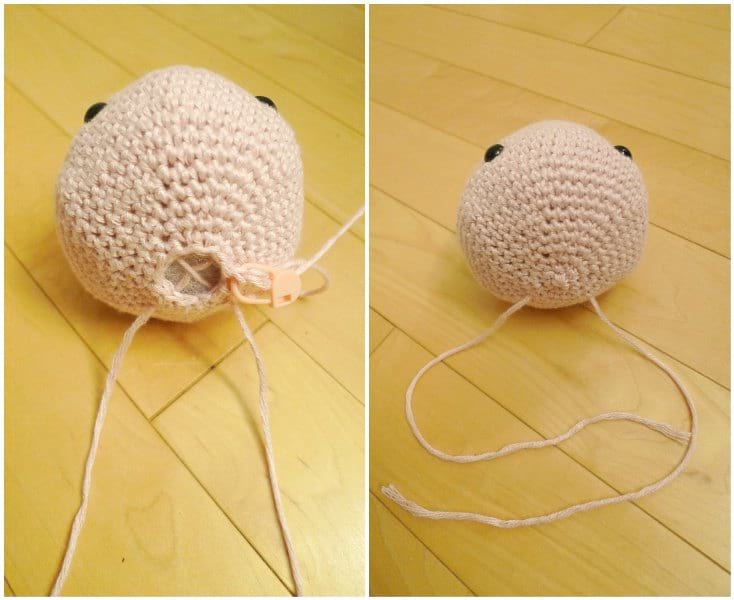
R29: *Sc 1, Dec*, rep 6 times. (12 sts)
R30: *Dec*, rep 6 times. (6 sts)
Ensure yarn ends from eye indentation are hanging out. Fasten off working yarn, thread yarn tail through front loops of last remaining 6 stitches. Pull tight and hide ends.
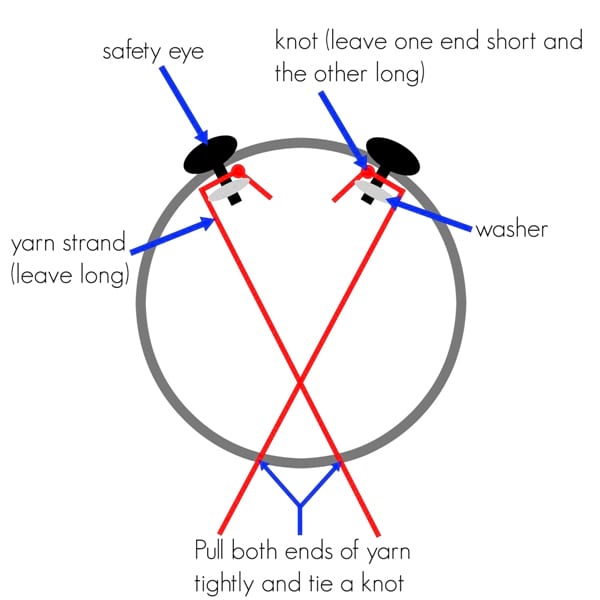
To indent eyes, pull yarn ends tightly as shown in video below. Tie tight knots and hide end.
STRIPED PAJAMAS
We will alternate between white and grey yarn every 3 rounds.
Using white yarn,
Chain 4 (this is the foundation chain- we will be crocheting around it. See HERE for tutorial).
R1: Starting from second chain from hook, Sc 3 in back loops of foundation chain. Turn and Sc 3 in front loops of the foundation chain (we have created an oval by crocheting around the chain). (6 sts)
R2: Inc, Sc 1, Inc x 2, Sc 1, Inc. (10 sts)
R3: Inc x 2, Sc 2, Inc x 3, Sc 2, Inc. (16 sts)
Switch to grey yarn,
R4: Inc x 3, Sc 4, Inc x 4, Sc 4, Inc. (24 sts)
R5: Sc 24.
R6: *Sc 3, Inc*, rep 6 times (30 sts)
Switch to white yarn,
R7: Sc 30.
R8: *Sc 4, Inc*, rep 6 times. (36 sts)
R9: Sc 36.
Switch to grey yarn,
R10: *Sc 5, Inc*, rep 6 times. (42 sts)
R11: Sc 42.
R12: *Sc 6, Inc*, rep 6 times. (48 sts)
Switch to white yarn,
R13: Sc 48.
R14: *Sc 7, Inc*, rep 6 times. (54 sts)
R15: Sc 54.
Switch to grey yarn,
R16: *Sc 8, Inc*, rep 6 times. (60 sts)
R17-18: Sc 60.
Switch to white yarn,
R19-21: Sc 60.
Switch to grey yarn,
R22-24: Sc 60.
Switch to white yarn,
R25-27: Sc 60.
Fasten off and leave long end for sewing.

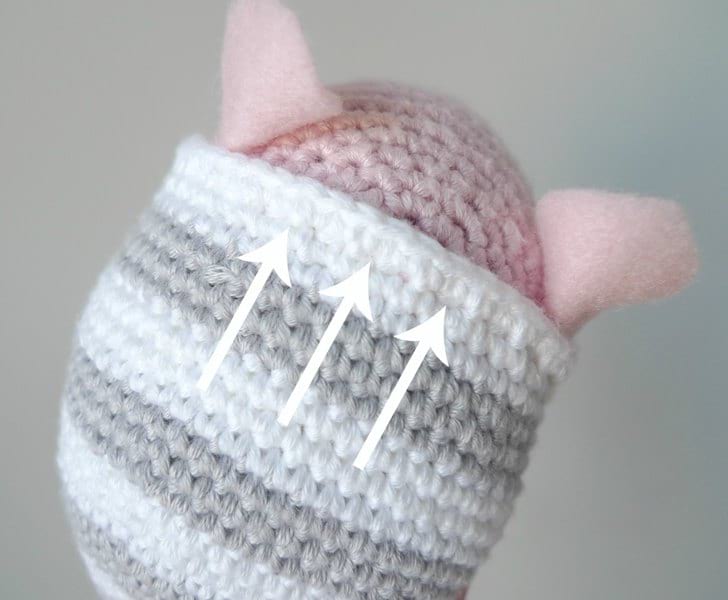
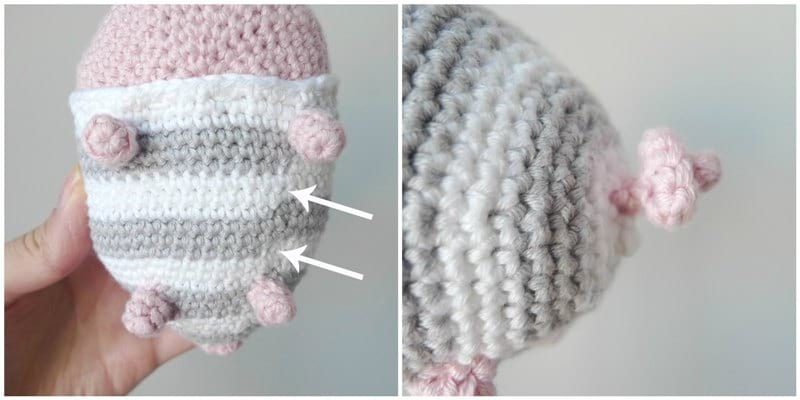
Stuff striped pajamas gently and place head into striped pajamas. Using white yarn, secure head in place using running stitch between Rounds 26 and 27 as shown by arrows below (ignore the ears in the picture as we will add them later on). This makes the seaming less visible (as opposed to whip stitching edge of pajamas to head). As a reference point, the magic circle at the top of the head should be at the point of attachment and at the bottom, the tight knots from the eye indentation should be covered. To see where the colour changes from the striped body should be positioned on the bottom, please reference the picture showing leg placement found further below.
TAIL
Using pink yarn,
Chain 7.
R1: Starting from second chain from hook, Sc 3 in each chain stitch across. (18 sts)
Fasten off and leave long end for sewing. Attach onto striped body (where initial rounds were).
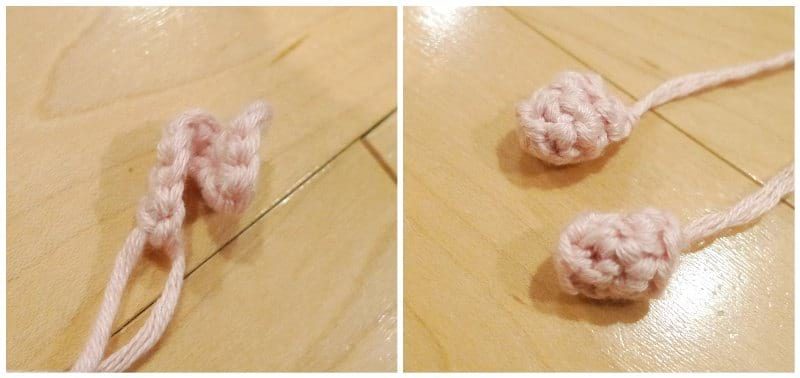
LEGS (make 4)
Using pink yarn,
R1: 6 sc in Magic Ring. (6 sts)
R2: In back loops only, Sc 6. (6 sts)
R3: Sc 6.
Fasten off and leave long end for sewing. Sew onto striped pajamas as follows: two legs between Rounds 10-12 (grey section) about 5 stitches apart and Rounds 22-24 (grey section) about 10 stitches apart. Note where the slight colour jogs are as indicated by the arrows below.
Ears & Snout
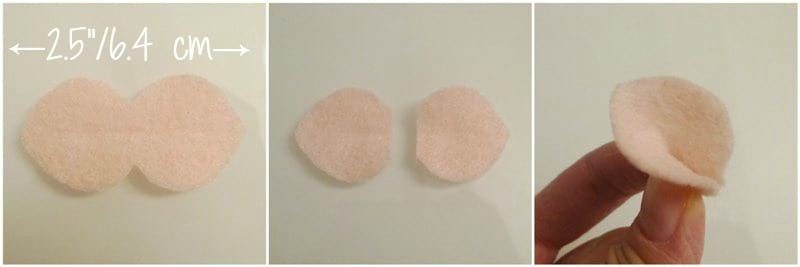
To make ears using pink felt, cut shape as shown below (approximately 2.5″/6.4 cm across, 1.25″ tall from highest point to lowest point). Cut along midline to make two separate ears. Pinch flat bottom part and use hot glue to secure it shut. Add some glue towards bottom tip of ear and tuck into striped pajamas on either side of head.
Cut snout using pink felt (approximately 0.5”/1.3 cm across, 0.35”/0.9 cm tall at midpoint) and embroider two brown lines with embroidery floss. Glue onto face between Rounds 17 and 19.
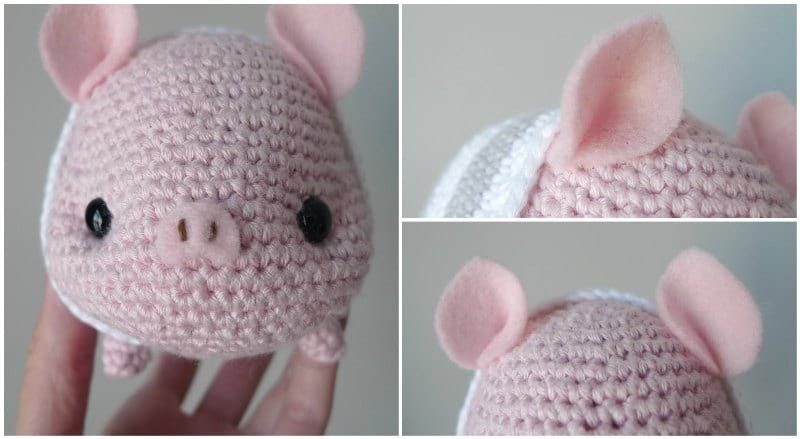
Enjoy crocheting your own sweet little pot-bellied pigs in cozy striped pajamas! Tag me on social media if you make your own little pig (you can use the hashtag #allaboutamipig too), and I wish you a Happy Chinese New Year!
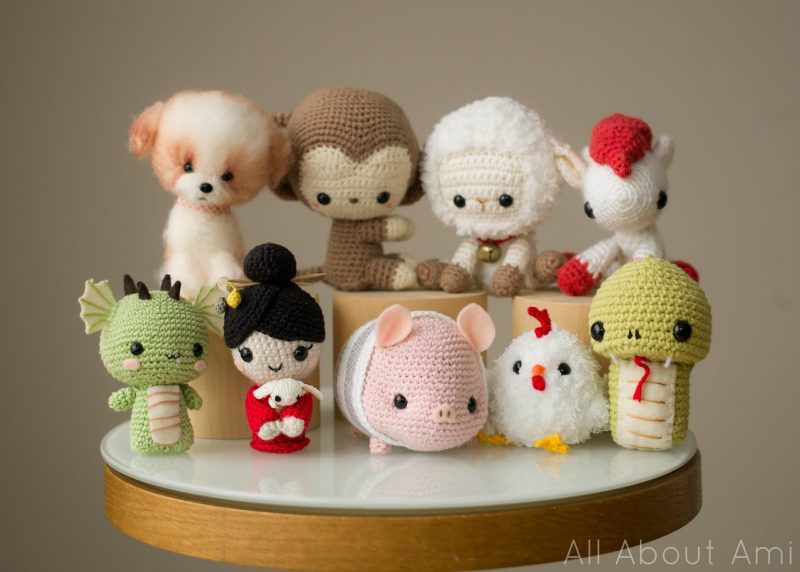
If you love this pig, don’t forget to check out our entire zodiac collection so far: Dog, Monkey, Lamb, Pony, Dragon, Chinese New Year Doll, Pig, Rooster and Snake! All of these patterns can be found in my Chinese New Year Zodiac Amigurumi Bundle HERE that contains all 9 patterns (47 pages) at a discounted price! You can also check out the All About Ami Amigurumi Pattern Bundle HERE that contains ALL the amigurumi patterns we’ve designed so far (28 patterns, 141 pages). Subscribe to my e-mail newsletter HERE and happy crocheting!
This pattern is an original pattern by Stephanie Lau of All About Ami. Please do not claim this pattern as your own. If you wish to share this pattern, you may link to this pattern but please do not reprint it on your site. You may keep a copy for your own personal use but please DO NOT sell the pattern or distribute it.
You may sell products made from this pattern but please clearly credit the design to me, Stephanie Lau of All About Ami, and provide a link to my blog www.AllAboutAmi.com. Permission is NOT granted for mass production or factory manufacturing of any kind. Thank you for being respectful and for your understanding!


