***You can purchase an INEXPENSIVE AD-FREE PDF of this pattern on Etsy HERE! This beautifully formatted PDF includes the step-by-step pictures and is a total of 3 pages including the cover page. This pattern is also available in the “Crochet Cowls & Scarves PATTERN BUNDLE” which includes over 20 beautiful designs at a discounted price – check out the bundle HERE! Lion Brand Yarn has put together a convenient kit HERE that contains all the Superwash Merino Wool you need to make this elegant scarf wrap!
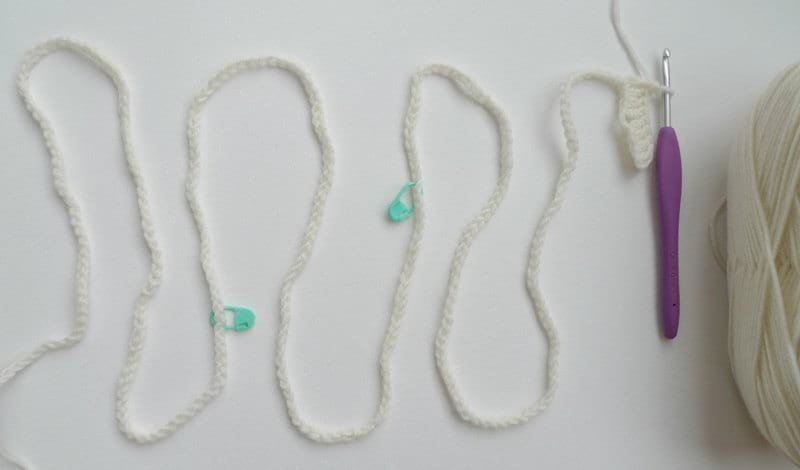
I love discovering new stitches and learning to combine stitches in different ways. Recently I came across Dora Ohrenstein’s brilliant book called “Crochet Every Way Stitch Dictionary” and I highly recommend it. This book teaches some new stitches that I have never seen before, and she even teaches you how to shape and increase with each stitch pattern. I came across a beautiful ripple stitch and was curious how it would look in a bigger piece as I was hoping to design an elegant wrap that I could wear indoors and during the transitional weather. I used my 4 mm hook and luxurious Superwash Merino Yarn (level 3 lightweight) from the LB Collection in this beautiful shade called “Antique”. I chained the length of my scarf wrap and used the stitch markers to indicate every 100 stitches in case I accidentally lost count! This piece is worked in turned rows (do not join in a circle).
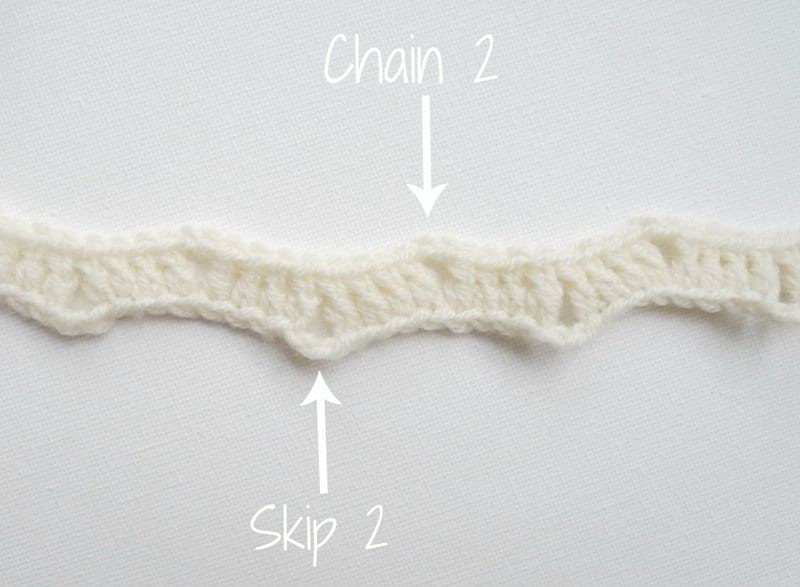
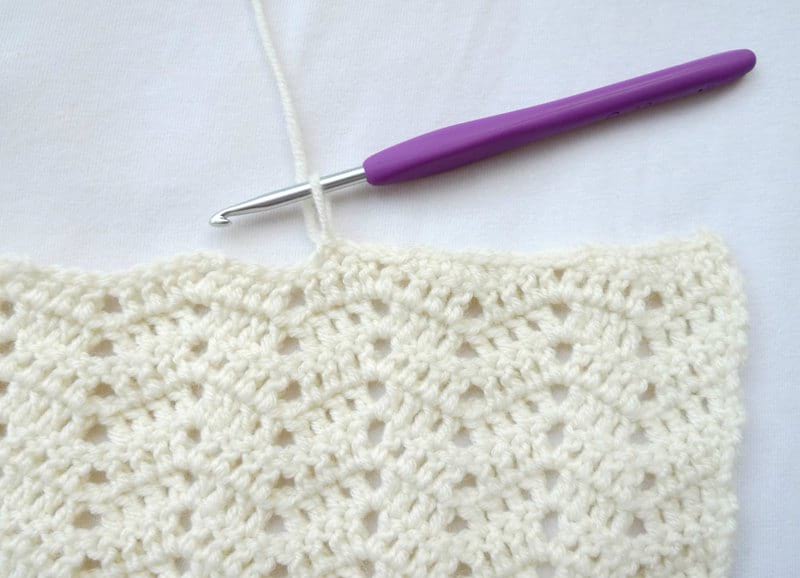
In Row 1, you will create the peaks and valleys of this ripple design. The peaks are created by chaining 2 between the 4 double crochets on each side. The valleys are created by skipping 2 chains.
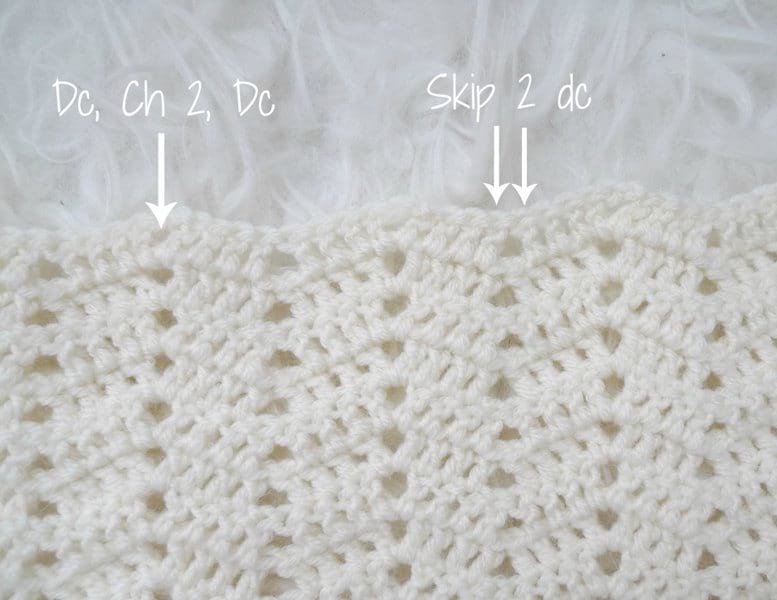
To build up the height of this scarf wrap, you continue crocheting Row 2 in which you build upon these peaks and valleys. The peaks are created by working a *Double crochet, Chain 2, double crochet* in the chain-2 space from the previous row. The valleys are created by skipping the two double crochets that are found in the previous row’s valley.
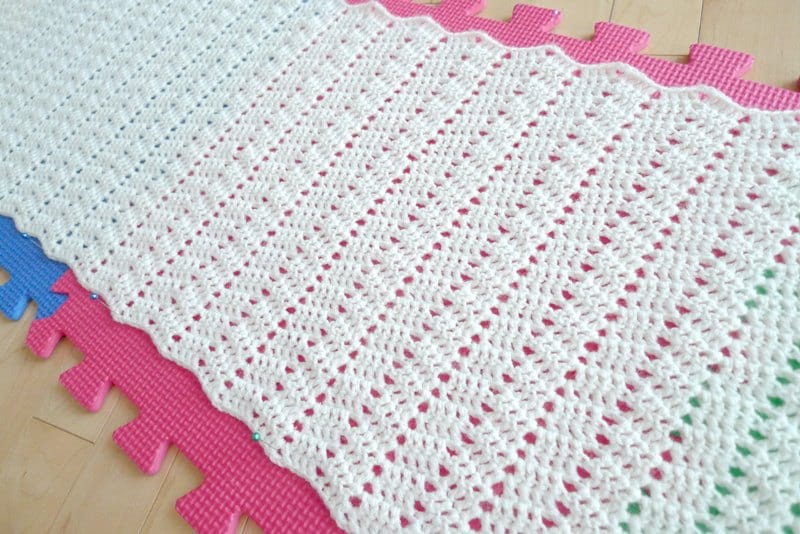
After you are happy with the height (desired number of rows) of your scarf wrap, I highly recommend blocking your work as it will help smooth out the stitches and make the lace more defined. I pinned my piece onto foam blocks (from the Dollar Store) and used my trusty steamer to apply hot steam. Blocking the scarf wrap makes a very big difference!
At this point, you can keep your long rectangle and wear it as a wrap over your shoulders, and perhaps give some closure with a shawl pin. If you want straight edges (vs. the scalloped and rippled edges), you could smooth over the top and bottom edges. I have written how to do so in the pattern below.
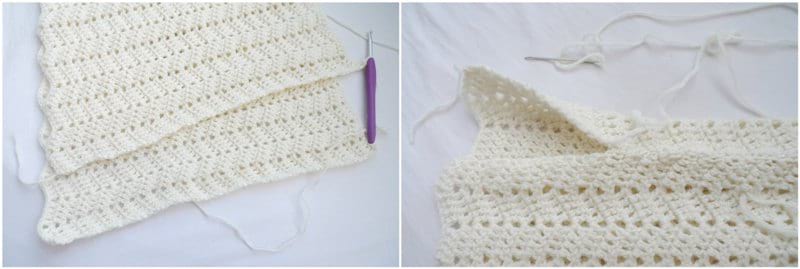
If you would like to wear your scarf wrap as a tube, you can seam the short ends together using the whip stitch, the long yarn tail, and a bent tip tapestry needle.
**********************
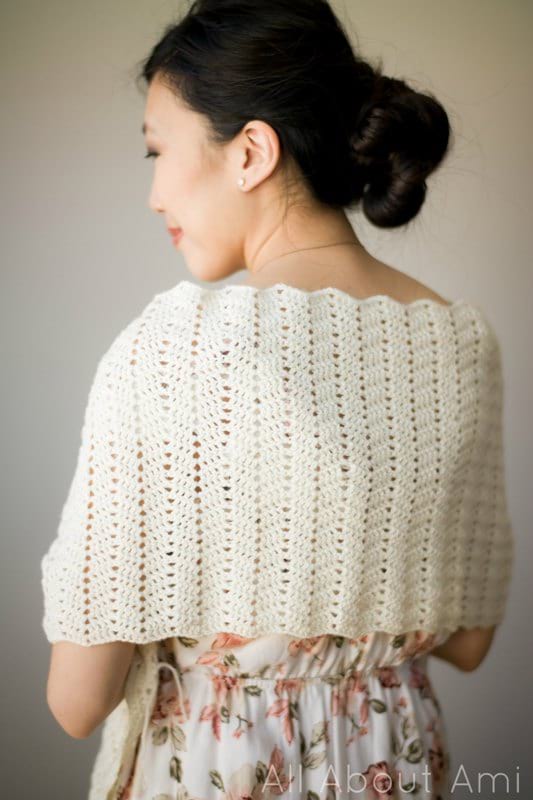
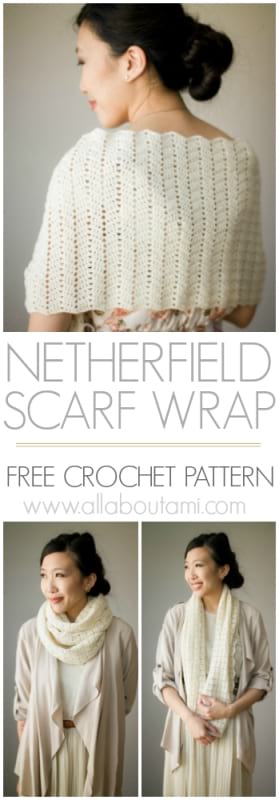
Crochet this romantic scarf wrap featuring delicate lace and beautiful scalloped edges! Wear it as a wrap over dresses or as a scarf that can be worn long or twisted and folded. This dainty piece adds a touch of elegance and sophistication using luxurious Superwash Merino Yarn.
Materials:
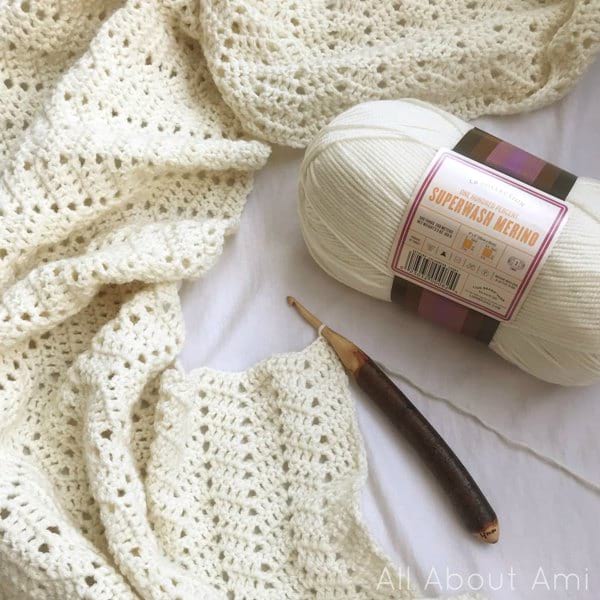
- 4 mm Clover Amour hook
- Superwash Merino Yarn from the LB Collection– level 3 lightweight yarn (approximately 215 grams, 3 skeins) – I used the colorway “Antique”
- Yarn needle
- Steamer for blocking
Gauge: 22 sts and 11 rows = 4″ (in ripple pattern)
Notes:
- This scarf wrap is crocheted flat in turned rows. It can be left as a rectangle and worn as a wrap or the ends can be seamed together and worn as a scarf.
- If you would like to make your scarf wrap longer, increase the number of initial stitches. The initial number of stitches must be a multiple of 10 + 3. Adding one more ripple (10 stitches) is equivalent to adding approximately 2″ to the wrap length.
- If you would like to make your scarf taller/wider, increase the number of rows.
- This design is reversible as both sides of the scarf look the same.
- If you would like to smooth over the edges of this ripple stitch to get straight edges, reference the pattern below for instructions on how to do so.
Using 4 mm hook, chain 313.
Row 1: Dc in 4th chain from hook (skipped chains count as 1 dc), dc in next 3 chains. *Skip 2 chains, dc in next 4 chains, ch 2, dc in next 4 chains*, rep from * till 6 stitches remain. Skip 2 chains, dc in next 3 chains, 2 dc in last chain, turn. (310 stitches consisting of 31 ripples)
Row 2: Chain 3 (counts as 1 dc), dc in first dc, dc in next 3 dc. *Skip 2 dc, dc in next 3 dc, (dc, ch 2, dc) in next chain 2 space, dc in next 3 dc*, rep from * till 6 stitches remain. Skip 2 dc, dc in next 3 dc, 2 dc in turning chain, turn.
R3-33: Repeat Row 2.
Fasten off and leave long end for sewing if assembling into cowl. Block the rectangle to smooth over the stitches.
Resultant rectangle is 57″/145 cm x 12.5″/32 cm.
To smooth over ripple edge and get straight edges:
Chain 1, turn, slip stitch. *Slip st, sc in next 2 sts, hdc in next 2 sts, sc in next 2 sts, sl st, sl st in chain space.* Repeat from * across the entire length until 9 sts remain. Sl st, sc in next 2 sts, hdc in next 2 sts, sc in next 2 sts, sl st in next 2 sts.
Weave in ends and leave as rectangle if wearing piece as a shawl. If you would like to wear this piece as a scarf that can be worn long or twisted and folded, use a yarn needle and the long yarn end to whip stitch the short sides of the rectangle together.
****************************
When I was crocheting this delicate piece, I imagined myself wearing it as a shawl over a beautiful Regency gown to a Pride and Prejudice Ball. Thus, I chose the name “Netherfield Scarf Wrap” as Netherfield is the residence of the Bingleys, where the Netherfield Ball occurs. I love how you can wear this piece as a shawl or a scarf. If you would like to wear it as a shawl, you can increase the initial length (see the pattern repeat above). There is enough yarn in the kit in case you want to increase the length.
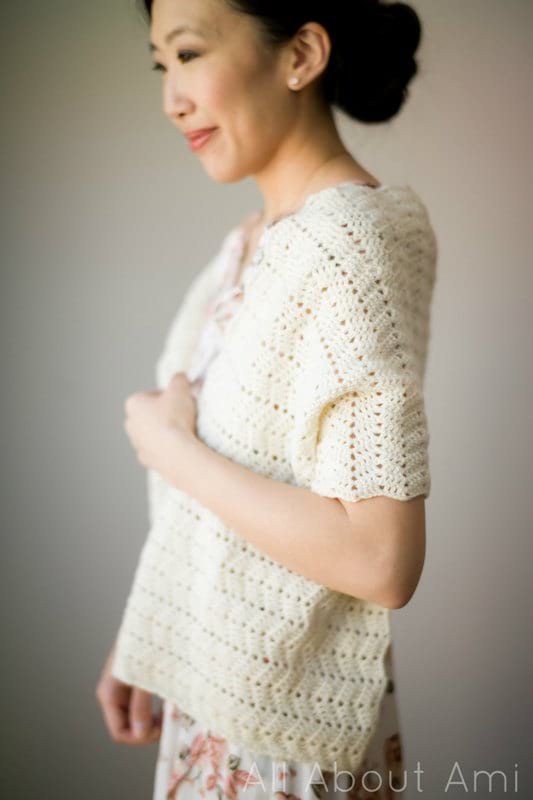
I personally like to wear scarves that I can just throw over an outfit! Most of my scarves are chunky and warm for the cold weather. I like having a lightweight scarf option that I can wear both indoor and outdoors (no overheating as soon as you step inside), and I chose this neutral colour so that it will match with everything.
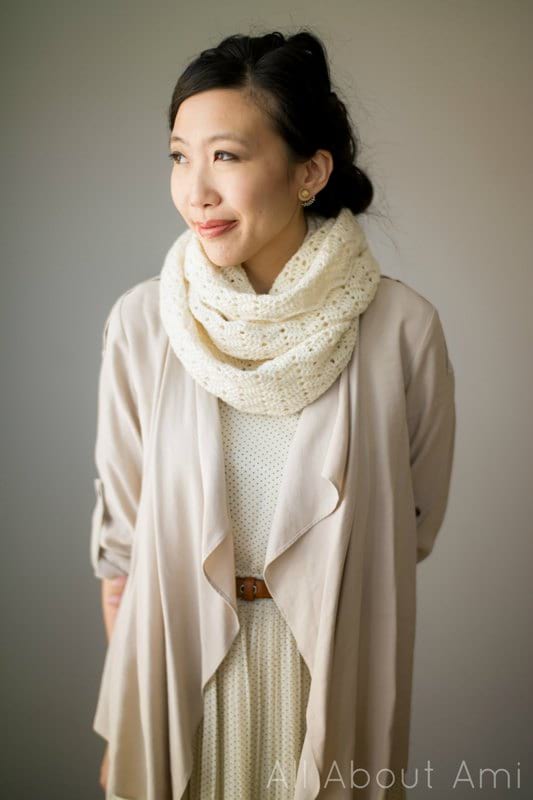
Don’t you love how the layers look folded upon one another? So delicate with the dainty eyelets!
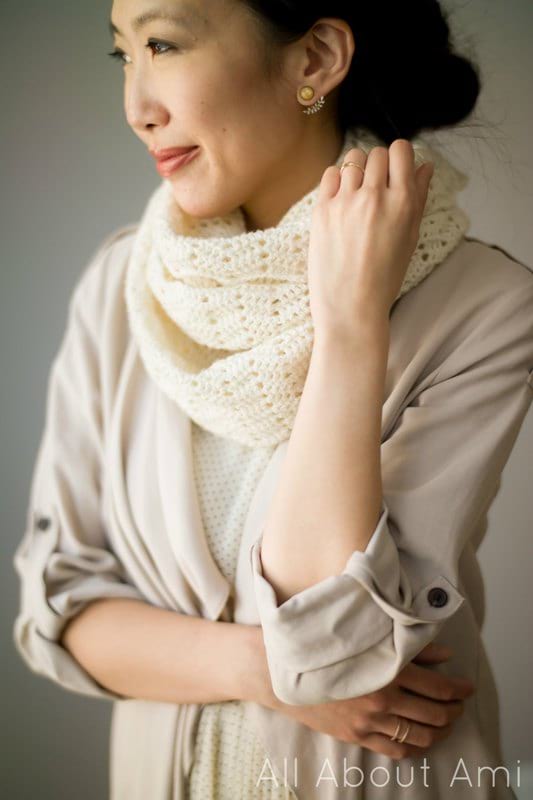
I also love wearing this scarf wrap long without being folded. It shows off the stitch pattern beautifully and adds such a lovely touch of elegance and sophistication.
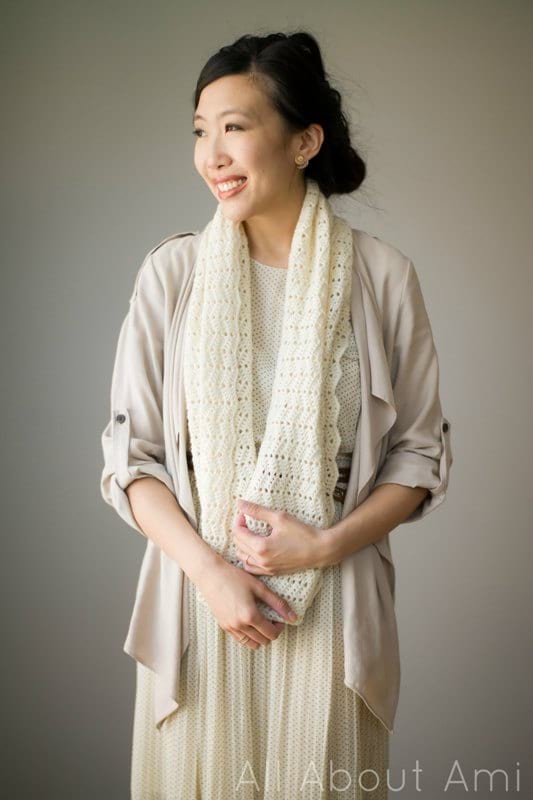
I hope you enjoy crocheting the Netherfield Scarf Wrap for yourself and your loved ones! Once again, you can purchase the kit HERE if you would like all the required yarn as well as the pattern. Thank you for reading, and happy crocheting!
{This post is sponsored by Lion Brand Yarn! I’ve loved working with their yarn throughout the years and I’m thrilled that I get to collaborate with them every month!}
This pattern is an original pattern by Stephanie Lau of All About Ami. Please do not claim this pattern as your own. If you wish to share this pattern, you may link to this pattern but please do not reprint it on your site. You may keep a copy for your own personal use but please DO NOT sell the pattern or distribute it.
You may sell products made from this pattern but please clearly credit the design to me, Stephanie Lau of All About Ami, and provide a link to my blog www.AllAboutAmi.com. Permission is NOT granted for mass production or factory manufacturing of any kind. Thank you for being respectful and for your understanding!


