Note: This is the step-by-step blog post! The free pattern for the mini cupcake bear can be found HERE! You can also purchase an INEXPENSIVE AD-FREE PDF of this pattern on Etsy HERE. The printable PDF with step-by-step pictures has been condensed into a total of 3 pages including the cover page!
Since starting this blog two months ago, I’ve really loved connecting with readers and fellow crocheters around the world. I still get excited when I get a “like” or “reblog” on tumblr, and I LOVE reading comments or e-mails that people send. I want to give a special shout-out to Jerry, who’s been my loyal reader and commenter since the very beginning! I can always count on Jerry to share what she’s thinking as she reads my posts. I wanted to show my appreciation by crocheting something just for her!
I decided to make a mini cupcake bear since making the original cupcake bear was so much fun. This time, I wanted to make a fuzzy head and a red cherry (I actually didn’t have any red yarn the first time I made a cupcake bear!). I crocheted the head and ears and fuzzed them up with a dog slicker brush. I pretty much used the same pattern as my “Valentine Teddy” for the ears and head (this shows what a difference the thickness in yarn makes in the resulting size!).

I attached the ears to the head, added a nose, and then into the cupcake liner he went! I used the smallest cupcake liner I could find, but it was actually still too big for his head. Thus, we trimmed the liner down with scissors to make it fit (otherwise, his whole face would be covered!).

Then I crocheted a small red cherry to place on his head!
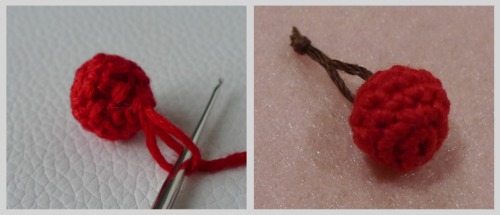
Voilà! The cherry sits daintily atop his head…
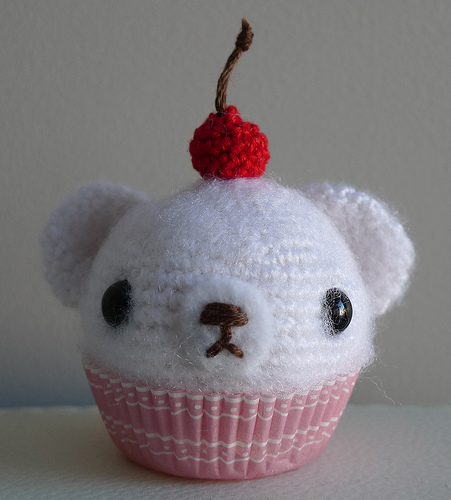
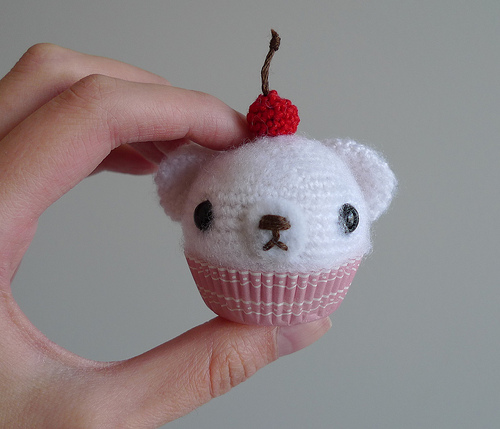
Just how mini is mini cupcake bear? Here’s a pic of me holding him!
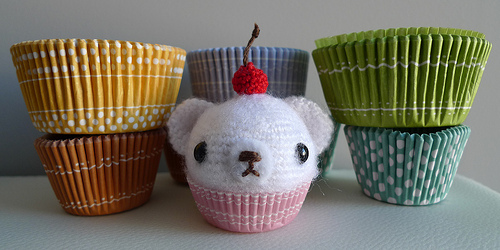
Look at all the pretty cupcake liners….the sky’s the limit!
Thank you to all my readers, followers, and commenters! Who knows, I may do a give-away soon 🙂 Enoy your mini cupcake bear, Jerry! Pattern for the mini cupcake bear can be found HERE.


