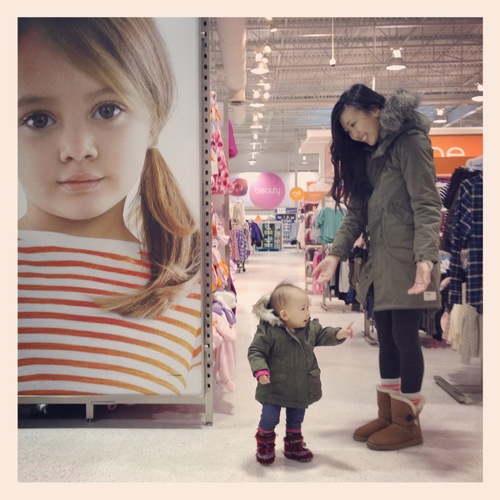
One of the things I love about my passion for crochet is being able to make beautiful, unique items for my little girl that cannot be purchased in stores and are handcrafted with a lot of love! For Myla’s 1st birthday, she was gifted with a pair of Padraig boots (see here if you’ve never seen them before) from some dear friends: these boots were crocheted with New Zealand wool, lined with sheepskin and had leather soles! Myla wore them for the next couple of months and they were great as they were warm and provided great grip as she learned how to walk around. You can see Myla wearing them in this photo I posted to Instagram below (don’t you love our matching parkas?)! As soon as Ryan and I laid eyes on these Padraigs, we knew we wanted to try and crochet Myla a pair of boots with a leather or suede sole that would be functional for our walking toddler (see my previous baby boots here).
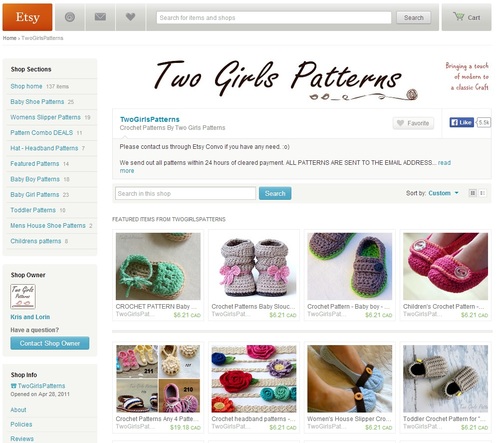
As I was looking up patterns on different sites, I came across “Two Girls Patterns” on Etsy and absolutely fell in love with their designs! Kris and Lorin have so many patterns for cute and modern slippers, boots and hats, and I thought their “Furrylicious/Little Diva Boots” in particular really stood out! These boots are crocheted using the loop stitch which gives a beautiful and unique texture to the boots. I was very excited to get my hands on the pattern, and if you visit their Etsy store, you will see it being sold for $5.50 USD (you get a discount if you buy multiple patterns at the same time, and the pattern is also available for babies, toddlers, and even adults!). I knew it would be a great pattern because their store has rave reviews with everyone saying that their patterns are easy to follow and detailed with clear pictures!
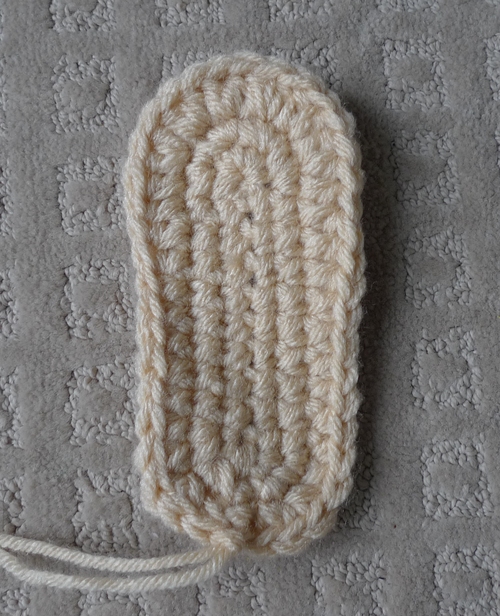
The toddler version includes sizes 4-9 (you get all the sizes when you purchase the pattern), and I opted for a size 4 for Myla. Their pattern very clearly states all the materials needed, instructions on how to work the loop stitch and some notes that are very important to read before starting the project. For example, this boot is made by holding two strands of yarn at the same time! I started by crocheting the sole using a tan colour.
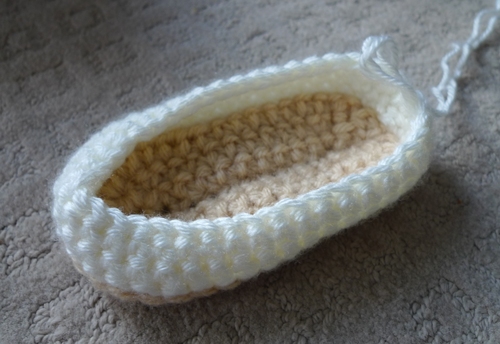
Next, I started crocheting the upper shoe with a white yarn (I used “Patons Canadiana” in “Winter White”).
Then the fun part began: the loop stitches! It was my first time doing the loop stitch, and I LOVED doing it! See this great tutorial and video that Fresh Stitches put together HERE that details how to do the loop stitch.
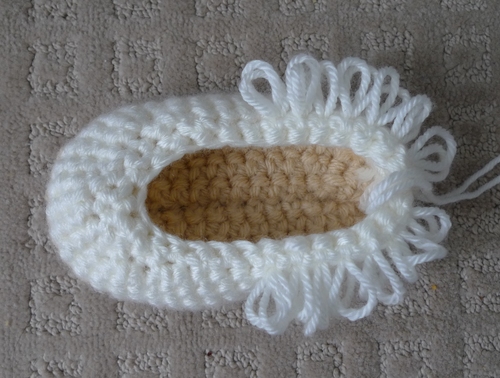
The loops are formed by wrapping the yarn around your finger! It’s important to draw both strands of the looped yarn through the stitch as just drawing through one strand will not work. For some reason when I began crocheting the loop stitches, I was doing them incorrectly by swinging my hook in the wrong direction- the loops seemed okay at first but as I continued moving on, the loops kept pulling inwards toward the centre of the boot and thus getting smaller. Thankfully, I noticed my mistake, undid my work, examined the instructions carefully again and continued onwards. Once I started doing the loop stitch correctly, they looked great! I need to figure out how to incorporate loop stitches in future projects as the results look so textured and beautiful!
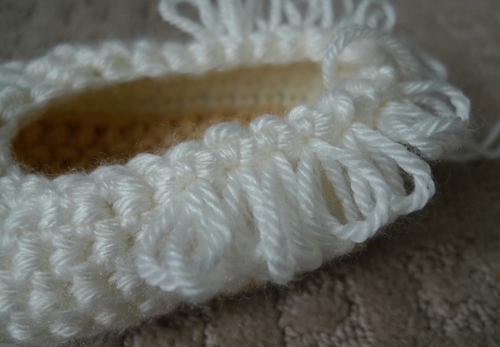
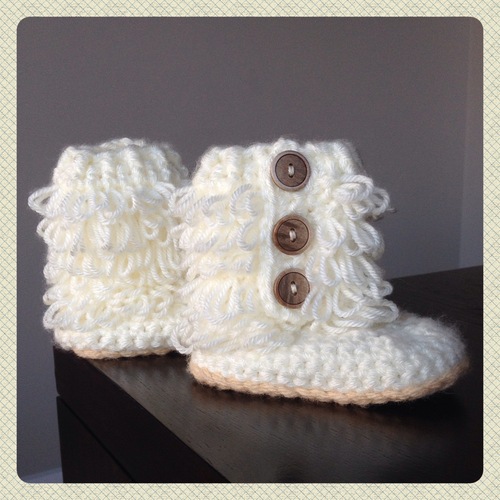
Next, the upper boot is worked up as you add more and more loop stitches! I really love the look of the overlapping and cascading loops!
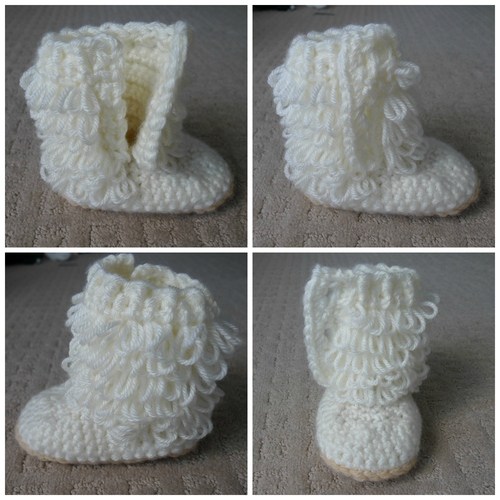
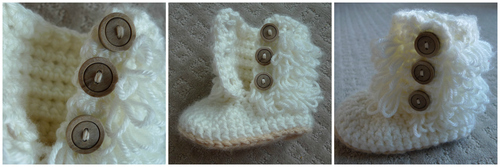
The boots are designed so that buttons can be sewn on one edge while there are button holes on the opposing and overlapping edge. The buttons give such a cute look to the boots!
Finally, my loop boots were complete! I was so happy with how they turned out, and the pattern was very easy to follow and understand. I love how Kris and Lorin laid out the directions very clearly, and they always offer support for their patterns if you need it and are more than happy to help 🙂 These boots are very well-designed and I really admire designers who can think out patterns such as these (I myself find designing boots and shoes daunting, especially since the shape and sizing is so important!). This pattern is well worth the money, particularly since it includes the pattern for so many sizes…I can keep crocheting boots for Myla until she reaches size 9!
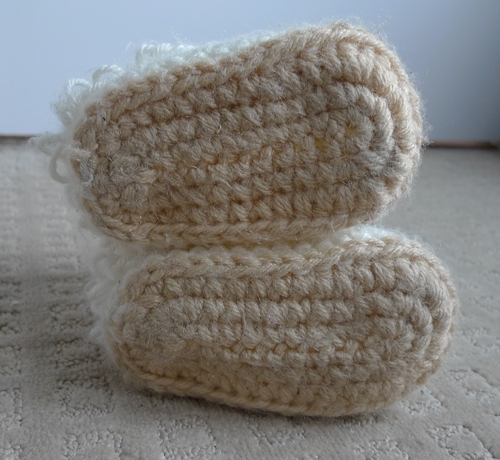
Here are Myla’s boots from the bottom! We let Myla wear them on carpeted surfaces such as our church sanctuary, but she would be slipping and sliding all over the place if we let her wear them on a hardwood or tile floor. Thus, I looked up many tutorials, videos and posts about how to make crocheted slippers non-slip. Moogly has a great post on “7 Great Ways to Make Slippers Non-Slip”- some of these ways include adding fabric paint or silicone sealant. One method that I was particularly interested in was using a rubber spray called “Plasti Dip” which would apparently make the sole rubbery (see video HERE). [UPDATE: I tried using “Plasti Dip” on another pair of boots and it worked very well- see the full blog post HERE!]
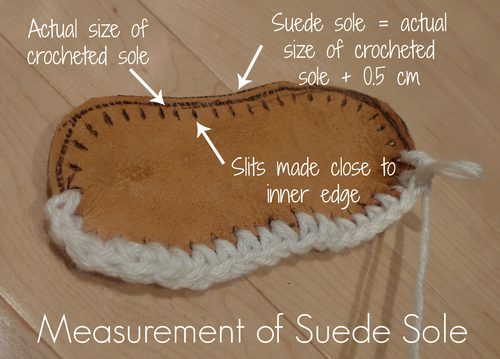
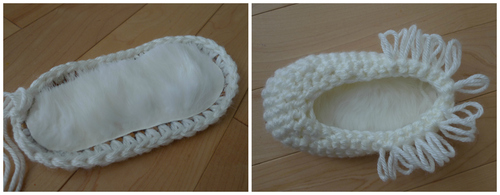
However, we really wanted to try using leather/suede for the soles as we loved the luxurious and very functional look of Myla’s Padraigs. And so, we purchased some scrap suede and excitedly began Myla’s Loop Boots, version 2.0! I crocheted a sole using some scrap yarn following the pattern for a size 4.5 boot so that Myla would have a little more room to grow into them. We then traced the sole onto the suede and made tick marks at every stitch with a pen so that we knew where to add holes (e.g. if you have 42 stitches in the last round of the sole, you should have 42 tick marks around the suede!). We then cut out the suede sole and punctured the holes around with a utility knife.

Here is a more detailed picture showing how we measured the suede sole. We knew we had to account for the fact that the stitches crocheted into the suede would pull upwards so we cut the suede sole a little bit bigger than the actual size of the crocheted sole. The inner edge is the actual size of the crocheted sole, and we added 0.5 cm all around for our suede sole. The slits were made close to the inner edge. It was somewhat difficult wiggling my crochet hook into the slits when crocheting around but it was definitely possible and I was so excited to start the upper boot!
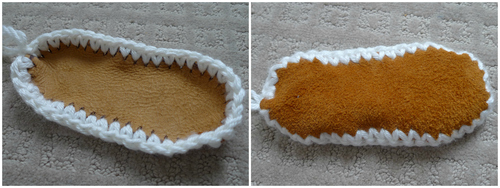
We ended up using the same white Patons yarn as we loved how it looked (Sidenote: After multiple wears, Myla’s boots have pilled and fuzzed up a bit. You could experiment with different yarns in case you don’t want them to fuzz up as much!). In the end, I was able to crochet two pairs of loop boots with two skeins of the white yarn! After completing the first round of the upper shoe, this is what we had! We loved how it was looking already 🙂
You could add some faux fur or fur to the bottom of the boot for some added warmth and comfort! We glued the fur to the suede and then I continued crocheting the upper shoe.
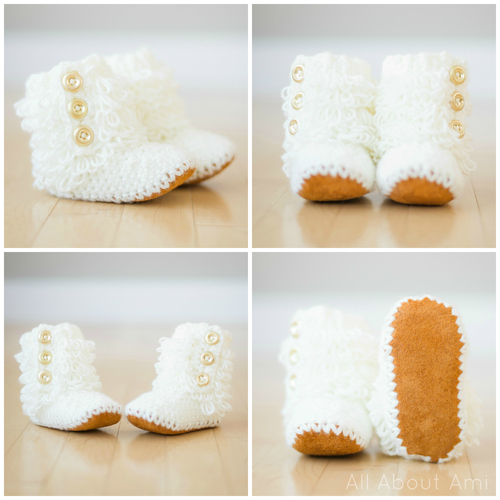
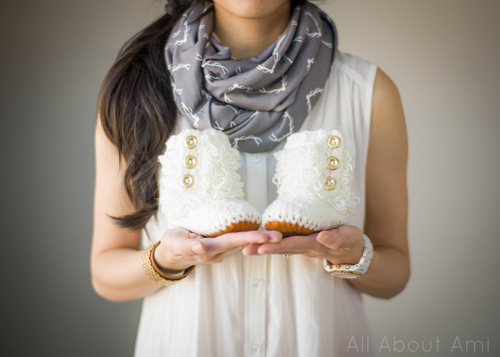
After following the exact same pattern from here on in, these were our finished boots! We decided to go for some pretty gold buttons for this pair! Aren’t they beautiful?
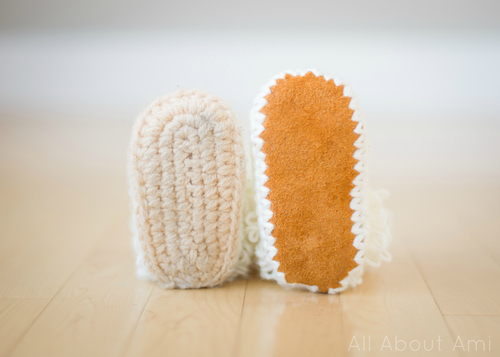
Here is a picture showing the difference between the crocheted yarn sole and the suede sole!
I was incredibly excited to have Myla try them on and walk around our hardwood floor! Much to my delight, she walked around with no problem at all….no slipping or sliding as the suede sole provided her with plenty of grip!
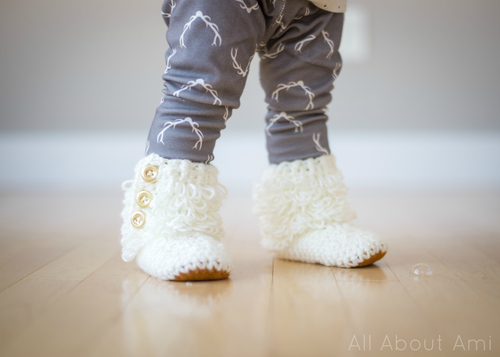
She was pretty happy to wear them too! I love her sweet smile 🙂
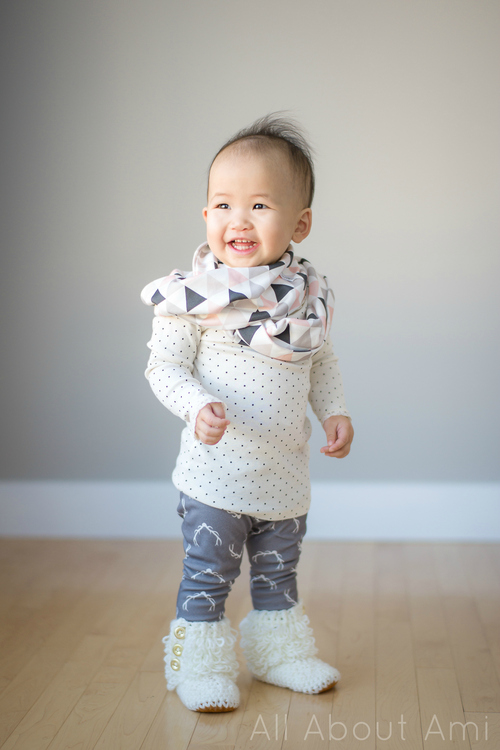
The shaggy, loopy look of the boots are absolutely adorable! She always gets compliments whenever she wears them, and I can’t help but smile when people ask where I bought them and I get to say that I made them 🙂 I never would have imagined that I would be able to crochet my daughter such functional, luxurious, and stylish boots a few years ago, and it’s amazing having her wear something I crocheted for her with so much love!
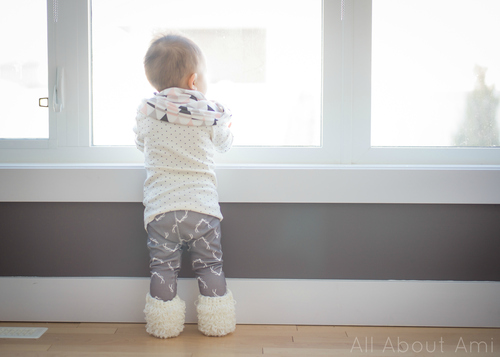
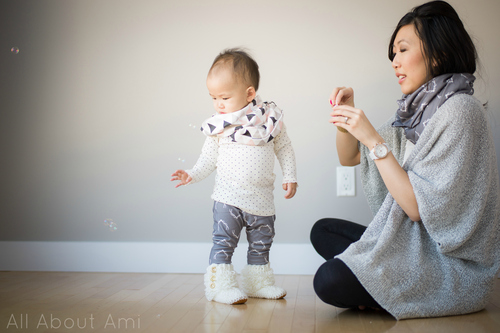
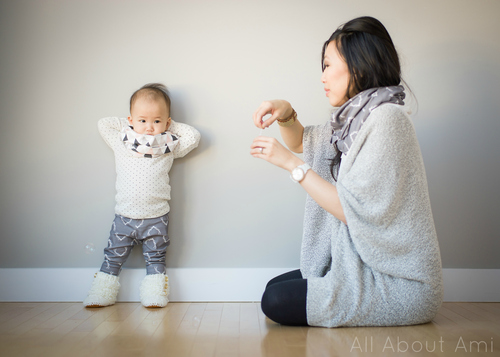
We used to take monthly family photoshoots up until Myla turned 1, so it was interesting trying to plan this shoot since Myla can walk so well now! Gone are the non-mobile days when she would stay wherever we plopped her down! And so, we did some of our favourite activities, like playing with bubbles!
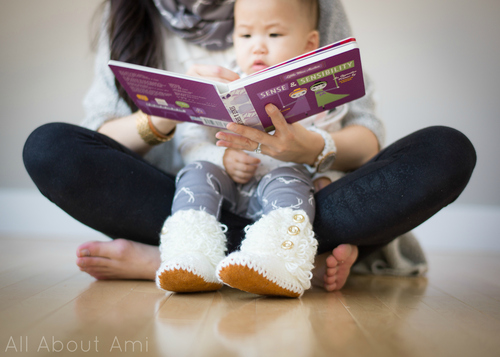
We also did some reading (love the beautiful “Little Miss Austen” books)!
And some fun puzzles 🙂
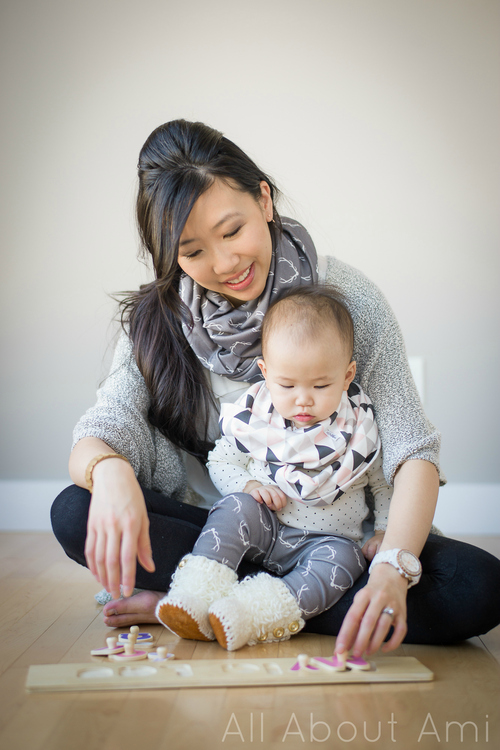
If you’re interested in the beautiful prints that we’re wearing, check out Vonbon, a children’s line based in Vancouver, Canada. They specialize in organic cotton items (e.g. cowls, leggings, blankets, hats, bib bandanas, and headbands) that are all designed and handmade in Canada with gorgeous, sophisticated colour palettes. I’ve had the pleasure of connecting with Vonbon’s creator Jen (who started the company with her sister Kristin) and it’s been wonderful getting to know another handmade artisan who is so passionate about her craft and what she does!
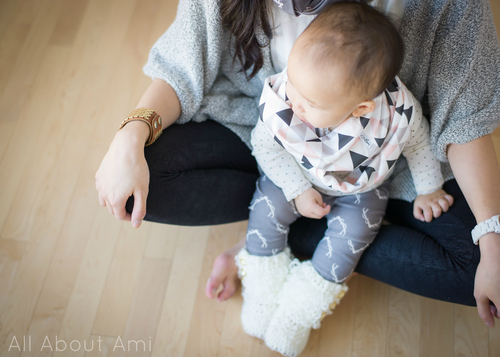
[On Myla: Polkadoto shirt: H&M, Gray Antler Leggings & Blush Triangle Infinity Cowl: Vonbon. On me: Cape: Aritzia, Leggings: American Eagle Outfitters, Gray Antler Cowl: Vonbon]
We had to include this hilarious picture of Myla posing by the wall as I was blowing bubbles- she is a born model, haha 🙂 Myla photobombed our last photoshoot for the “Cabled Wrist Warmers” but this time she had the whole stage to herself!
I hope you enjoyed reading about our adventures in making these boots and also learned about some options on how to make your own crocheted slippers or boots non-slip by adding a suede sole! I really enjoyed crocheting them and am so delighted with how they turned out! You can purchase the toddler pattern for these loop boots HERE.
Kris and Lorin of “Two Girls Patterns” have partnered with me to offer a GIVEAWAY [now CLOSED– congrats “Pinkrebunny”!]! One of my readers will win a FREE pattern from their lovely shop! There are two ways to enter: please visit their Etsy store HERE and browse through their patterns. Then, leave a comment below on my blog and/or on my Facebook page here (must be a follower of “All About Ami”) stating which pattern you would most like to win! I’d love to hear what you think about our boots too and if you’ve tried making your crocheted footwear non-slip! This contest is open worldwide and will close on Sunday, January 26th at 8 PM, MST. If you are under 18, please ask your parents’ permission before entering. Also, in case anyone is interested, Kris and Lorin allow people to sell their finished products made from their patterns as long as credit for the original design is given to them in the listing! If you are interested in purchasing completed loop boots for your own child or as gifts, you can check Etsy as I’ve seen them being sold there! Thank you for reading, and happy browsing and crocheting!


