***You can purchase an INEXPENSIVE AD-FREE PDF of this pattern on Etsy HERE and on LoveCrochet HERE. The printable PDF with step-by-step pictures has been condensed into a total of 5 pages including the cover page!
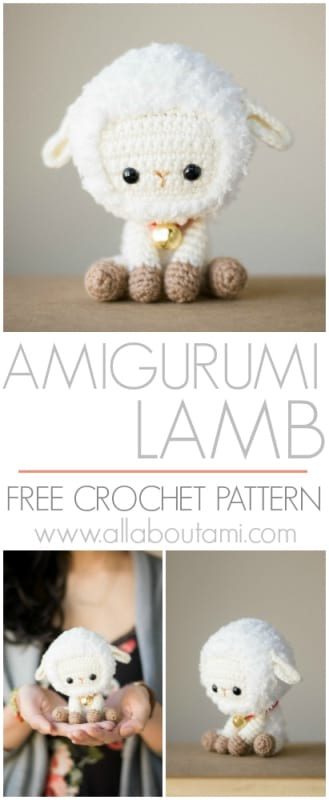
Meet Lambert, our sweet little lamb that we designed to celebrate Chinese New Year! Make one or a whole flock of fluffy sheep for yourself or your loved ones!
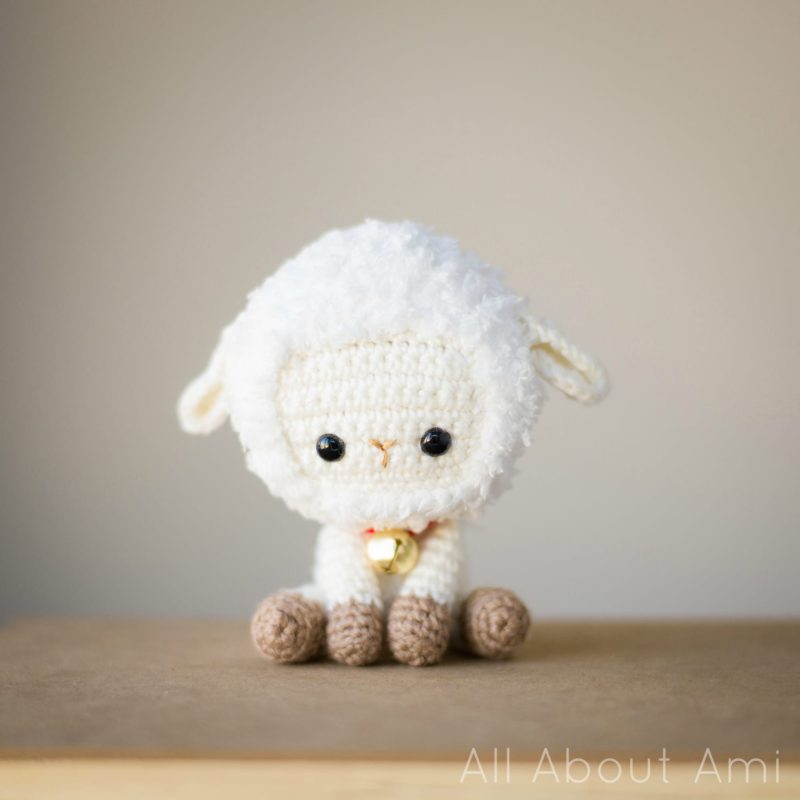
Materials:
- bulky white fluffy yarn, level 5 (I used “Bernat Pipsqueak” in “Whitey White”)
- medium beige yarn, level 4 (I used “Lion Brand Martha Stewart Extra Soft Wool Blend” in “Bakery Box White”)
- lightweight tan yarn, level 3 (I used “Patons Astra” in “Medium tan”)
- lightweight red yarn, level 3 for collar (I used “Patons Grace” in “Cardinal”)
- 2 mm Clover Amour crochet hook & 3.5 mm crochet hook
- Yarn needle (bent tip helpful for attaching amigurumi parts- see HERE)
- fiberfill
- 6 mm safety eyes
- Brown embroidery floss (for nose/mouth)
- Bell for collar
Note: I worked in continuous rounds (vs. joined rounds).
***PLEASE follow along with my step-by-step blog post HERE to better understand this written pattern and to visually see how to connect the parts with all my photos!
***IMPORTANT NOTE: There is technically a “right” and “wrong” side of crochet when working in the round. Read about this in my blog post HERE. When working with the beige yarn, ensure the right side is facing outwards. When working with the white fluffy yarn, ensure the wrong side is facing outwards as this is the fluffier side (read about this HERE).
FACE
Using beige yarn and 2 mm hook,
Chain 11 (we will be working in rows for this part).
R1: Starting from second chain from hook, Sc 10 .
R2: Chain 1, turn. Inc, Sc 8, Inc (12 sts)
R3-8: Chain 1, turn. Sc 12.
R9: Chain 1, turn. *Sc 4, dec*, rep 2 times (10 sts)
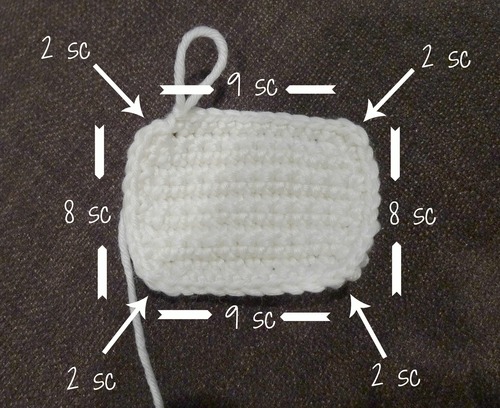
Sc 42 around edge of rectangle created, doing 2 single crochets in each of the four corners. Fasten off.
HEAD
Switch to fluffy white yarn and 3.5 mm crochet hook. We will now be working in rounds. Flip face so that “wrong side” is facing downwards and “right side” is facing you. Going counter-clockwise and starting from upper right corner as indicated in photo,
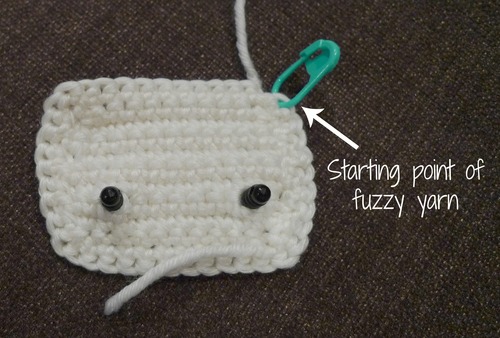
R1: Sc 42 (pick up 42 sts).
R2: *Sc 2, Inc*, rep 3 times. *Sc 2, Dec*, rep 8 times, Sc 1 (37 sts).
R3: *Sc 2, Inc*, rep 4 times. *Sc 2, dec*, rep 6 times, Sc 1 (35 sts).
R4: Sc 15, *Sc 2, Dec*, rep 5 times (30 sts).
R5-7: Sc 30
R8: *Sc 8, Dec*, rep 3 times (27 sts)
Add safety eyes- as an optional step, do technique for indented eyes as described in blog post HERE. Embroider nose in a “Y” shape using brown embroidery floss. Begin stuffing head.
R9: *Sc 1, Dec*, rep 9 times (18 sts)
R10: *Sc 1, Dec*, rep 6 times (12 sts)
R11: *Dec*, rep 6 times (6 sts)
Finish stuffing head.
R12: *Dec*, rep 3 times (3 sts)
Fasten off and weave in end.
EARS (make 2)
Using beige yarn and 2 mm hook,
Chain 8 (this is the foundation chain)
R1: Starting from second chain from hook, Sc 6 in back loops of foundation chain. 2 sc in last chain. Turn and Sc 6 in front loops of the foundation chain [we are making an oval by crocheting around the chain]. (14 sts)
***To see a step-by-step tutorial on how to crochet around a foundation chain, please see HERE!
R2: Sc 4, *2 hdc* in next 6 sts, Sc 4 (20 sts).
Sl stitch to next stitch and fasten off. Leave long end for sewing. Pinch top of ears and sew together. Sew ears on sides of head.
BODY
Using white fluffy yarn and 3.5 mm hook,
R1: 6 sc in Magic Ring (6 sts)
R2: 2 sc in each sc around (12 sts)
R3: *Sc 3, Inc*, rep 3 times (15 sts)
R4-5: Sc 15
R6: *Sc 3, Dec*, rep 3 times (12 sts)
R7-9: Sc 12.
Fasten off and leave long end for sewing. Stuff and sew to head.
ARMS (make 2)
Using tan yarn and 2 mm hook (stuff very lightly as you go),
R1: 5 sc in Magic Ring (5 sts)
R2: 2 sc in each sc around (10 sts)
R3: In back loops only, Sc 10 (10 sts)
R4-5: Sc 10
Switch to cream yarn,
R6: *Sc 3, Dec*, rep 2 times (8 sts)
R7-10: Sc 8
R11: *Sc 2, Dec*, rep 2 times (6 sts)
Fasten off and leave long end for sewing. Attach to sides of body.
LEGS (make 2)
Using tan yarn and 2 mm hook (stuff very lightly as you go),
R1: 6 sc in Magic Ring (6 sts)
R2: 2 sc in each sc around (12 sts)
R3: In back loops only, Sc 12 (12 sts)
R4-5: Sc 12
Switch to cream yarn,
R6: *Sc 4, Dec*, rep 2 times (10 sts)
R7-10: Sc 10
R11: *Sc 3, Dec*, rep 2 times (8 sts)
R12: *Sc 2, Dec*, rep 2 times (6 sts)
Fasten off and leave long end for sewing.
TAIL
Using white fluffy yarn and 3.5 mm hook,
R1: 5 sc in Magic Ring (5 sts)
R2: Sc 5 (5 sts).
Fasten off and leave long end for sewing. Attach to bottom back of body so lamb can sit.
COLLAR
Using red yarn and 2 mm hook,
Chain 28 or until collar wraps around sheep’s neck. Slide bell through collar. Slip stitch to first ch, finish off and weave in ends so that ends are at the back.
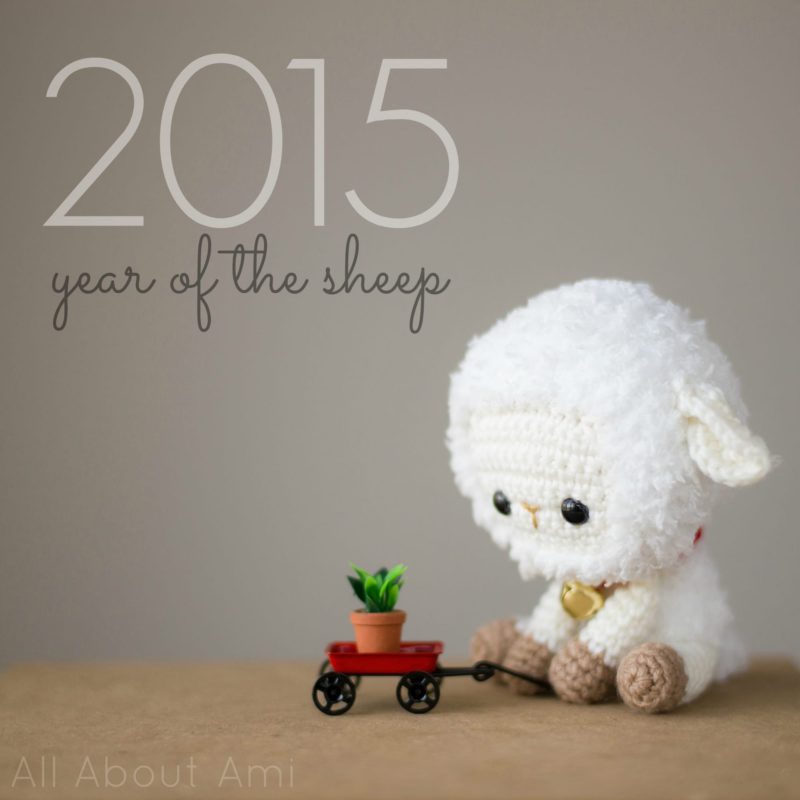
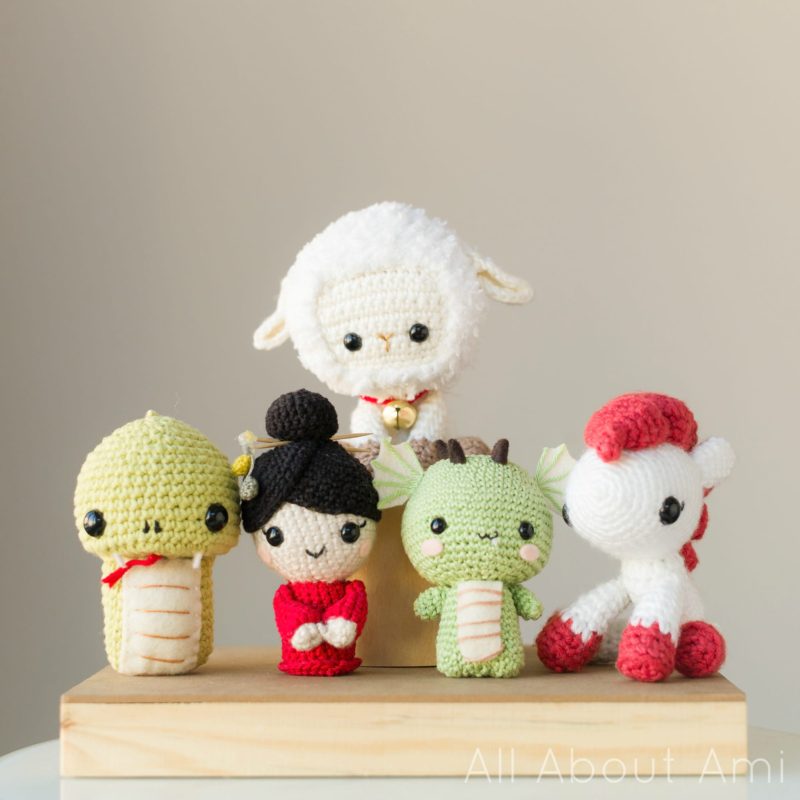
Enjoy your sweet fluffy lambs, and have a Happy Chinese New Year! Don’t forget to check out my other amigurumi patterns in my zodiac series: Chinese New Year Doll, Dragon, Snake and Pony!
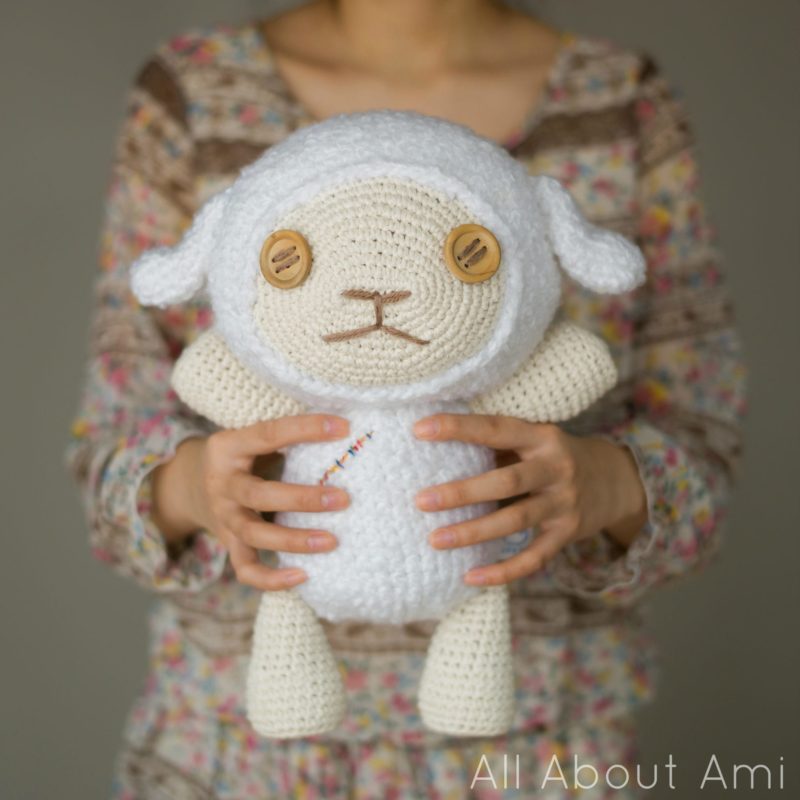
And if you’re interested in a larger, more huggable lamb, see the amigurumi “Cotton” we made from the movie “Oblivion Island”! Step-by-step blog post found HERE and free pattern found HERE!
This pattern is an original pattern by Stephanie Lau of All About Ami (February 2015). Please do not claim this pattern as your own. If you wish to share this pattern, you may link to this pattern but please do not reprint it on your site. You may keep a copy for your own personal use but please DO NOT sell the pattern or distribute it.
You may sell products made from this pattern but please clearly credit the design to me, Stephanie Lau of All About Ami, and provide a link to my blog www.AllAboutAmi.com. Permission is NOT granted for mass production or factory manufacturing of any kind. Thank you for being respectful and for your understanding!


