***You can purchase an INEXPENSIVE AD-FREE PDF of this pattern on Etsy HERE! This beautifully formatted PDF is a total of 4 pages and includes all the tutorial photos. You can also find this pattern in my Easy & Modern Knits Pattern Bundle found HERE (includes over 35 of my knit patterns at a discounted price) and my Dotty Series Knit Pattern Bundle found HERE (contains all my designs using the lovely dot stitch)! You can purchase a convenient kit HERE on the Lion Brand Yarn website that includes the digital pattern and all the lovely Color Theory yarn needed make this beautiful blanket!
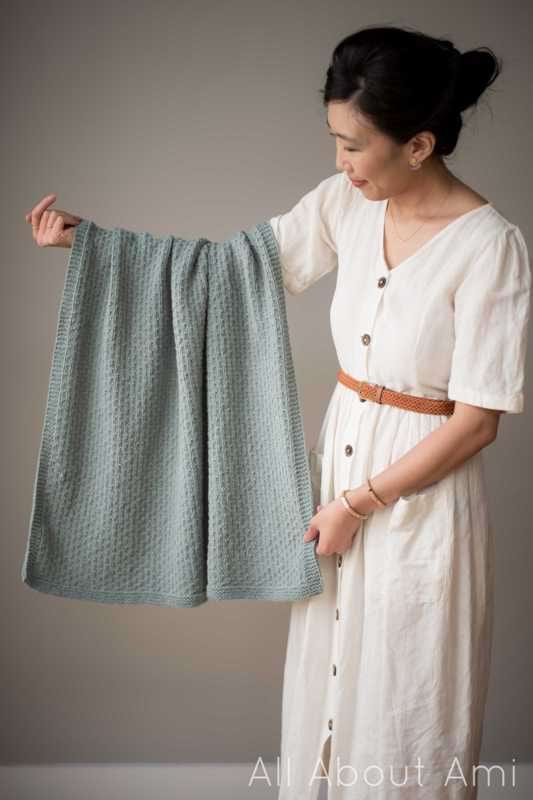
Pattern Description: Knit this dainty baby blanket with beautiful texture using the dot stitch and worsted weight yarn! The gorgeous dot stitch is framed by a lovely garter stitch border.
Materials:
- 4.5 mm 36″ circular knitting needles (flat needles can also be used – make sure they are long enough)
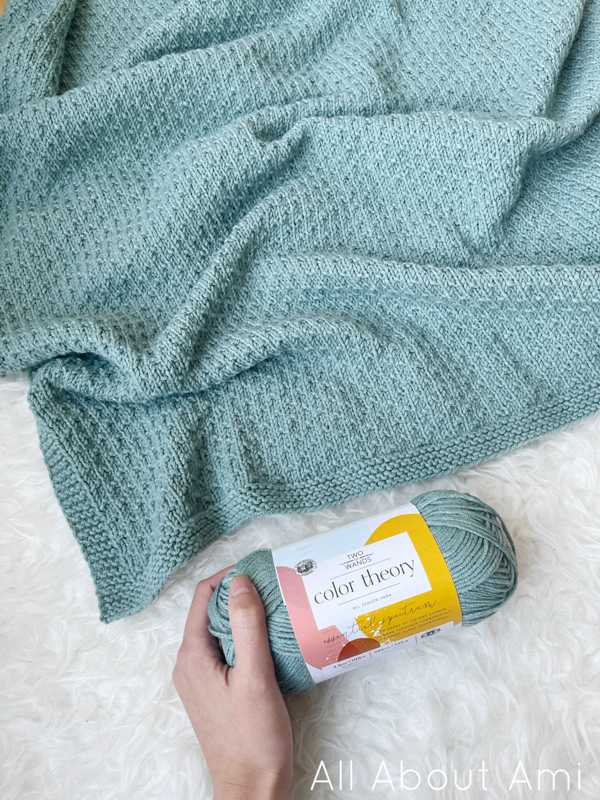
- Color Theory Yarn (worsted weight level 4), 4 skeins (346g/851 yds) – I used the colorway “Tourmaline” – purchase the convenient Lion Brand Yarn kit HERE!
- 2 O-ring stitch markers
- Steamer for blocking (optional)
Gauge: 19 stitches and 28 rows= 4 inches in dot stitch
Final Measurements: Width: 30”/76 cm, Length: 33”/84 cm
Notes:
- This blanket is knit flat in turned rows using the dot stitch, which is worked over four rows. The dot stitch features staggered purl stitches among knit stitches that provide a beautiful texture and dotted look.
- The garter stitch frames the dot stitch, providing a beautiful border that prevents the edges from curling.
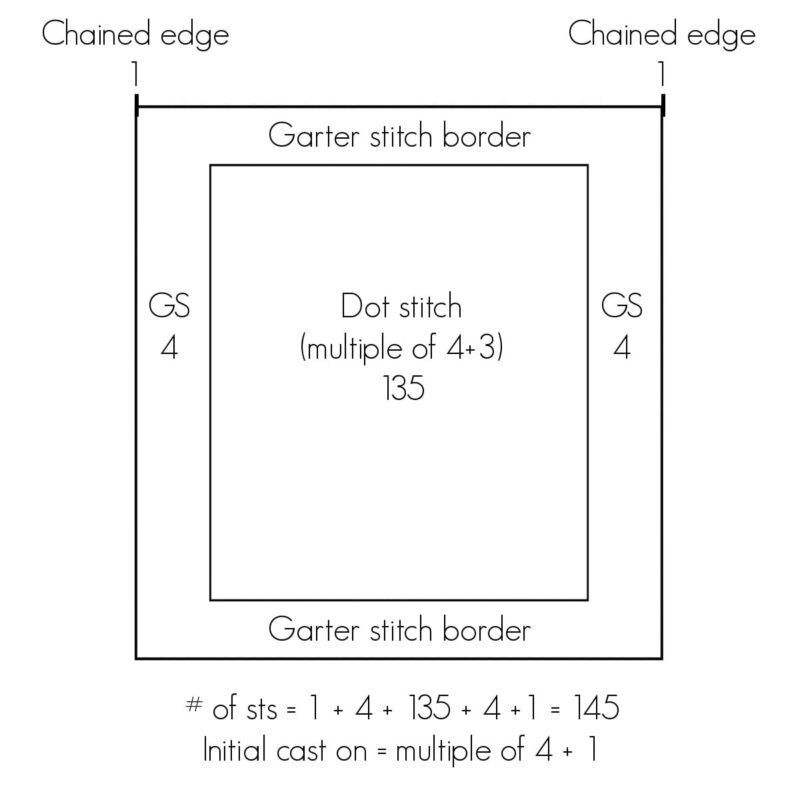
- If you want to make the blanket wider, add more stitches to the initial cast-on. Please refer to the diagram to figure out your initial cast on. You can add more stitches to the dot stitch section (number within the dot stitch section must be a multiple of 4+3), and your overall initial cast-on must be a multiple of 4 +1 (if you are working the chained edges and keep the garter stitch border numbers the same). If you want the blanket to be longer, increase the number of rows.
- You can adjust the size of the garter stitch border if you would like it to be larger and more pronounced. Add more garter stitch rows to the beginning (more than 8 rows) and end (go past R235). Add more stitches to the garter stitch border on the left and right sides as shown in the diagram (the GS section) by increasing the number of stitches you cast on. In this case, your overall initial cast-on does not need to be a multiple of 4+1, but ensure that your dot stitch section in the middle remains a multiple of 4+3.
- To give a cleaner edge to this blanket, the chained edges technique is used. To work these chained edges, do the following: For right side rows, slip the first and last stitch purl-wise with the yarn in front. For wrong side rows, knit the first stitch of the row through the back loop. Knit the last stitch of the row. Check out this YouTube video HERE to see how to work the chained edges!
- Two stitch markers are placed and used to differentiate the middle dot stitch section of the blanket from the left and right garter stitch edges.
- Within the dot stitch section, keep checking to make sure that your purl stitches are lining up correctly.
- In this pattern, all the odd number rows are wrong side rows, and all the even number rows are right side rows.
Abbreviations:
- WYIF = with yarn in front
- BLO = back loop only
- PM = place marker, SM = slip marker
- WS = wrong side, RS = right side
- GS = garter stitch
Number of Stitches:
PATTERN:
Using long tail cast on, cast on 145 sts.
We begin with the garter stitch border:
Row 1 (Wrong Side): Knit first st in BLO. Knit across. (145 sts)
Row 2 (Right Side): Slip first stitch purlwise WYIF. Knit across. Slip last st purlwise WYIF. (145 sts)
R3-R8: Repeat Rows 1 and 2.
We will now move into the dot stitch section. Note that both the left and right sides of the blanket will continue to be framed by the garter stitch. The two stitch markers we will place in the following row will help differentiate the dot stitch section from the garter stitch borders.
R9 (WS): Knit first st in BLO. Knit 4 stitches. Place marker (PM). Purl 135 stitches. Place marker (PM). Knit 5 stitches. (145 sts)
R10 (RS): Slip first st purlwise WYIF. Knit 4 stitches. Slip marker (SM), K1. *P1, K3*, rep from * till last 2 sts before stitch marker. P1, K1. Slip marker (SM). Knit 4 sts. Slip last st purlwise WYIF. (145 sts)
R11: Knit first st in BLO. Knit 4 stitches. SM. Purl 135 sts. SM. Knit 5 sts. (145 sts)
R12: Slip first st purlwise WYIF. Knit 4 sts. SM, K3. *P1, K3*, rep from * till stitch marker. SM. Knit 4 sts. Slip last st purlwise WYIF. (145 sts)
R13-228: Repeat R9 – 12 or until desired length. The last row will be a right side row.
It is now time to finish the garter stitch border of the blanket:
R229 (WS): Repeat Row 1. (145 sts)
R230 (RS): Repeat Row 2. (145 sts)
R231-235: Repeat R1 and R2. (145 sts)
Cast off all stitches knitwise on right side. Fasten off and weave in ends. You can block your final blanket.
********************
Baby blankets are so much fun to knit since they are smaller and work up more quickly compared to afghans or throw blankets! They make such meaningful and special gifts for loved ones who are expecting. I knit this Dotty Baby Blanket as a gift for my nephew, and my sister loves using it as a backdrop for his monthly photos!
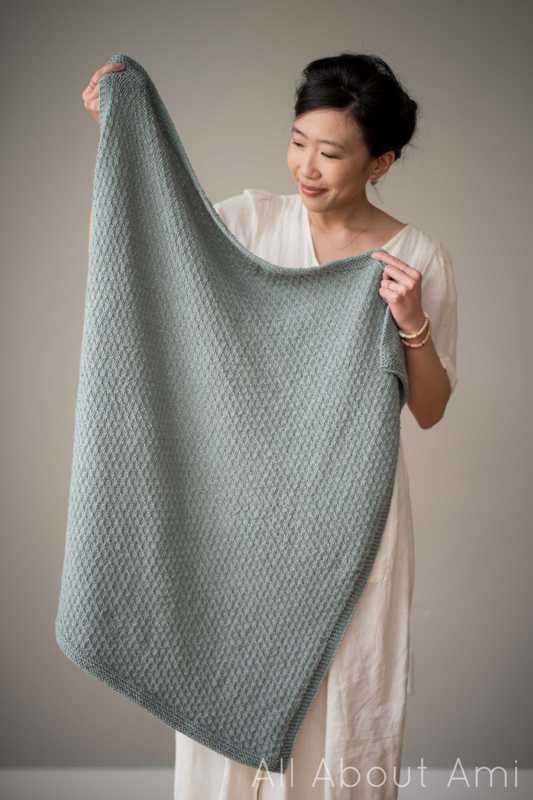
The dot stitch is one of my favorite knit stitches, and once you get into the flow and rhythm of the pattern, it is very relaxing. You can use the previous rows as a guide since you see where to place those special purl stitches that become the dots of the pattern! I brought this blanket along as a travel project when we visited Florida last year. It was the perfect travel project since it did not require much focus, and I could easily put down and pick up the project whenever I needed to. I worked on it at the airport, on the flights and during some down time at the hotel. Perhaps you can work on this same blanket on your future travels as well!
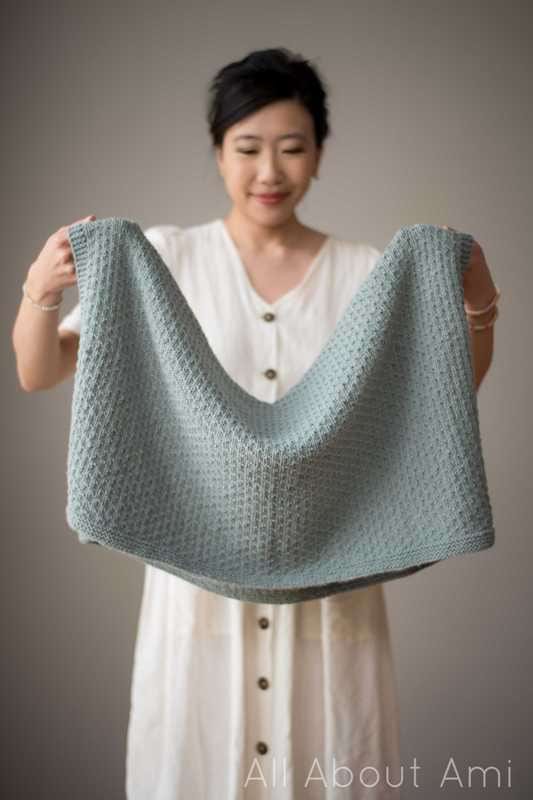
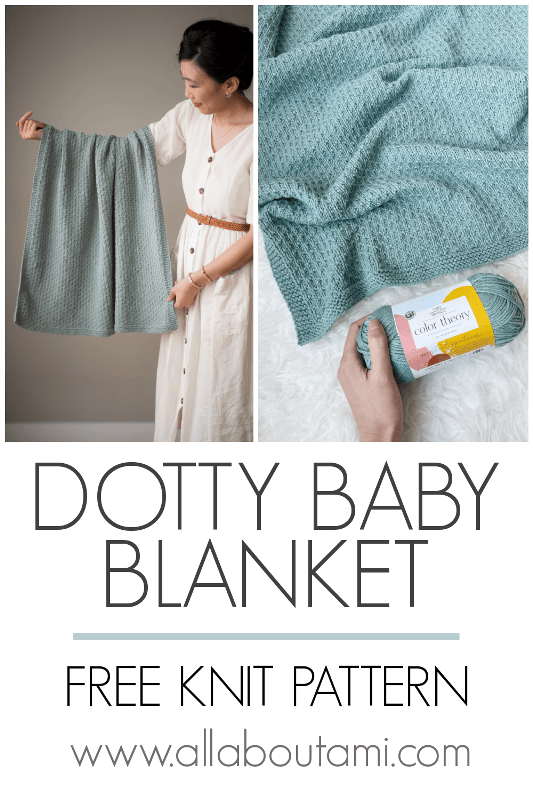
Color Theory yarn is perfect for baby items since it is incredibly soft and machine washable and dryable. There are so many beautiful shades to choose from, and I adore this gorgeous “Tourmaline” color that I chose! Once again, you can find the Lion Brand Yarn kit HERE (choose any color you want)! Thank you for supporting my work, everyone, and I hope you enjoy knitting this baby blanket!
{This post is sponsored by Lion Brand Yarn! I’ve loved working with their yarn throughout the years and I’m thrilled that I get to collaborate with them every month!}
This pattern is an original pattern by Stephanie Lau of All About Ami. Please do not claim this pattern as your own. If you wish to share this pattern, you may link to this pattern but please do not reprint it on your site. You may keep a copy for your own personal use but please DO NOT sell the pattern or distribute it.
You may sell products made from this pattern but please clearly credit the design to me, Stephanie Lau of All About Ami, and provide a link to my blog www.AllAboutAmi.com. Permission is NOT granted for mass production or factory manufacturing of any kind. Thank you for being respectful and for your understanding!
