***You can purchase an INEXPENSIVE AD-FREE PDF of this pattern on Etsy HERE! This beautifully formatted PDF includes the step-by-step pictures and is a total of 4 pages including the cover page.
***This post begins with the step-by-step tutorial: please keep scrolling DOWN for the free crochet pattern with all the written-out numbers!
As soon as my sister told me that she was pregnant with her first baby, I knew I wanted to crochet and knit multiple items for my future niece! It has been a while since I’ve made baby items as our own daughters are now 6 and 8 years old and are well out of the baby, toddler and preschooler phase.
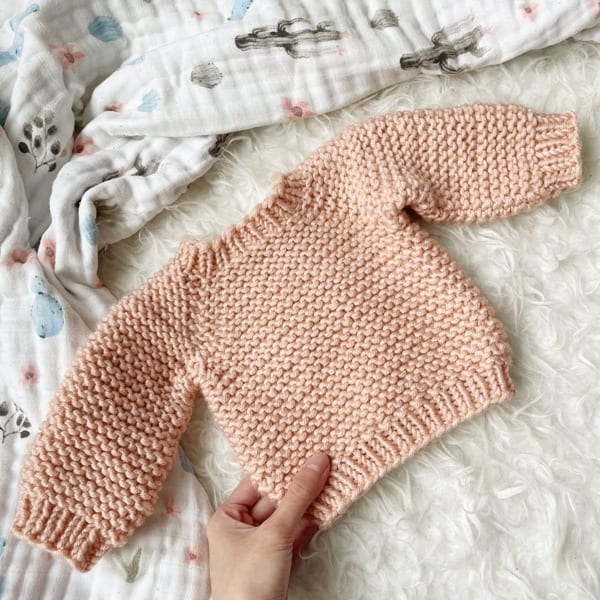
I thought it would be adorable to knit a sweet little raglan sweater for my niece, so I followed Christie Bodden’s “Itty Bitty Raglan” design using Color Made Easy yarn (bulky level 5 yarn, now discontinued). It was fun working up this chunky sweater and I always find the raglan construction so interesting! The pattern for this sweater (available in multiple sizes) can be found HERE. I used this same pattern to knit a tiny sweater for Boucle Bear as well!
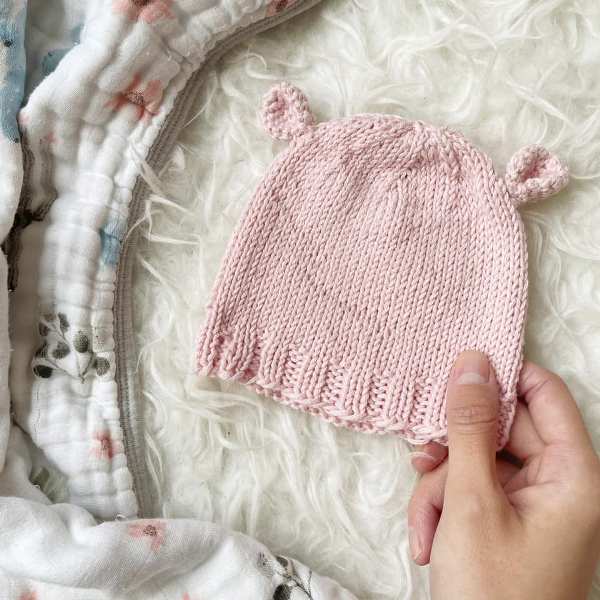
I also knit this little pink newborn hat so that my niece could wear it coming home from the hospital! I used Coboo yarn and it is SO soft and perfect for babies. I added little crochet bear ears and think this hat is very sweet. You can find the free knit pattern for this hat HERE and below you can see my crochet ears pattern:
Using 2.75 mm hook,
Round 1: 6 sc in Magic Ring.
R2: *Inc*, rep 6 times. (12 sts)
R3: *Sc 1, inc*, rep 6 times. (18 sts)
R4-5: Sc 18.
R6: *Sc 1, dec*, rep 6 times. (12 sts)
R7: Sc 12.
Fasten off and leave long end for attaching. Pinch ears towards bottom and attach to hat. If you are looking for some crochet baby hat patterns, check out my post HERE!
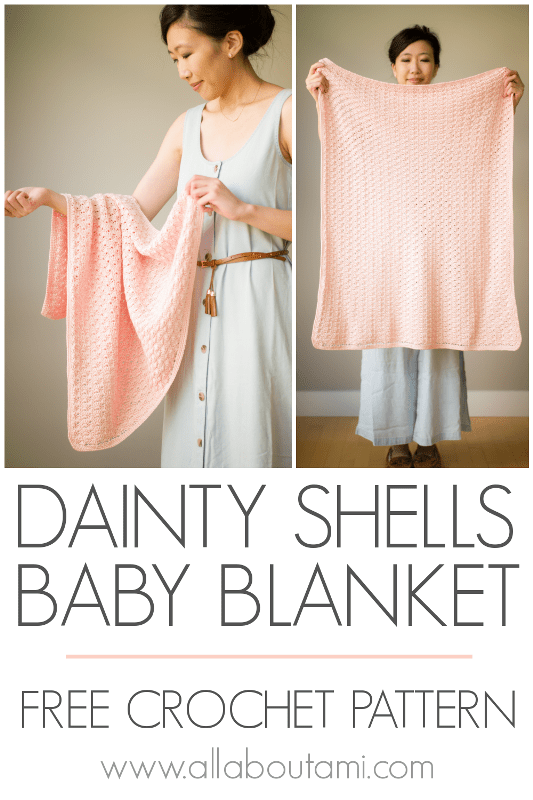
I was very excited to crochet a baby blanket for my niece, and I had visions of a very delicate and elegant pink blanket. I decided to use Lion Brand Yarn’s Nuboo yarn in the Blush shade since it is so incredibly soft. Note that the website classifies it as a level 4 worsted weight yarn, but it is much closer to a lightweight level 3 yarn, similar to Coboo or Truboo (you could interchange these yarns in this pattern).
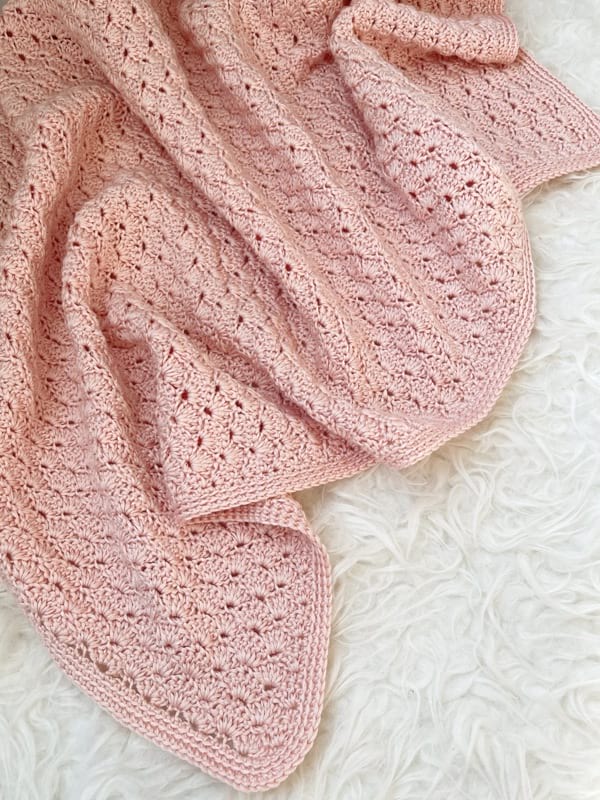
I have always loved the beautiful crochet shell stitch as it provides lovely texture and is very addictive to work up since it consists of peaks and valleys. Each peak of the shell stitch is worked in the valley of the previous row, and vice versa. I previously used this stitch in my Regency Reticule and Amigurumi Pineapple Purse! If you would like to see the crochet shell stitch in action, check out this video HERE!
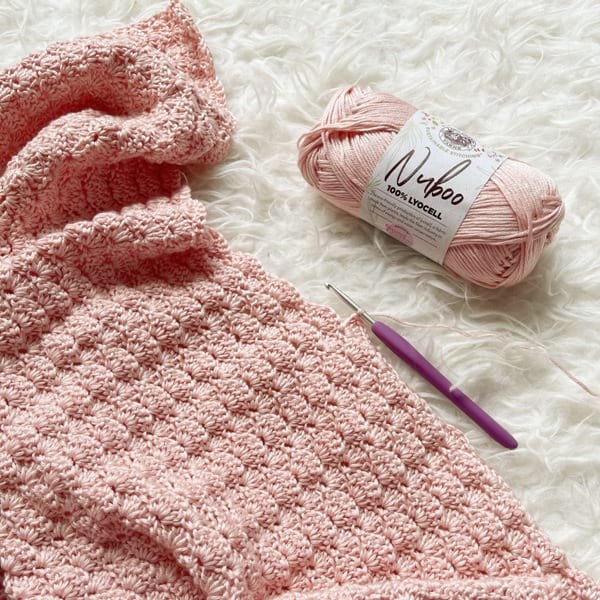
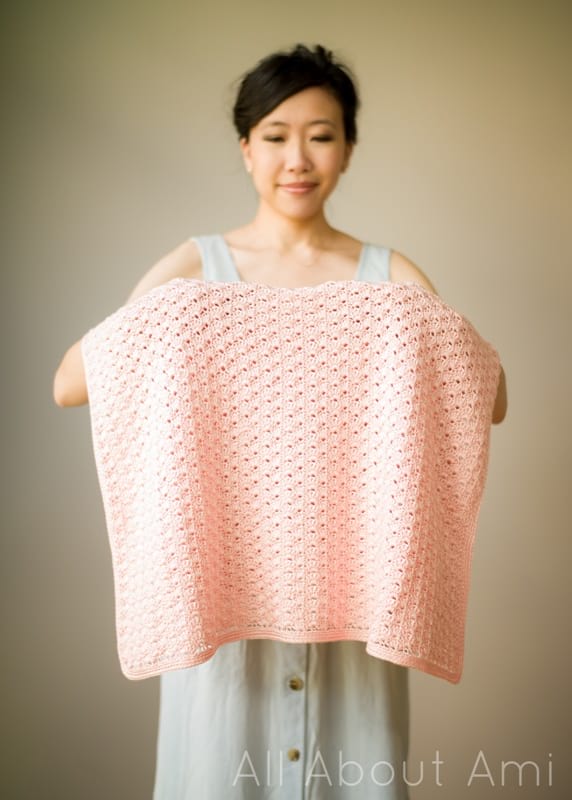
Doesn’t the shell stitch look gorgeous worked up in this Nuboo yarn in the Blush shade? The stitch definition is so lovely!
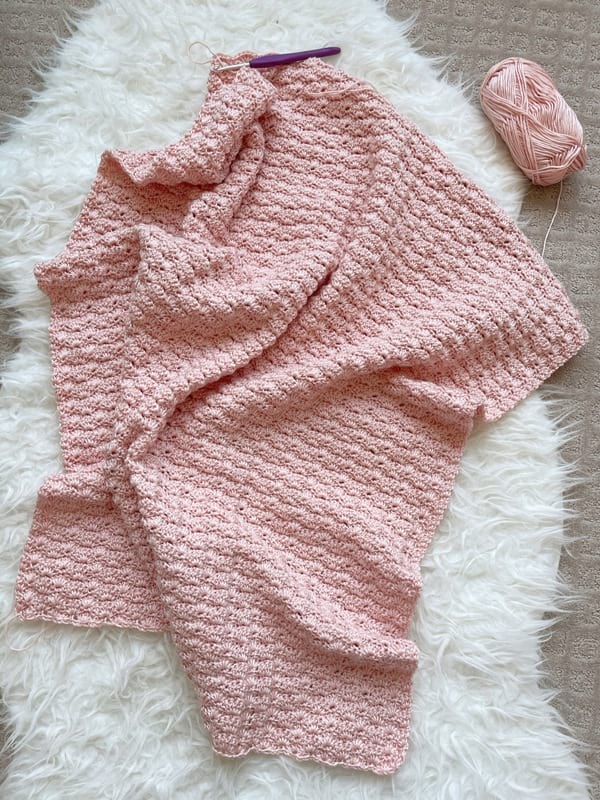
After I was happy with the length of the blanket, I worked one row to smooth the top edge so that the scalloped edge of the shell stitch became flat.
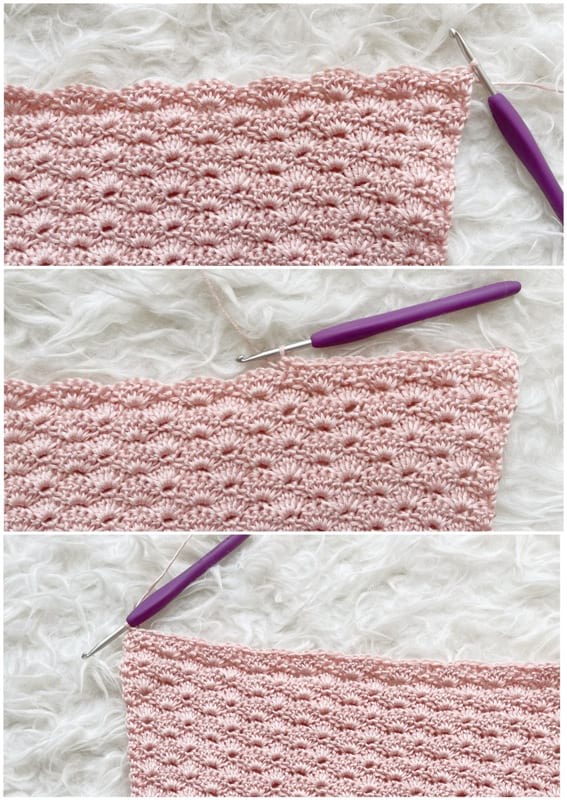
Next, I worked a delicate border around the perimeter of the blanket. To prevent the corners from curling up, I worked some increases in these corner stitches. I steam blocked the baby blanket before and after adding the border, and it makes a big difference as it helps define and smooth the stitches out!
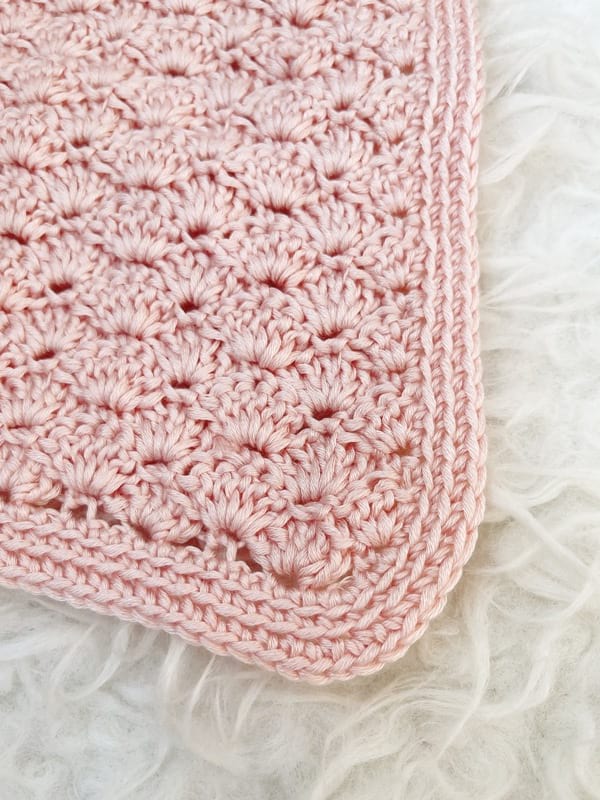
I think this delicate border frames the dainty shell stitches beautifully! At first I was thinking of working a picot border, but I felt that it competed with the shell stitch. I love the delicate and solid lines surrounding the romantic shells!
******************************
Here is the free crochet pattern for the “Dainty Shells Baby Blanket“:
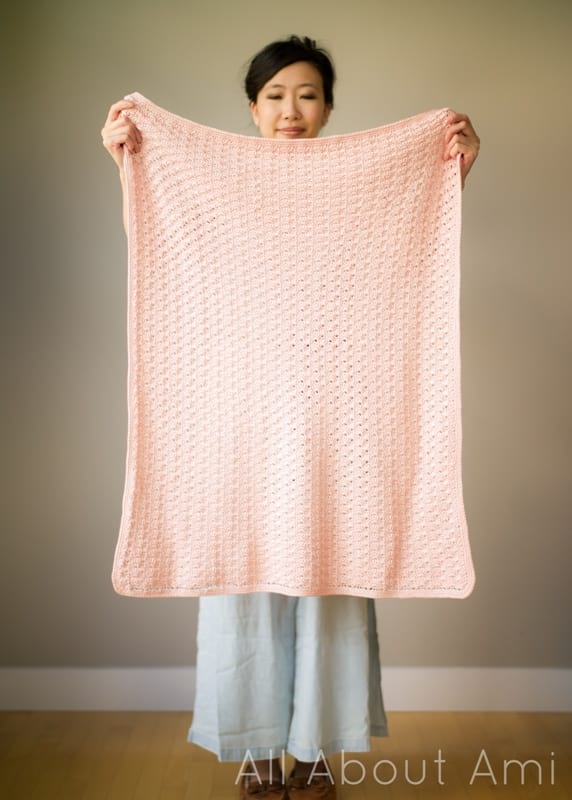
Crochet this beautiful baby blanket using delicate shell stitches with a crisp border! This blanket has lovely texture and is a dream to work up!
Materials:
- Nuboo Yarn (classified as worsted weight level 4 on website but much closer to a lightweight level 3 yarn); I used 7 skeins in “Blush” (note that each skein of Nuboo is 85 g/157 yds); I used a total of 595 g/1100 yds. Coboo or Truboo would work as substitutes.
- 4 mm Clover Amour hook
- Bent tip tapestry needle
- Steamer for blocking
Gauge: 3.25 shells and 11.5 rows = 4″/10 cm
Final Dimensions: 28″/71 cm x 34″/86 cm
Notes:
- This beautiful and delicate baby blanket is worked in turned rows.
- The elegant shell stitch is used, which consists of peaks and valleys. It is an addictive and relaxing stitch since the peak of a shell stitch in the current row is worked in the valley of the previous row, and vice versa.
- If you would like to see a video tutorial of the shell stitch, please watch this video HERE.
- After achieving the desired length of the blanket, one row is worked to smooth the top edge of the rectangle so that the scalloped edge of the shell stitches becomes flat.
- A border is worked around the perimeter of the blanket to finish it off.
- To increase or decrease the width of your blanket, adjust your initial chains, ensuring that your number is a multiple of 6 +2 (e.g. 62, 92, 152, etc).
- To increase or decrease the length of the blanket, do fewer or more rows of shell stitches. End off on a Row 2 repeat if you would like to follow my pattern for smoothing the top edge.
- Block the blanket to help smooth and define the stitches more.
Abbreviations/Special Stitches:
- Shell: Work 5 double crochets in designated st.
- Increase: Work 2 single crochet stitches in next st (stitch count goes from 1 to 2).
PATTERN:
Chain 140
Row 1: Work one single crochet in 2nd chain from hook. *Skip 2 chains, work shell in next chain, skip 2 chains, sc in next ch*, rep everything within brackets across. (23 shells)
Row 2: Chain 3 (counts as dc throughout), turn. 2 dc in same sc. *Skip 2 dc, sc in next dc, skip 2 dc, shell in next sc*, rep across until last shell of previous row. Skip 2 dc, sc in next dc, sk 2 dc, work 3 dc in last sc.
Row 3: Chain 1, turn. Sc in first dc. *Skip 2 dc, shell in next sc, skip 2 dc, sc in next dc*, rep across [note that the very last sc of Row 3 is worked in turning chain].
R4-94: Repeat Rows 2 and 3.
We will now smooth the top edge of the blanket so that the scalloped edge becomes flat.
Row 95: Chain 1, turn. Starting in second st from hook, sl st 2, sc 1, hdc 1. *Sc, sl st 3, sc, hdc* across until 3 sts remain including turning chain. *Sc, sl st 2* in last 3 sts (last st is worked in turning chain). Do not cut the yarn.
Block blanket with steamer to smooth the stitches.
We will now work a delicate border around the rectangle. Note that we are now working in continuous rounds. Start in top left corner, work down the length of the blanket, across the bottom, up the other length of the blanket, and then across the top.
Border:
Round 1: Sc around, working 3 sc in each corner st.
Round 2: Sc in back loops only around.
Round 3: Sc in back loops only around. Work 3 increases in 3 stitches of each corner (Locate the 3 stitches that define each of the 4 corners. Work an increase stitch in each of these 3 stitches, e.g. Sc, sc, Increase, Increase, Increase, sc, sc).
Fasten off and weave in ends. Block the final blanket.
******************
The Dainty Shells Baby Blanket is such a delicate and beautiful blanket! My sister’s eyes lit up as soon as I gifted this handmade blanket to her during her baby shower!
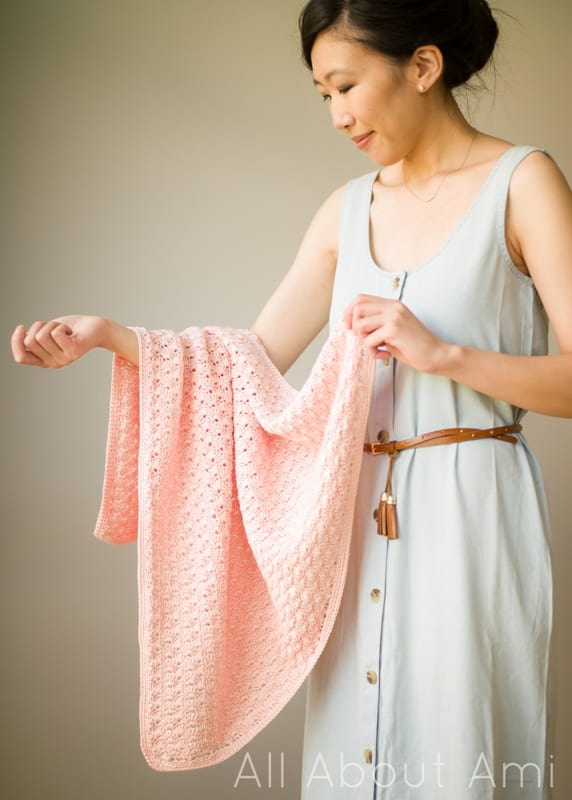
The texture is incredible, and I think it’s amazing how shell stitches stacked upon one another give such a beautiful overall effect! I love how shell stitches are so easy to work up as well!
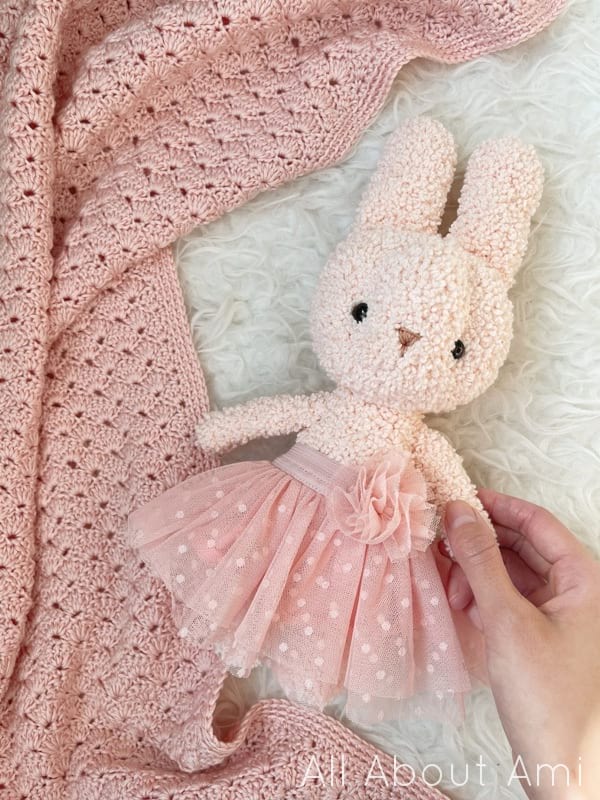
How sweet would it be to pair this baby blanket with Rosie, our Boucle Bunny? A handmade blanket gifted with a handmade stuffed animal would be so special as both would be loved for years to come. You can check out the free Boucle Bunny crochet pattern HERE!
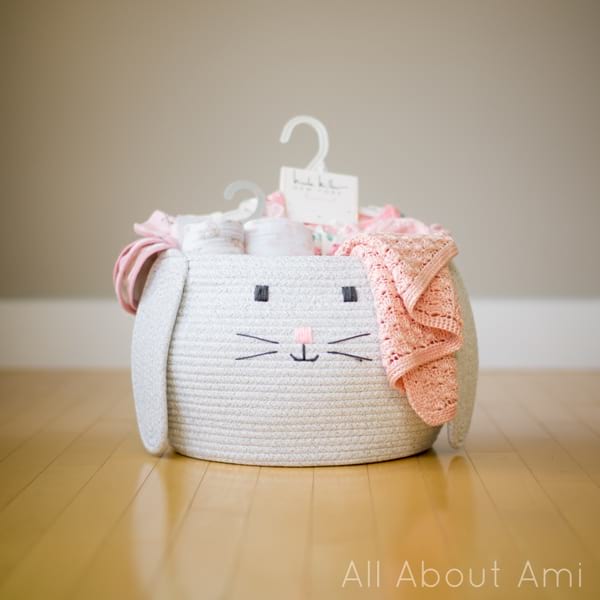
Here is another gifting idea! We found this adorable bunny basket and filled it with goodies such as swaddle blankets, onesies, bibs, headbands, books and toys. Of course, you could also crochet your own basket as well – my most popular crochet basket design is the Waistcoat Basket. I love gifting items in baskets since the recipient can not only use the items in the basket, but also the basket itself for storage! This bunny basket is perfect for storing little socks, bibs and blanket, and you can see the Dainty Shells Baby Blanket peeking out of it!
Enjoy crocheting your own dainty blankets using the shell stitch! If you would like to see the other blankets I crocheted using worsted weight yarn for my own daughters, you can check out the “Bold and Bright Chevron Baby Blanket” and the “Granny Square Baby Blanket“. It is so special how we can create these beautiful baby gifts for our loved ones!
Note: Thank you to Lion Brand Yarn for providing the yarn in this project!


