***You can purchase an INEXPENSIVE AD-FREE PDF of this pattern on Etsy HERE and on LoveCrochet HERE! This beautifully formatted PDF includes the step-by-step pictures and pattern and is a total of 3 pages including the cover page! This pattern is also available in the “Crochet Cowls & Scarves PATTERN BUNDLE” which includes over 20 beautiful designs at a discounted price – check out the bundle HERE! Lion Brand Yarn has made a convenient kit HERE that includes the pattern and all the Vel-Luxe yarn needed to make this soft and luxurious scarf!
I love soft yarns that feel incredible against the skin, and Lion Brand Yarn’s new “Vel-Luxe” yarn is no exception! This new yarn is 100% polyester chenille yarn and is classified as a level 4 worsted weight yarn. It is available in 6 sophisticated colors, and each cake is a generous size with 246 yards/150 grams. I was immediately impressed by its softness as soon as I felt it, and I knew I wanted to design a wearable item with it such as a cowl so that it could drape around my neck! This gorgeous “Dusty Pink” jumped out at me right away as I love this beautiful shade!
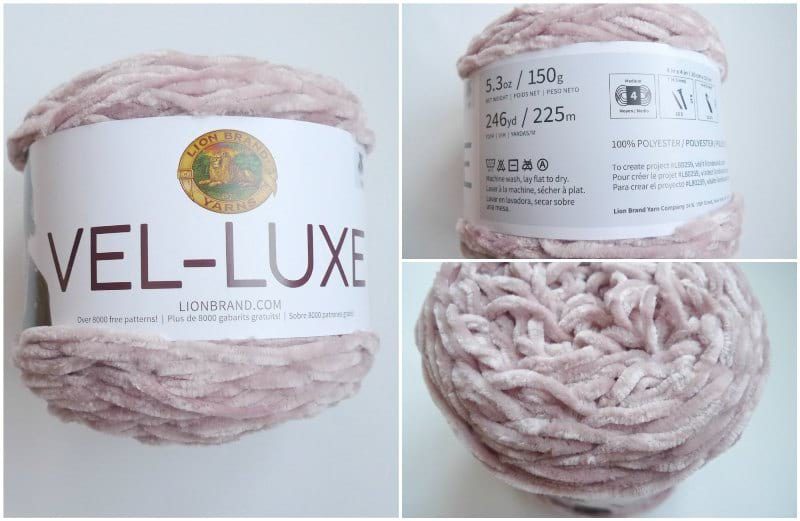
I decided to hold two strands of yarn together to get a bulkier look! I worked a series of chain stitches with my Clover Amour 10 mm hook and then did one round of single crochets.
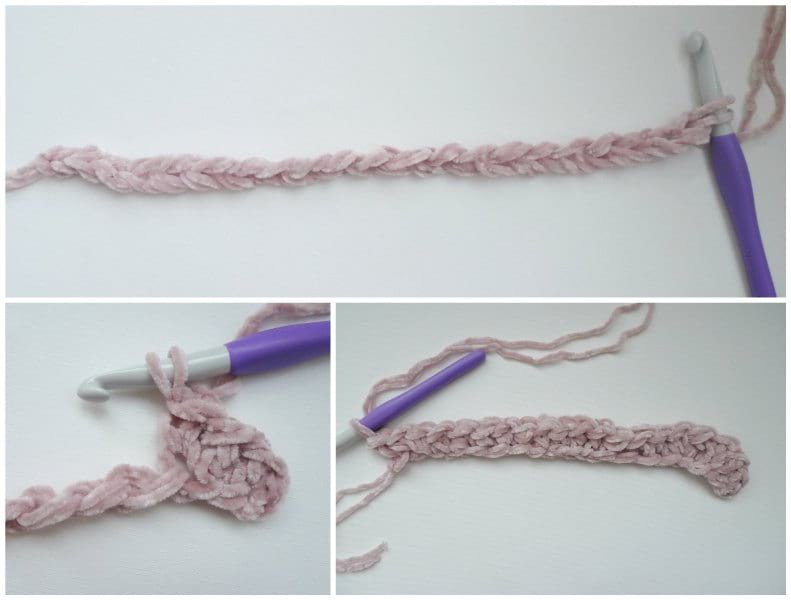
On the subsequent row, I then slip stitched loosely across.
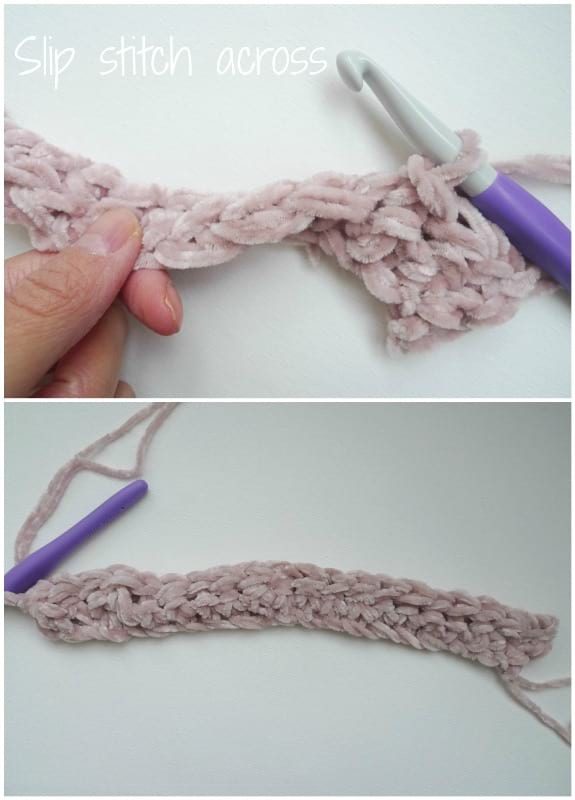
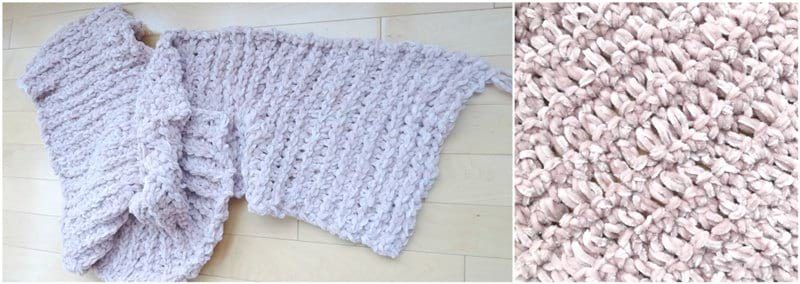
This is where the magic happens: I then single crocheted across those slip stitches from the previous row! Working those slip stitches builds a layer upon the first row of single crochets. When I then single crochet in those slip stitches, it leaves the “V’s” of the first single crochets untouched, allowing them to show through. This creates a beautiful ribbing!
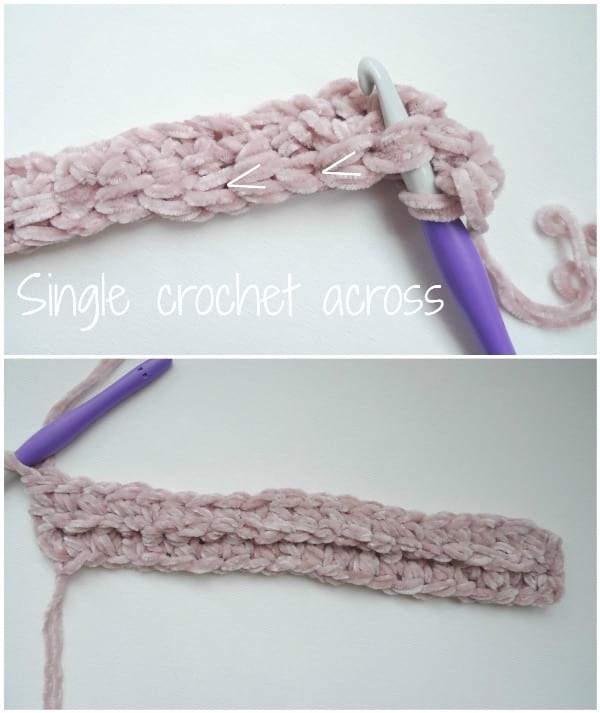
I kept repeating this pattern, alternating rows of slip stitches with rows of single crochets. If you ever forget what stitches you are supposed to be doing, remember this hint: the ribbed side is the single crochet side (odd rows – left in pic below) while the unribbed side is the slip stitch side (even rows– right in pic below).
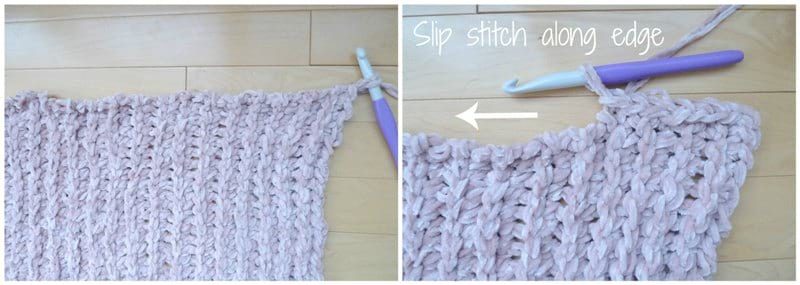
Once I was happy with the length of my cowl, it was time to smooth out the edges. I worked slip stitches along the entire side edge.
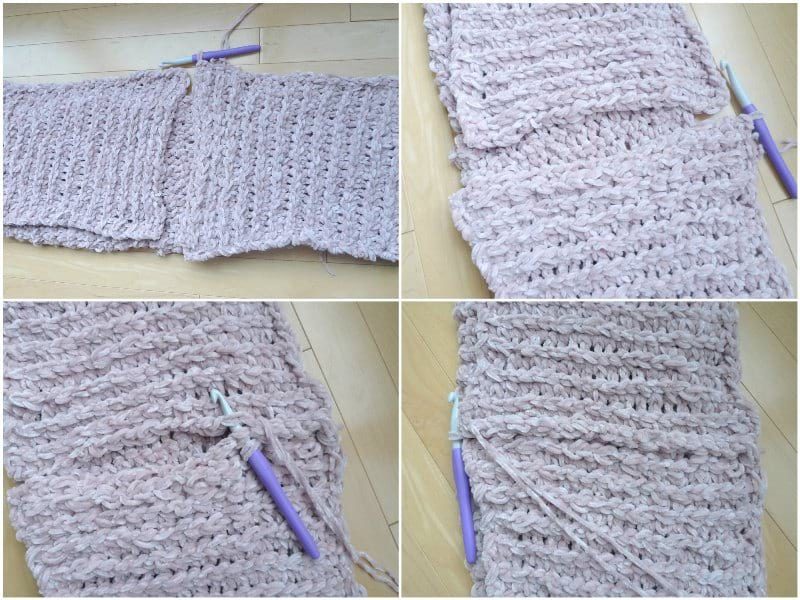
Once I completed working the slip stitches along one side, it was then time to seam the short edges of my cowl together with slip stitches.
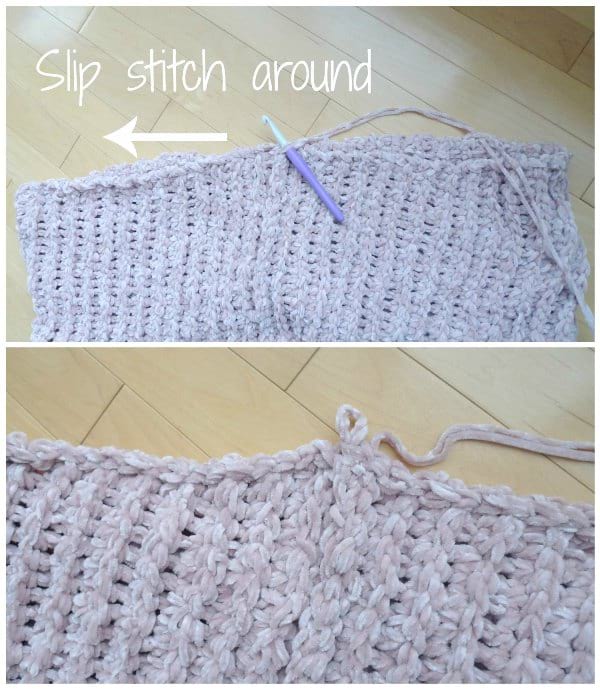
Then, I worked slip stitches around the other edge of the cowl to smooth out that side!
***********************
Here is the free pattern for my Crochet Velvet Ribbed Cowl:
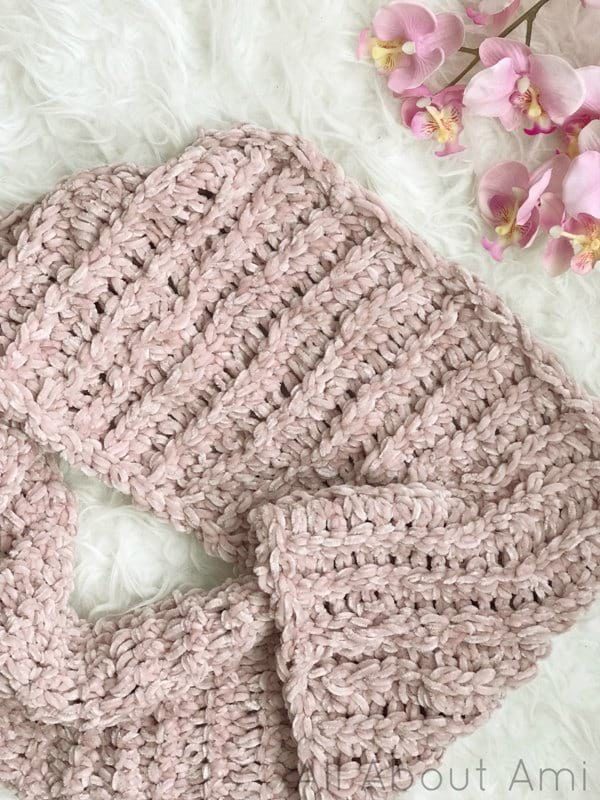
Materials:
- 2 skeins of Vel-Luxe Yarn by Lion Brand Yarn in “Dusty Pink” (level 4 worsted weight yarn)
- 10 mm Clover Amour crochet hook
- Bent tip yarn needle
- Stitch markers
Notes:
- We will be holding two strands of Vel-Luxe Yarn together at the same time when we crochet this cowl.
- The ribbing design is created by alternating rows of single crochets with rows of slip stitches.
- Work slip stitches loosely, otherwise your piece will shrink.
- If you forget where you are, remember that even rows are slip stitch rows and odd rows are single crochet rows. The ribbed side is the single crochet (odd row #) side.
- This cowl is worked in turned rows as we build up the length.
- To create a smooth edge, slip stitches are worked up the right side of the length. Then, the scarf is joined into a cowl/circle by slip stitching the short ends together. Lastly, slip stitches are worked along the other long edge to smooth out the other side.
- Try to keep consistent tension (it can take a couple of rows before you get comfortable and even tension). Velvet yarn is “slippery” so extra yarn/loops from uneven tension may pop out- this can be remedied by keeping even tension.
Gauge: 9 sts and 7 rows of ribbing pattern = 4″
PATTERN:
Holding two strands of yarn together,
Chain 21.
Row 1: Starting in second chain from hook, single crochet across. (20 sts)
Row 2: Chain 1, turn. Slip stitch in each single crochet across. (20 sts)
Row 3: Chain 1, turn. Single crochet in each slip stitch across. (20 sts)
Row 4-111: Repeat Rows 2 and 3.
Resultant scarf is 9.5″ wide and 57″ long. Do not cut yarn. We will now be smoothing out the edges.
Slip stitch loosely along right side/edge of scarf when single crochet side is facing you.
Fold scarf into a circle. Slip stitch short ends together: insert hook into stitch from one side of scarf and into stitch from other side of scarf, yarn over, pull through all loops. Repeat across to seam ends together.
Lastly, slip stitch across other long edge to smooth over. Fasten off and weave in end.
Finished dimensions: 9″/23 cm wide, 70″/178 cm long
**********************
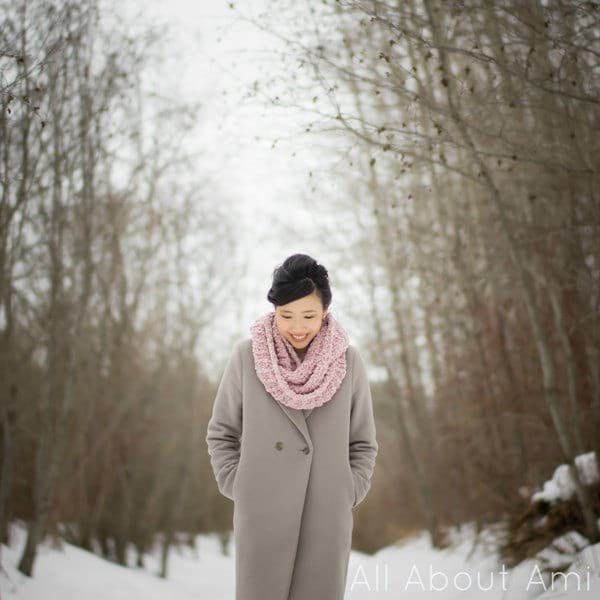
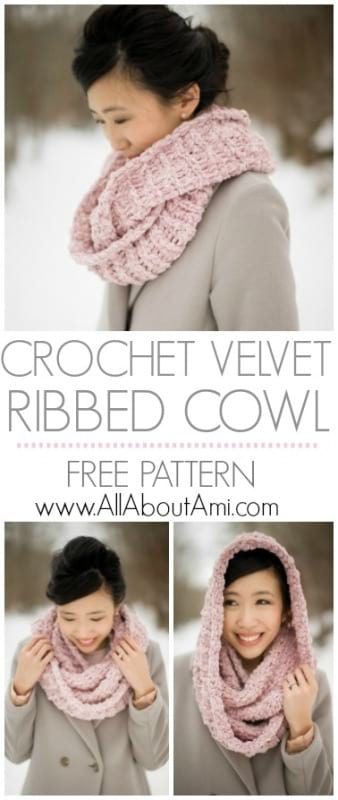
This Velvet Ribbed Cowl feels AMAZING when worn as it is so incredibly soft against the neck and face!
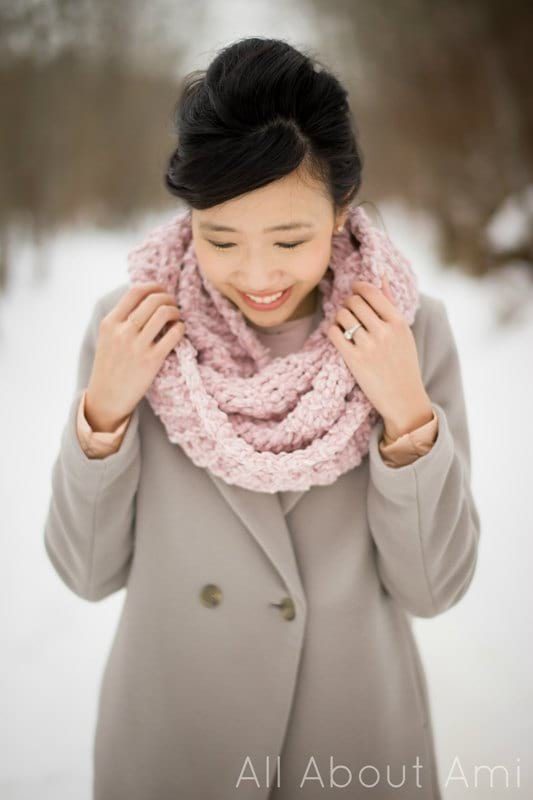
I adore how it loops and folds, and it has such an elegant and sophisticated look! Don’t you love that ribbing?
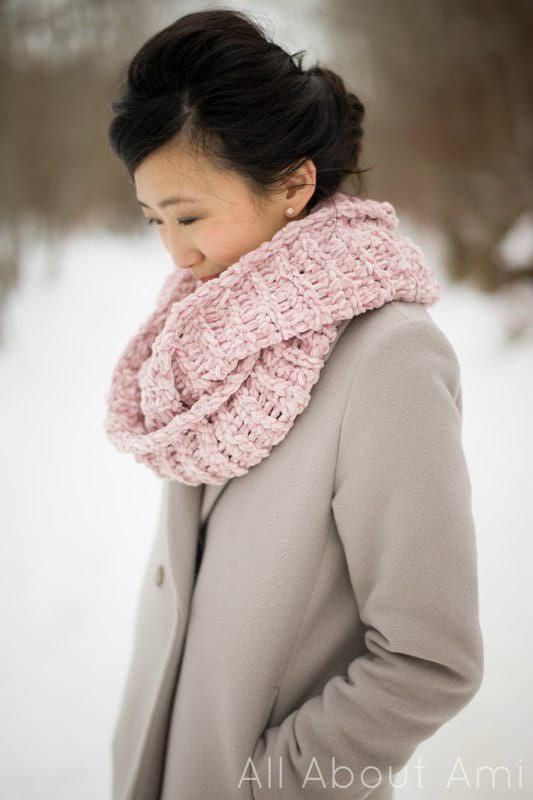
On extra cold days, you can pull the scarf over your head as a hood too! I loves cowls that can function as snoods too, providing warmth and comfort for both the neck and head!
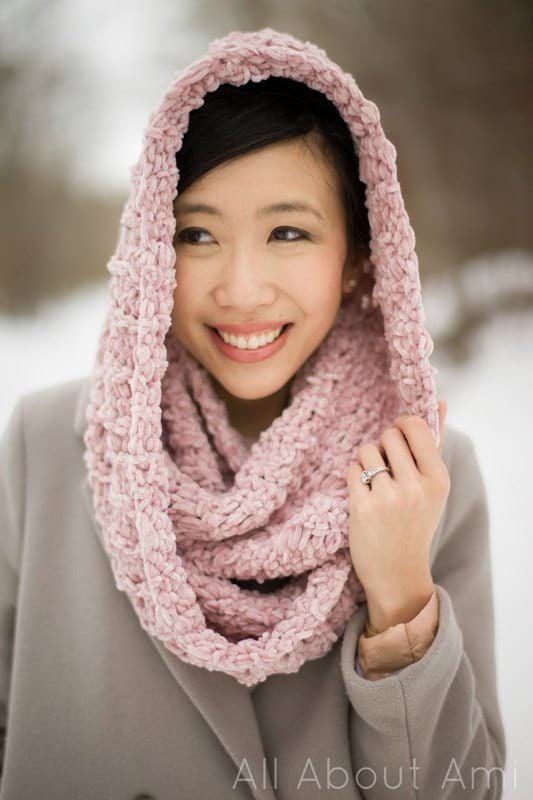
Adding a cowl to any outfit immediately adds a stylish and warm touch, and I hardly go outside nowadays without wearing one! This Velvet Ribbed Cowl is so easy to throw on and will quickly become your go-to cowl!
My popular Triple Luxe Cowl from years ago is still one of my favourites, and I love how those stockinette-like stitches were created horizontally while worked in the round. I always wanted to create a similar look but in turned rows, and I am so glad I could try it out with this Velvet Ribbed Cowl! It has a knit-look to it, and works up extremely quickly since you are holding two strands of yarn together and using such a large crochet hook! I hope you will give this design a try, especially if you have been wanting to try out this new velvet yarn! You can subscribe to my e-mail newsletter HERE to stay up to date with my work, and don’t forget you can snag the Lion Brand Yarn kit HERE too!
This pattern is an original pattern by Stephanie Lau of All About Ami. Please do not claim this pattern as your own. If you wish to share this pattern, you may link to this pattern but please do not reprint it on your site. You may keep a copy for your own personal use but please DO NOT sell the pattern or distribute it.
You may sell products made from this pattern but please clearly credit the design to me, Stephanie Lau of All About Ami, and provide a link to my blog www.AllAboutAmi.com. Permission is NOT granted for mass production or factory manufacturing of any kind. Thank you for being respectful and for your understanding!
