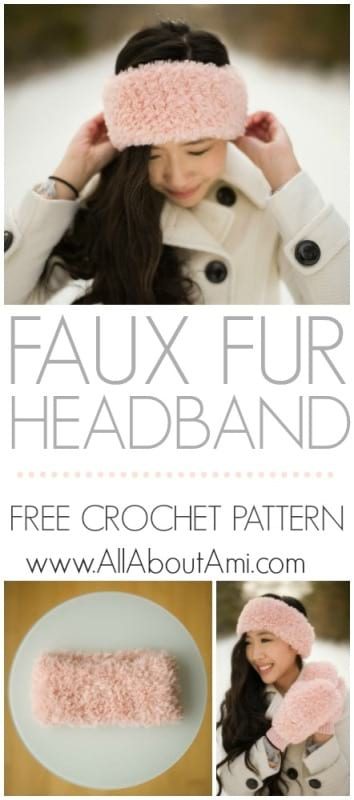
***You can purchase an INEXPENSIVE AD-FREE PDF of this pattern on Etsy HERE and LoveCrochet HERE! This beautifully formatted PDF includes the step-by-step pictures and the patterns for BOTH the Crochet Faux Fur Mittens AND Faux Fur Headband! The PDF is a total of 6 pages including the cover page! Lion Brand Yarn has put together a convenient kit HERE that contains all the yarn needed to make the mittens and headband along with the patterns, and it comes in three different colour options: pink, grey and white!
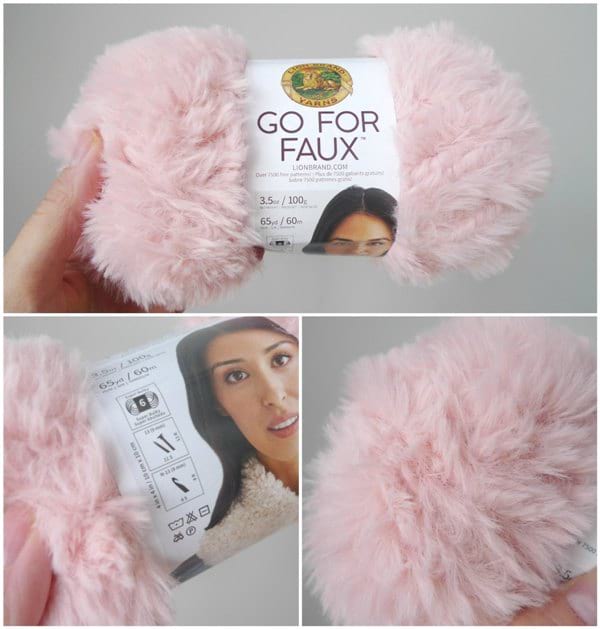
After crocheting my fluffy Faux Fur Mittens, I wanted to design a beautiful matching headband since I had so much “Go For Faux” yarn leftover! Go For Faux by Lion Brand Yarn is a super bulky level 6 yarn that is 100% polyester. It is incredibly soft, and I am smitten with this lovely pale pink called “Pink Poodle“!
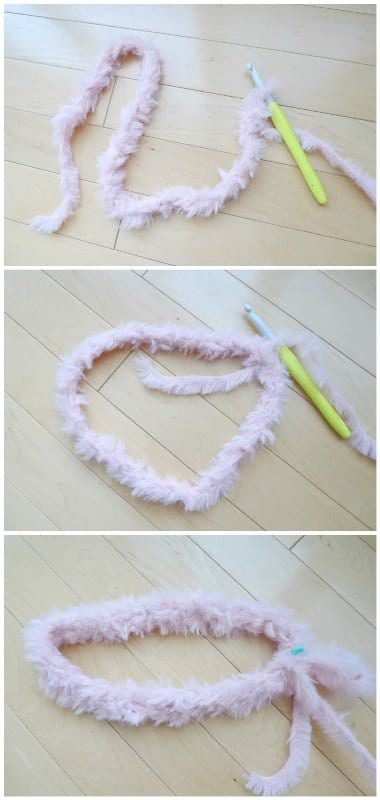
To begin, I worked a series of chain stitches with my 8 mm hook. Next, I formed a ring by slip stitching to the first stitch. I then worked single crochets in the subsequent round.
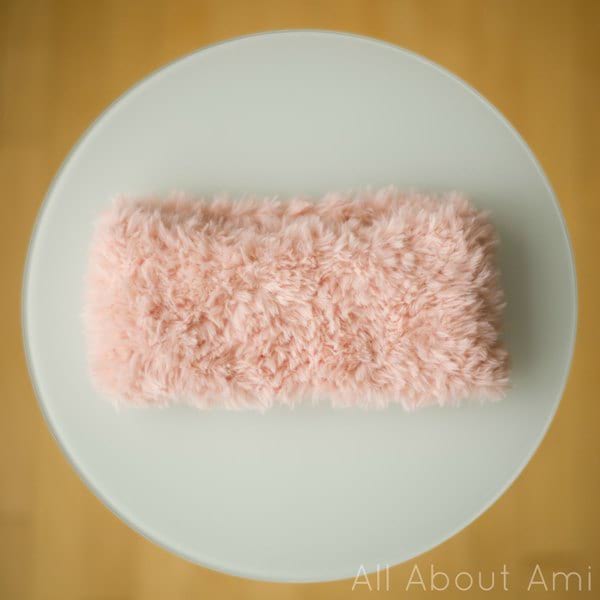
I continued crocheting in continuous rounds, and voila- my headband was complete in no time! Don’t you love a quick and easy project that looks stunning? Note that technically the “wrong” side of fluffy yarn is fluffier when working in the round, so I flipped my headband inside-out when I was done!
*************************
Here is the free pattern for my Crochet Faux Fur Headband:

Materials:
- Go For Faux Yarn in “Pink Poodle” by Lion Brand Yarn (super bulky level 6), ~70 grams
- 7 mm Clover Amour crochet hook
- Clover lock ring stitch markers
- Yarn needle
Notes:
- Faux fur yarn can be challenging to work with: you cannot see individual stitches, so you will need to FEEL for the next stitch when you are moving your crochet hook into the next stitch.
- Be patient and go slowly- it is imperative that you use a stitch marker to indicate the beginning or end of the round so you can space out your stitches correctly and have a reference point. For example, if the round has 38 stitches, I know I should have 19 stitches by the time I am halfway across my stitch marker.
- Keep track of your rounds in some way (e.g. write them down on a piece of paper or on your phone as you complete them) as it is hard to remember where you are if you need to put down your project and pick it back up again.
- When working with fluffy yarn, the WRONG side tends to be fluffier, so we will have this side be the outside of the headband that is seen. We will work the headband as normal (working clockwise) and then flip the headband inside-out at the very end. Please reference my blog post entitled “The Right Side of Amigurumi” to read about the right versus wrong side of crochet when working in a round.
- We will be working in continuous rounds so there is no seam (no need to slip stitch at end to join rounds).
Gauge: 7 sts and 8 rows = 4”
PATTERN
Chain 38. Slip stitch to join in round to form a ring/circle.
Round 1: Chain 1, single crochet in same stitch. Single crochet around. (38 sts).
Round 2: Single crochet around. (38 sts)
Rounds 3-10: Repeat Round 2.
Slip stitch to next stitch and fasten off. Weave in end.
Flip inside out so fluffy side is outside.
Final Dimensions: 5”/12.7 cm tall, 10”/25.4 cm across (when flat), 21”/53 cm circumference
*********************
My Crochet Faux Fur Headband is soooo cute, and it feels like a fluffy cloud is hugging your head when you wear it!

The faux fur headband and mittens make such a perfect set! What a way to add some whimsy to the winter! My Crochet Faux Fur Mittens pattern can be found HERE!
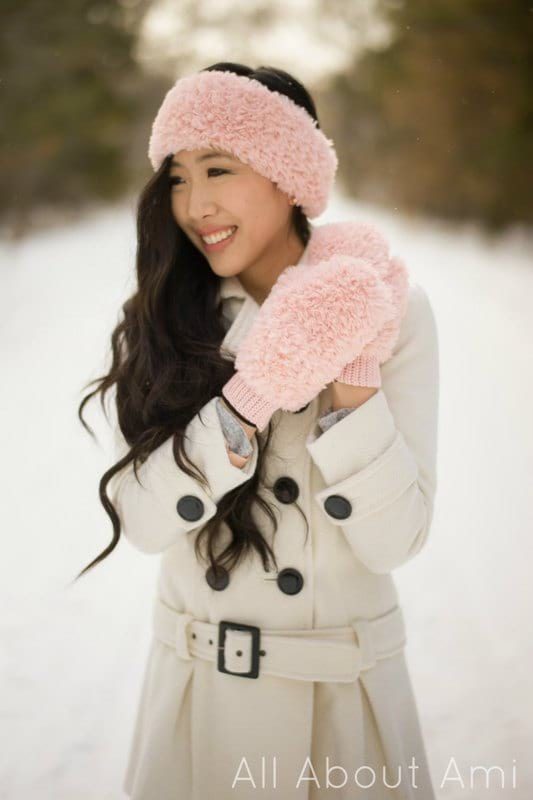
Lion Brand Yarn has put together a convenient kit that contains all the yarn you need to crochet your own fluffy mittens and headband set too! Snag the kit HERE!
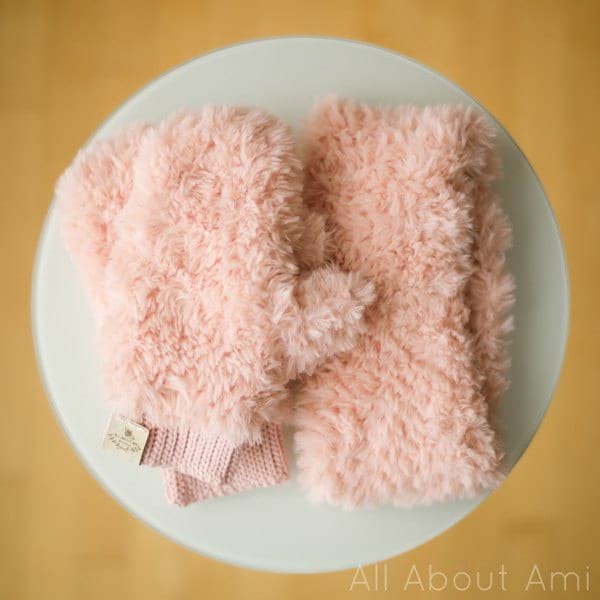
As long-time readers of my blog know, I am a huge fan of headbands, and I am so glad I can add another one to my collection! This Faux Fur Headband has such a different look to it, and it can be worn with your hair up or down! Thank you for reading, and once again, the free Faux Fur Mittens Pattern can be found HERE! Happy crocheting!
