***You can purchase an INEXPENSIVE AD-FREE PDF of this pattern on Etsy HERE and on LoveCrochet HERE! This beautifully formatted PDF includes the step-by-step pictures and ALL 3 PATTERNS to make the Square, Rectangular and Circular Carry-All Trays (total of 9 pages including the cover pages)! Lion Brand Yarn has made a convenient kit HERE that includes the patterns and all the Rewind yarn needed to make a set of trays (kit contains 3 skeins of Rewind yarn so you can make 2 Square Carry-All Trays, 1 Rectangular Tray, and 1 Circular Tray).
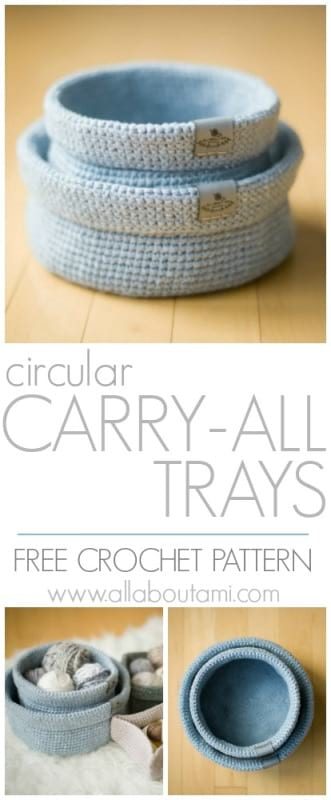
***Note that this is the free pattern for the CIRCULAR CARRY-ALL TRAY!
- The free pattern for the Square Carry-All Tray can be found HERE.
- The free pattern for the Rectangular Carry-All Tray can be found HERE!
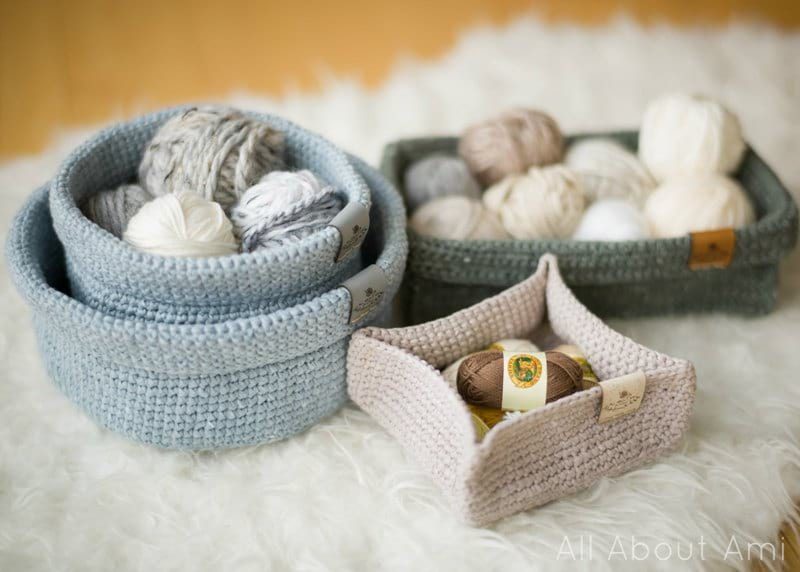
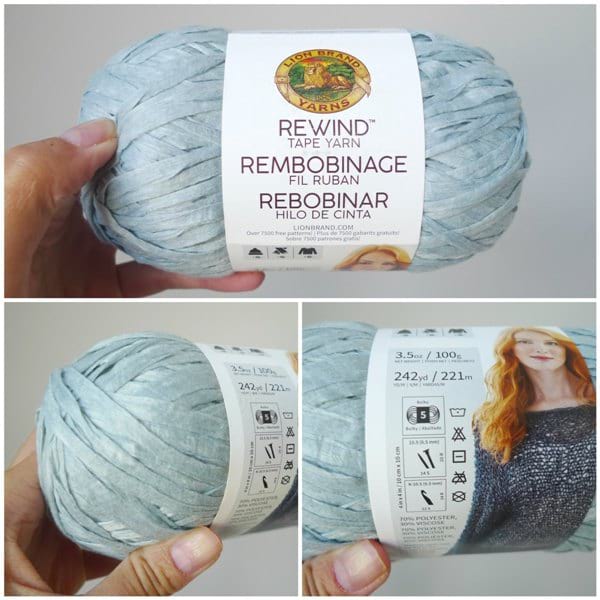
I love having various storage options in my home, and I’ve crocheted many baskets throughout the years! I have always wanted to make a set of carry-all trays to hold smaller items that frequently get lost and to help keep my counter space more organized. Once I saw and felt the beautiful Rewind Tape Yarn by Lion Brand Yarn , I knew that this would be the perfect yarn to create a set of carry-all trays with its unique texture and amazing stitch definition. It is a level 5 (bulky) yarn that is 70% polyester and 30% viscose.
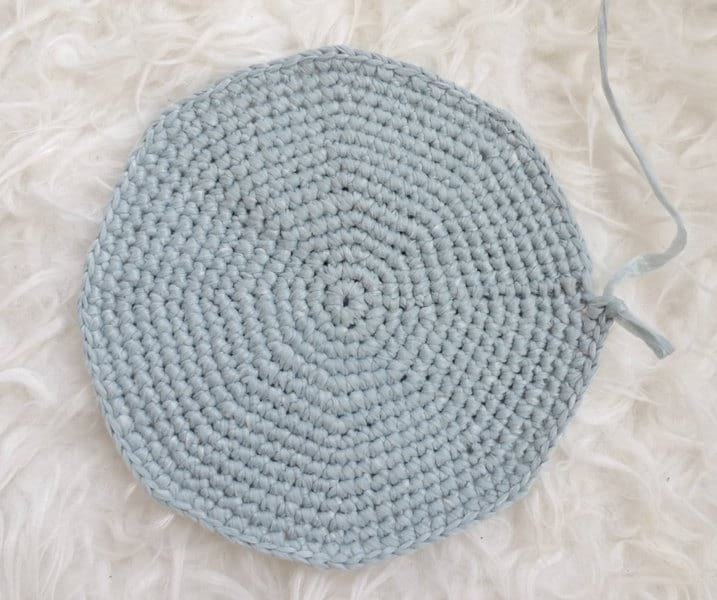
To begin the Circular Carry-All Tray, work the flat base in joined rounds, increasing as you go so that the base expands outwards while remaining flat.
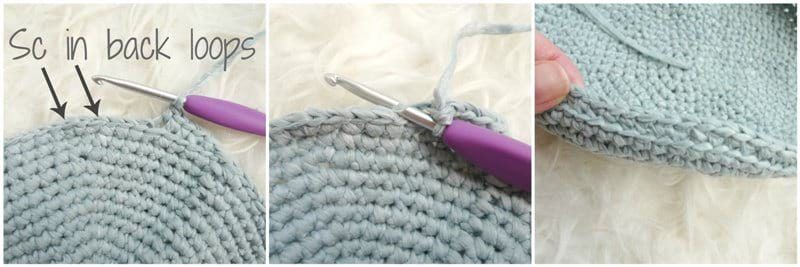
Next, it is time to start building up the height of the circular tray. To help create a clear border or edge to distinguish the base of the tray from the height of the tray, work single crochets in the back loops only (the loops further away from you). This leaves the front loops untouched so that they create a beautiful edge.
There is no more increasing at this point, so you continue working the same number of stitches round by round to build up the height.
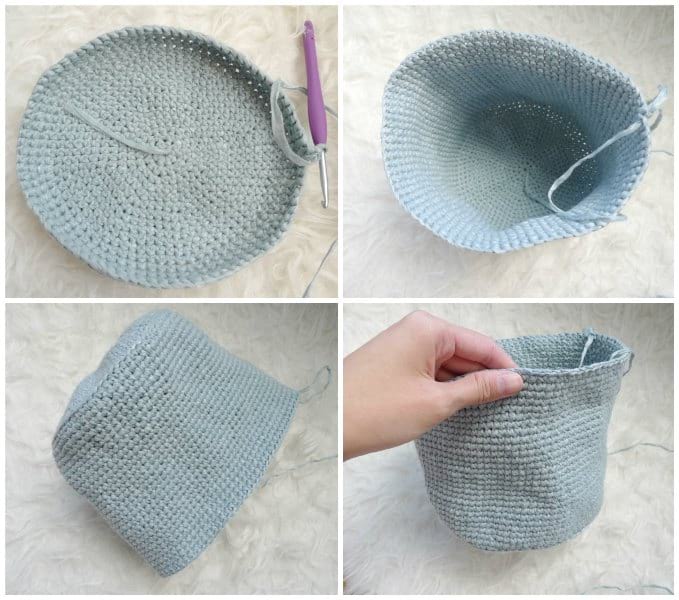
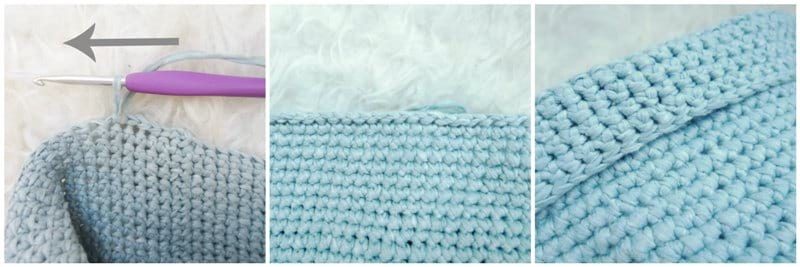
Once the desired height has been achieved, the last round is crocheted as an edging. Work in the opposite direction your normally work and slip stitch across. This way, when the brim is folded downwards, a beautiful slip stitch edge is visible.
*************************
Here is the free pattern for the Circular Carry-All Trays:
Materials:
- 1 skein of Rewind Yarn (level 5 bulky tape yarn) by Lion Brand Yarn – I used the colorway “Marble”; the taller/narrower circular tray requires 83 g of yarn, the shorter/wider circular try requires 90 g of yarn
- 4 mm Clover Amour crochet hook
- Yarn Needle (bent tip helpful for attaching)
- Lock ring stitch markers
- Embroidery floss (optional for tassel)
- Ultraleather garment tag by Brickbubble (optional)
Gauge: First 9 rounds of circular flat base = 4″/10 cm
Dimensions:
- Taller/narrower circular tray: Base: 6.5″/16.5 cm diameter, 20.5″/52 cm around, Height: 6″/15 cm uncuffed, 4.75″/12 cm cuffed
- Shorter/wider circular tray: Base: 7.75″/19.7 cm diameter, 25″/63.5 cm around, Height: 4.75″/12 cm uncuffed, 3.5″/8.9 cm cuffed
Notes:
- The entire tray is worked in joined rounds. When working in joined rounds, ALWAYS slip stitch to the first sc, not the slip stitch. The first single crochet of each round is worked in the same stitch as the chain 1 (where the slip stitch was worked to join the round).
- The very last round is crocheted by working slip stitches counter-clockwise (opposite to the normal direction). This gives a clean edge when the top of the tray is folded downwards.
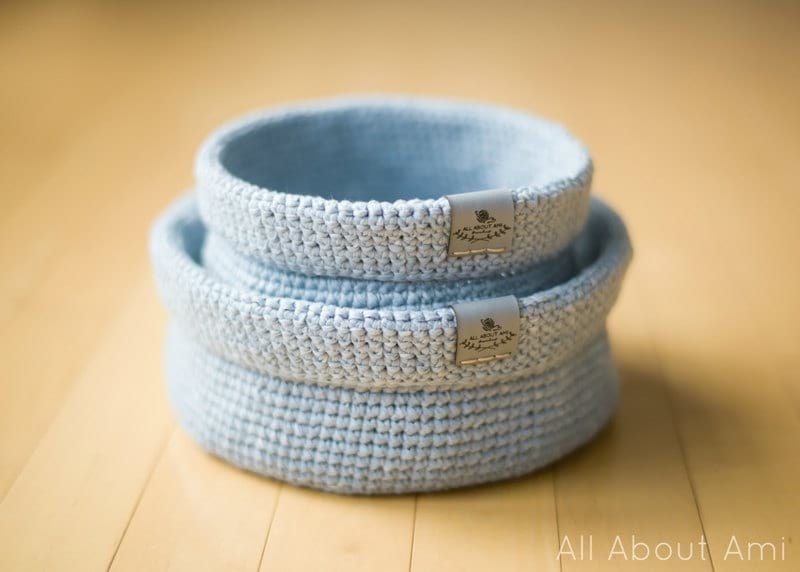
- The top of the carry-all tray is then folded downwards to give a modern cuffed effect.
- Two different sizes are written for the Circular Carry-All Tray: a taller/narrower tray and a shorter/wider tray.
Abbreviations:
- Magic Ring (MR): Make a loop. Hold yarn where ends cross. Insert hook into loop and pull up working yarn. Yarn over and work beginning chains. Work subsequent stitches in magic ring and then pull tight to close. See my Magic Ring step-by-step tutorial HERE.
- Increase (inc): Work two single crochets into the same stitch to work an increase.
PATTERN:
***Taller/Narrower Tray:
Round 1: Work 8 sc in Magic Ring. Slip st to first sc. (8 sts)
Round 2: Chain 1. *Inc* around. Slip st to first sc. (16 sts)
R3: Chain 1. *Sc 1, Inc*, rep 8 times. Sl st to first sc. (24 sts)
R4: Chain 1. *Sc 2, Inc*, rep 8 times. Sl st to first sc. (32 sts)
R5: Chain 1. *Sc 3, Inc*, rep 8 times. Sl st to first sc. (40 sts)
R6: Chain 1. *Sc 4, Inc*, rep 8 times. Sl st to first sc. (48 sts)
R7: Chain 1. *Sc 5, Inc*, rep 8 times. Sl st to first sc. (56 sts)
R8: Chain 1, Sc 56. Slip st to first sc. (56 sts)
R9: Chain 1, *Sc 6, Inc*, rep 8 times. Sl st to first sc. (64 sts)
R10: Chain 1, sc 64. Sl st to first sc. (64 sts)
R11: Chain 1. *Sc 7, Inc*, rep 8 times. Sl st to first sc. (72 sts)
R12: Chain 1, sc 72. Sl st to first sc. (72 sts)
R13: Chain 1. *Sc 8, Inc*, rep 8 times. Sl st to first sc. (80 sts)
R14: Chain 1, sc 80. Sl st to first sc. (80 sts)
R15: Chain 1. *Sc 9, Inc*, rep 8 times. Sl st to first sc. (88 sts)
We have completed the flat circular base. We will now begin crocheting the height of the circular carry-all tray.
R16: Chain 1. In back loops only, sc 88. Sl st to first sc. (88 sts)
R17: Chain 1, single crochet around. Sl st to first sc. (88 sts)
R18-43: Repeat Round 17.
Round 44: Slip stitch to first sc, turn. Working counter-clockwise, slip stitch across. (88 sts).
Fasten off and weave in end. Roll down top edge so cuff is 1.25″/3 cm.
Optional: Sew garment tag onto top edge of rolled cuff. This helps to secure the cuff into place.
***Shorter/Wider Tray:
Round 1: Work 8 sc in Magic Ring. Slip st to first sc. (8 sts)
Round 2: Chain 1. *Inc* around. Slip st to first sc. (16 sts)
R3: Chain 1. *Sc 1, Inc*, rep 8 times. Sl st to first sc. (24 sts)
R4: Chain 1. *Sc 2, Inc*, rep 8 times. Sl st to first sc. (32 sts)
R5: Chain 1. *Sc 3, Inc*, rep 8 times. Sl st to first sc. (40 sts)
R6: Chain 1. *Sc 4, Inc*, rep 8 times. Sl st to first sc. (48 sts)
R7: Chain 1. *Sc 5, Inc*, rep 8 times. Sl st to first sc. (56 sts)
R8: Chain 1, Sc 56. Slip st to first sc. (56 sts)
R9: Chain 1, *Sc 6, Inc*, rep 8 times. Sl st to first sc. (64 sts)
R10: Chain 1, sc 64. Sl st to first sc. (64 sts)
R11: Chain 1. *Sc 7, Inc*, rep 8 times. Sl st to first sc. (72 sts)
R12: Chain 1, sc 72. Sl st to first sc. (72 sts)
R13: Chain 1. *Sc 8, Inc*, rep 8 times. Sl st to first sc. (80 sts)
R14: Chain 1, sc 80. Sl st to first sc. (80 sts)
R15: Chain 1. *Sc 9, Inc*, rep 8 times. Sl st to first sc. (88 sts)
R16: Chain 1, sc 88. Sl st to first sc. (88 sts)
R17: Chain 1. *Sc 10, Inc*, rep 8 times. Sl st to first sc. (96 sts)
R18: Chain 1. *Sc 5, Inc*, rep 16 times. Sl st to first sc. (112 sts)
We have completed the flat circular base. We will now begin crocheting the height of the circular carry-all tray.
R19: Chain 1. In back loops only, sc 112. Sl st to first sc. (112 sts)
R20: Chain 1, sc 112 around. Sl st to first sc. (112 sts)
R21-39: Repeat Round 20.
Round 40: Slip stitch to first sc, turn. Working counter-clockwise, slip stitch across. (112 sts).
Fasten off and weave in end. Roll down top edge so cuff is 1.25″/3 cm.
Optional: Sew garment tag onto top edge of rolled cuff. This helps to secure the cuff into place.
*******************************
I have provided two different sizing options so you can choose whether you want a taller/narrower circular tray or a shorter/wider circular tray! They also make very cute nesting baskets since the narrower one fits nicely into the wider one!
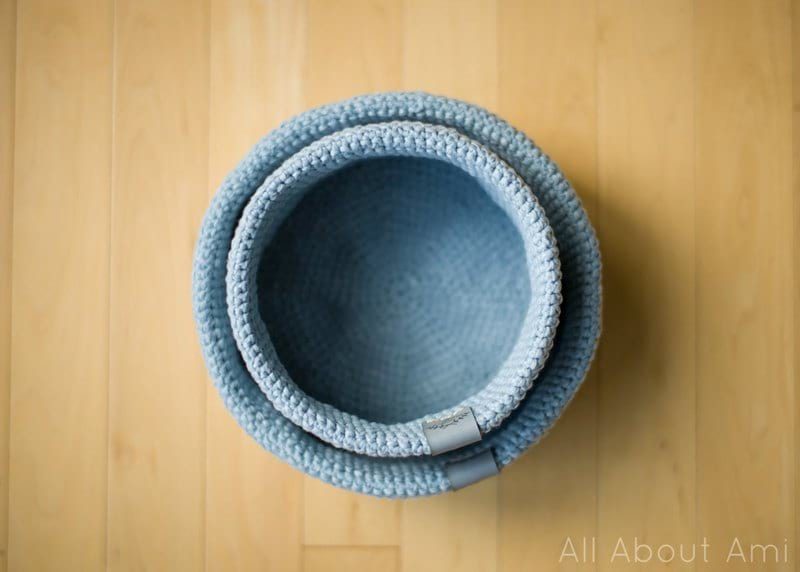
I adore my set of Carry-All Trays with the various shapes, sizes and modern colors. They have been put to great use in my home, and I will definitely make more when I need a quick and chic gift for friends and family! From keys and scrunchies, to jewelry and yarn balls, there are so many small items that these trays can hold and keep organized!
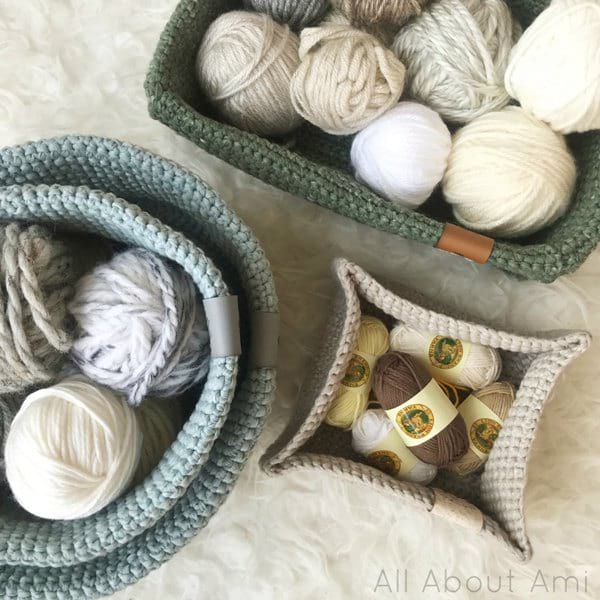
The Lion Brand Yarn Kit containing 3 skeins of Rewind Yarn can be found HERE! With one kit, you can make two Square trays, 1 Rectangular Tray, and 1 Circular Tray. Of course, you can mix and match and choose whatever shape and size your heart desires! I love how you get a variety of modern colors in the kit: Greige, Olive You, and Marbles!
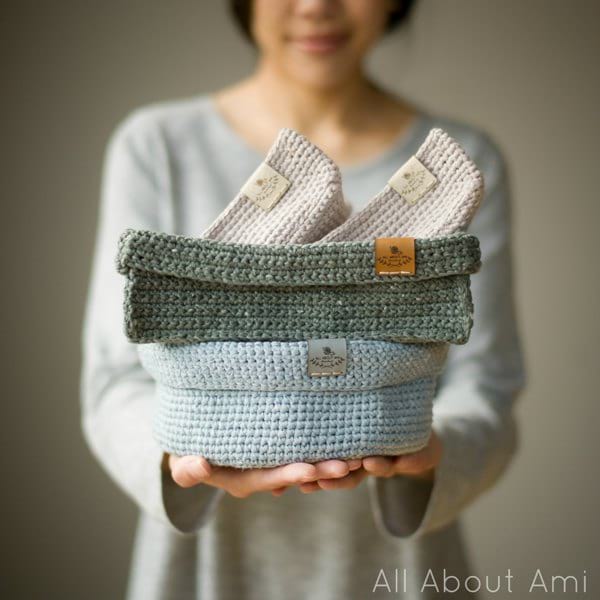
I hope you have enjoyed this Carry-All Tray series as I know many of you love having crocheted items in the home! Who doesn’t love a functional crochet project that you can use all the time? Enjoy working up your trays, and stay up to date with my newest designs by subscribing to my e-mail newsletter HERE! Happy crocheting, everyone!
{This post is sponsored by Lion Brand Yarn! I’ve loved working with their yarn throughout the years and I’m thrilled that I get to collaborate with them every month!}
This pattern is an original pattern by Stephanie Lau of All About Ami. Please do not claim this pattern as your own. If you wish to share this pattern, you may link to this pattern but please do not reprint it on your site. You may keep a copy for your own personal use but please DO NOT sell the pattern or distribute it.
You may sell products made from this pattern but please clearly credit the design to me, Stephanie Lau of All About Ami, and provide a link to my blog www.AllAboutAmi.com. Permission is NOT granted for mass production or factory manufacturing of any kind. Thank you for being respectful and for your understanding!


