***You can purchase an INEXPENSIVE AD-FREE PDF of this pattern on Etsy HERE! This beautifully formatted PDF includes the step-by-step pictures and 4 patterns: the Chunky Dotty Beanie (Adult & Child), Chunky Dotty Scarf, and Chunky Duo-Color Dotty Beanie. The PDF is a total of 9 pages including the cover page! These patterns can also be found in my Easy & Modern Knits Pattern Bundle found HERE (includes over a 20 of my knit patterns at a discounted price)!
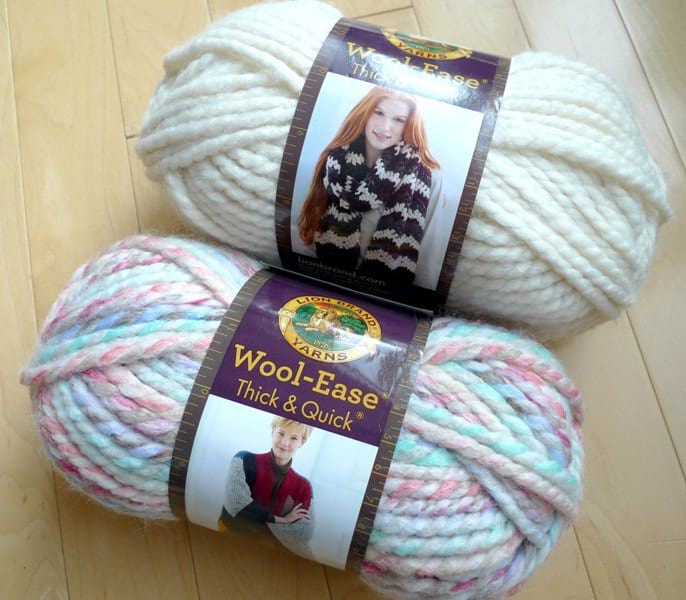
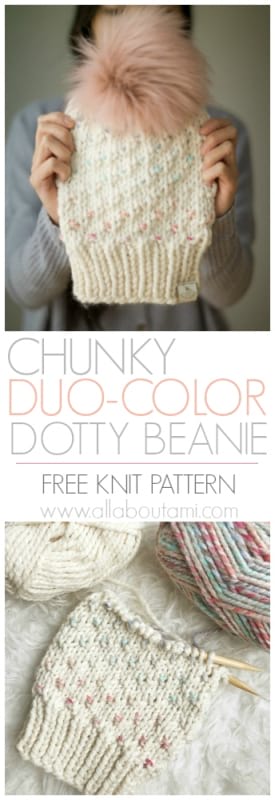
Since I already loved the look of the worsted weight Duo-Color Dotty Beanie, I knew that I wanted to try the same technique of using a contrast color with super bulky yarn! I wanted to try combining two of my favourite shades of Wool-Ease Thick & Quick: the elegant neutral “Fisherman” and the gorgeous “Carousel”. Carousel is such a beautiful blend of pastel colors, and you may remember this colourway from my Cotton Candy set (matching beanie and cowl set using the seed stitch).
I started off by knitting the ribbed band in the main colour. Then it was time to start adding in the contrast color!
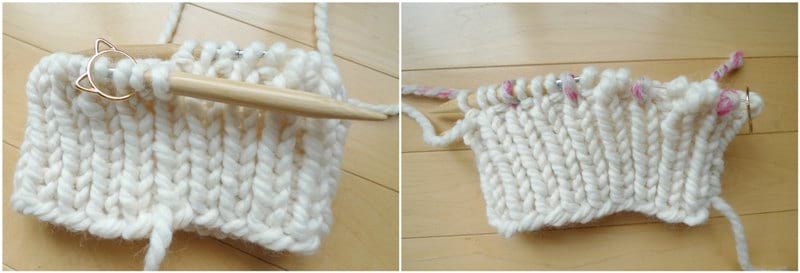
When I first started designing the worsted weight beanie using two colors, intuitively I thought that I would simply need to switch to the contrast color for the purl stitches. However, this is not the case as you actually need to switch to the contrast color during the “set-up” or knit stitch rounds. Thus in this duo-color design, you need to keep two things in mind: the color changes (switching from Main Color to Contrast Color) and the dot stitch (switching between knit and purl stitches). Thankfully for each round of the body, you only need to concentrate on one task: during the knit rounds where you only work the knit stitch, this is when you keep the color pattern in mind, for example: Contrast Color 1, Main Color 3. Then when you need to focus on the dot stitch, i.e. Purl 1, Knit 3, you only use the Main Color throughout, so you do not need to worry about color changes.
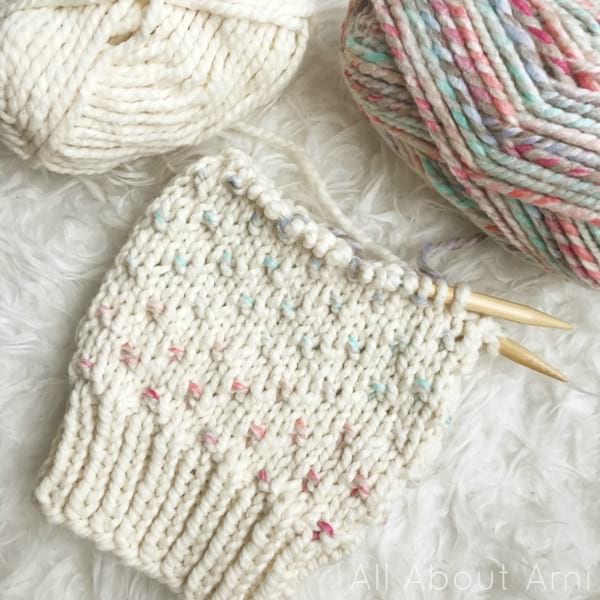
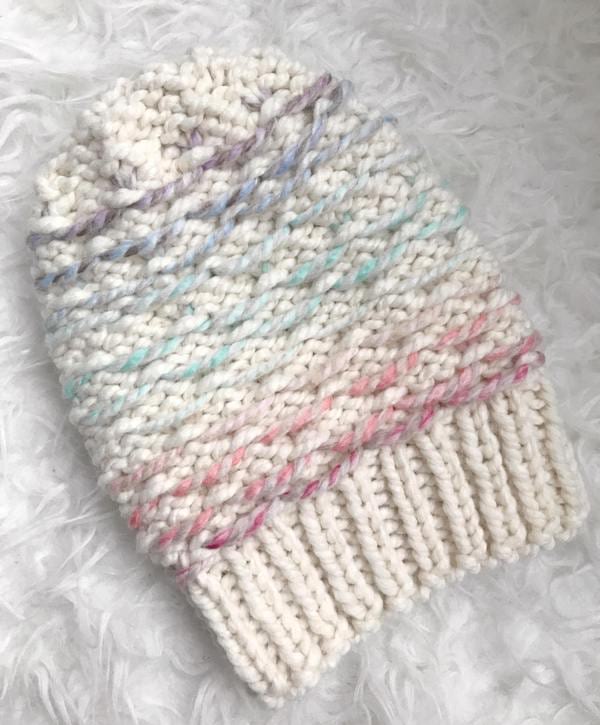
In case you’re curious what the inside of the beanie looks like, here it is! Whenever I switched colors, I simply dropped the yarn and picked it back up when I needed it (no cutting or needing to reattach the yarn). Be sure to leave enough slack to allow for some stretch so that the beanie and stitches do not get too tight. Also note that the decrease rounds towards the top are only worked in the Main Color, so you can break off the contrast color when it is no longer needed.
******************************
Here is the free pattern for the Chunky Duo-Color Dotty Beanie:
Notes:
- This beanie is knit in the round starting with the ribbing at the bottom and the dot stitch for the main body.
- The ribbed band is about 3″ tall- you can add or subtract rounds depending on how much ribbing you want.
- If you would like to adjust the number of stitches for the cast-on, be sure to make it a multiple of 4. Add more stitches to make the hat wider, decrease the number of stitches to make it narrower.
- To make the hat slouchier with more height, add more rounds to the body. To make the hat shorter, decrease the number of rounds in the body.
- This pattern uses the dot stitch which staggers purl stitches among knit stitches for a beautifully textured and dotted look. The dot stitch is worked over four rounds.
- Keep checking to make sure your purl stitches are lining up appropriately in the body of the hat. Once you begin the decreases, the purl stitches will no longer line up, but it is not very noticeable since it is towards the top of the hat.
- For a seamless join, I cast on an extra stitch as demonstrated in this video HERE.
- The decreases (K2tog or knit 2 stitches together) are worked in the knit stitch rounds (not the rounds where there are purl stitches).
- I dropped the color that was not in use and picked it back up again when needed, thereby creating floats on the inside of the beanie. Be sure to leave enough slack with these floats so that the hat can still stretch and is not too tight.
- In the pattern below, the color changes are noted first (e.g. Work color pattern as *Contrast Color 1, Main Color 3* with the following stitches *Knit 1, Purl 1*).
- From R10-31 when you are working the two color dot stitch body, keep in mind that the color changes will only be worked on even rows when you just need to knit across. Odd rows will be worked in the main color with the knit and purl stitches. Thus on each round, you either concentrate on the color changes or on the knit/purl stitches.
Materials:
- 9 mm and 10 mm 16″ circular knitting needles
- Wool-Ease Thick & Quick by Lion Brand Yarn (I used “Fisherman” as the Main Color and “Carousel” as the Contrast Color”); ~96 grams of MC and ~14 grams of CC needed
- Cat Stitch Marker
- Ultraleather garment tag by Brickbubble (optional)
- Optional: Yarn pom pom (I use the Clover Pom Pom Maker) or Faux fur pom pom (the one used in this Chunky Duo-Color Dotty Beanie is by “Perfect Knotted“; you can also check out these ones on Amazon HERE that come with snap buttons to make them easily removable)
Gauge: 9.5 stitches and 14.5 rows/rounds = 4 inches in dot stitch
We will begin with the ribbing in the Main Color. Using 9 mm needles and long tail cast on (need 50″ tail for the cast-on), cast on 40 stitches.
R1-9: *K1, P1* around. (40 sts)
We will now begin adding in the Contrast Color. Switch to 10 mm needles,
R10: Using this color scheme- *CC1, MC3*: *K1, P1* across. (40 sts)
We will now begin the dot stitch.
R11: Using MC, *P1, K3* across. (40 sts)
R12: Using this color scheme: MC2, *CC1, MC3* across till last two sts remain, CC1, MC1: *Knit across*. (40 sts)
R13: Using MC, K2. *P1, K3*, repeat around until two stitches remain. P1, K1. (40 sts)
R14: Using this color scheme – *CC1, MC3*: Knit across. (40 sts)
Rounds 11-14 make up the four round repeat that will be repeated for the body of the hat.
R15-31: Repeat Rounds 11-14 (you will end on a R11 repeat).
We will now begin the decreases and crown shaping. We will now work only in the MC, so you can break off the Contrast Color. The purl stitches will no longer exactly line up, but it is not noticeable towards the top.
R32: *K3, K2tog*, rep 8 times. (32 sts).
R33: K2. *P1, K3*, repeat around until two stitches remain. P1, K1. (32 sts)
R34: *K2, K2tog*, rep 8 times. (24 sts)
R35: *P1, K3* around. (24 sts)
R36: *K1, K2tog*, rep 8 times. (16 sts)
Cut yarn and thread tail through remaining stitches. Pull tight, tie knots and hide end.
Add option yarn or faux fur pom pom.
Finished dimensions: 17”/43 cm in circumference, 10”/25.4 cm in height
***************************
I LOVE how this Chunky Duo-Color Dotty Beanie turned out with the subtle rainbow gradient against the neutral background. The fluffy statement pom pom adds such a wonderful finishing touch!
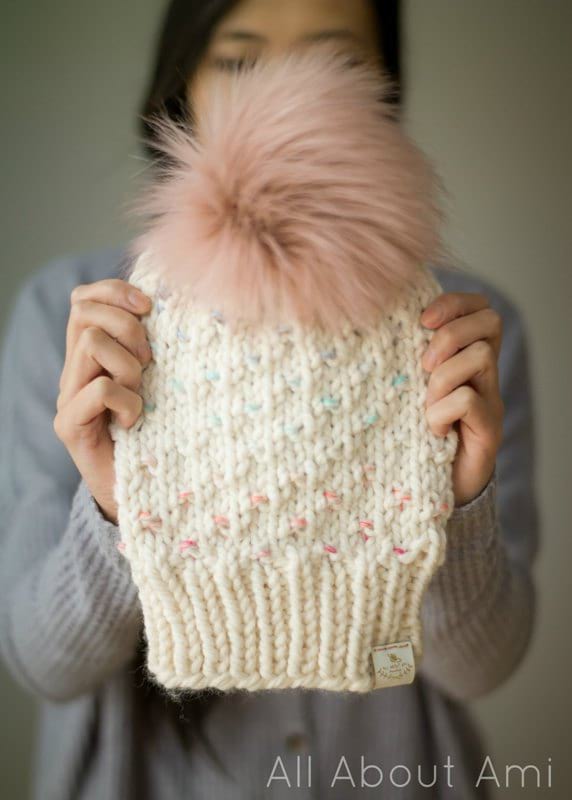
I hope you enjoy coming up with different color combinations! This is a great way to practice knitting with two different colors and getting a taste of knitted colourwork. Don’t forget to check out the original Chunky Dotty Beanie HERE (single color) and the Chunky Dotty Scarf HERE. If you would like a concise, easy to print off version of this pattern, check out the Etsy PDF HERE (comes with 3 other patterns). Happy knitting!
This pattern is an original pattern by Stephanie Lau of All About Ami. Please do not claim this pattern as your own. If you wish to share this pattern, you may link to this pattern but please do not reprint it on your site. You may keep a copy for your own personal use but please DO NOT sell the pattern or distribute it.
You may sell products made from this pattern but please clearly credit the design to me, Stephanie Lau of All About Ami, and provide a link to my blog www.AllAboutAmi.com. Permission is NOT granted for mass production or factory manufacturing of any kind. Thank you for being respectful and for your understanding!


