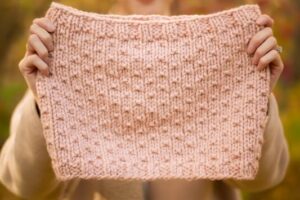
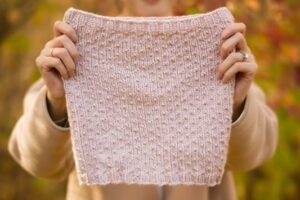
***You can purchase an INEXPENSIVE AD-FREE PDF of this pattern on Etsy HERE! This beautifully formatted PDF includes ALL the Dotty Cowl patterns using worsted, bulky (2 versions) and super bulky yarn, and is a total of 6 pages long. This pattern can also be found in my Easy & Modern Knits Pattern Bundle found HERE (includes over 30 of my knit patterns at a discounted price)!
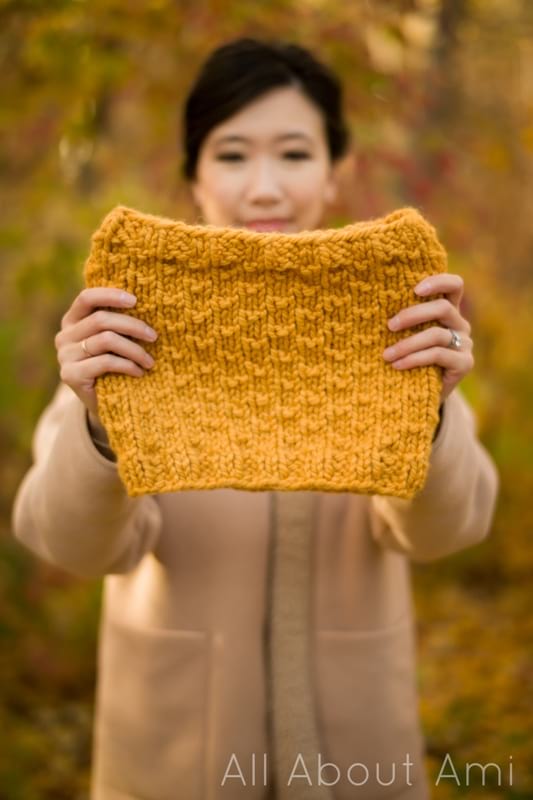
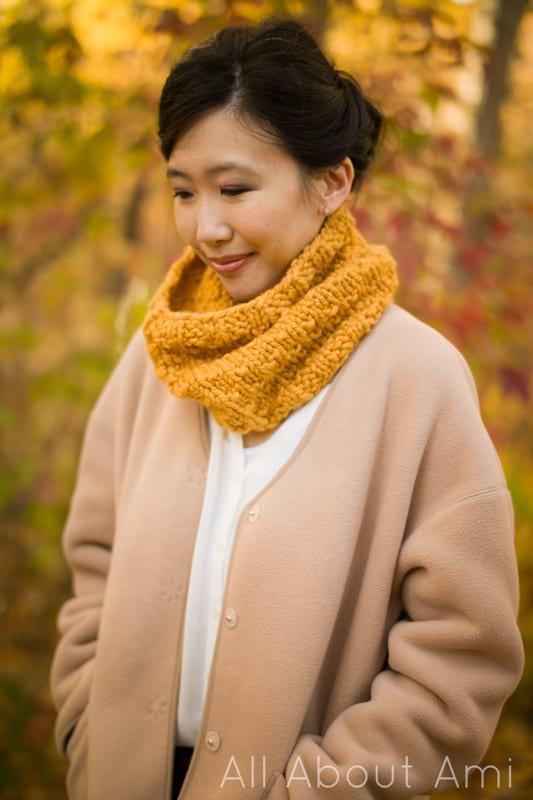
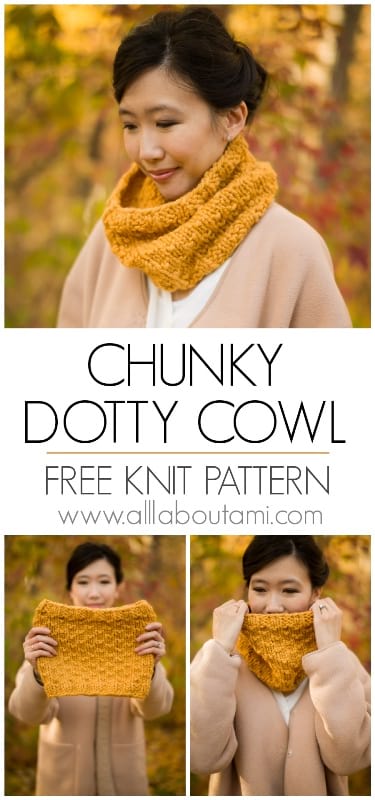
Description: Knit these beautifully textured cowls using only one skein of super bulky yarn and the gorgeous dot stitch! These cowls work up quickly and would make lovely gifts for yourself or loved ones!
Materials:
- 10 mm 24″ circular knitting needles
- Wool-Ease Thick & Quick in “Mustard” (super bulky level 6 yarn), 170 g/106 yds
- Stitch Marker (I love using these cat stitch markers by Firefly Notes)
- Yarn needle
- Steamer for blocking (optional)
Notes:
- These cowls are knit in the round starting with the initial ribbing, the dot stitch for the main body and then the final ribbing at the top.
- Only a few rounds of ribbing are worked to help frame the dot stitch without taking away from the beautiful texture of the main dot stitch. If you wish to have more ribbing, you can increase the number of ribbed rounds at the beginning and end of the pattern.
- If you would like to adjust the number of stitches for the cast-on, be sure to make it a multiple of 4. Add more stitches to make the cowl wider and decrease the number of stitches to make it narrower.
- To make the cowl taller with more height, add more rounds to the body. To make the cowl shorter, decrease the number of rounds in the body.
- This pattern uses the dot stitch which staggers purl stitches among knit stitches for a beautifully textured and dotted look. The dot stitch is worked over four rounds.
- Keep checking to make sure your purl stitches are lining up appropriately in the body of the cowl.
- For a seamless join at the very beginning, cast on an extra stitch (i.e. 57 stitches for the super bulky version). Slip the first stitch purlwise onto the working needle. Take the extra stitch that was made (now second stitch on the working needle) and slip it over the slipped stitch (now the first stitch on the working needle). Pull yarn tail and working yarn tightly and add stitch marker. Continue with pattern. You do not need to cast on any extra stitches in subsequent rounds. See how to do this HERE!
- I recommend using a stitch marker to help you keep track of your rounds.
- The Dot Stitch consists of these 4 rounds:
- Round 1: *P1, K3* around.
- Round 2: Knit around.
- Round 3: K2. *P1, K3*, repeat around until two stitches remain. P1, K1.
- Round 4: Knit around.
- Since the dot stitch is worked over four rounds, always begin the final ribbing after a Round 1 or Round 3 repeat (the rounds involving the purl stitches/dots). This ensures that the ribbing looks more symmetrical with the bottom and top of the cowl. If an additional Round 2 or 4 is worked, it makes the ribbing appear extra long at the top.
- Similarly, how you work the ribbing at the end affects the overall appearance and perception of the ribbing’s height. To make the ribbing appear symmetrical, if you end off on a Round 1 repeat of the dot stitch, you will work a *K2, P2* ribbing. If you end off on a Round 3 repeat of the dot stitch, you will work a *P2, K2* ribbing.
- Each cowl maximizes the amount of yarn in a skein (so that the design uses most of the skein with minimal left-over yarn). Thus, be sure that the yarn you are using has the same amount of yardage or adjust your numbers accordingly.
Final Dimensions: 12.5”/32 cm flat, 26”/64 cm around, 10” tall/25 cm
Gauge: 9 sts and 14 rounds = 4” in dot stitch
PATTERN:
Using long tail cast on, cast on 56 stitches. We will begin with the ribbing.
R1-3: *K2, P2* around. (56 sts)
We will now begin the dot stitch.
R4: *P1, K3* around. (56 sts)
R5: Knit around. (56 sts)
R6: K2. *P1, K3*, repeat around until two stitches remain. P1, K1. (56 sts)
R7: Knit around. (56 sts)
Rounds 4-7 make up the four round repeat that will be repeated for the body of the cowl.
R8-32: Repeat Rounds 4-7. (You will end on a R4 repeat.)
We will move into the final ribbing.
R33-35: *K2, P2* around. (56 sts)
Cast off all stitches in *K2, P2* ribbing.
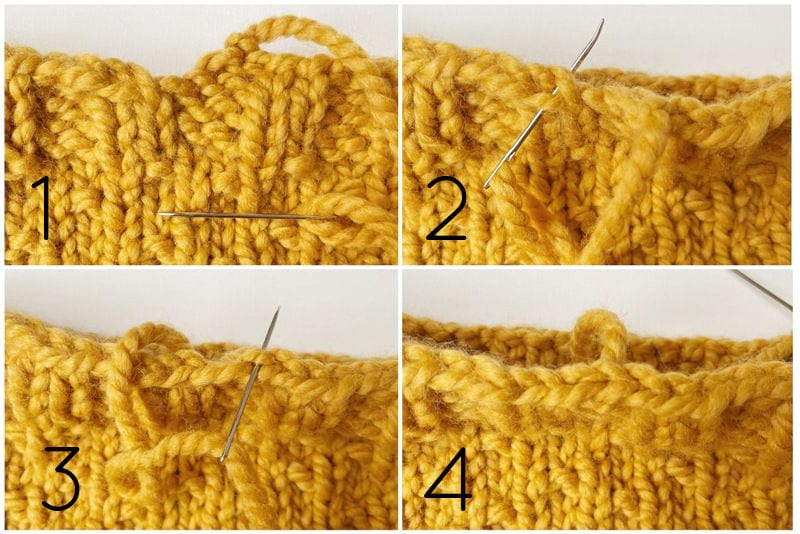
To join the last stitch to the first stitch of the round:
(1) Thread yarn tail through tapestry needle.
(2) Thread tail under both front and back loops of first stitch.
(3) Insert needle between the “V” of the last stitch and under the back loop.
(4) You have now joined the last round together. Weave in end.
Watch this video to see how to knit the dot stitch in the round:
**************************
This Chunky Dotty Cowl works up extremely quickly using super bulky yarn, and it is so satisfying being able to use just one skein for an entire project! I hope you enjoy knitting them and seeing the beautiful dot stitch work up!

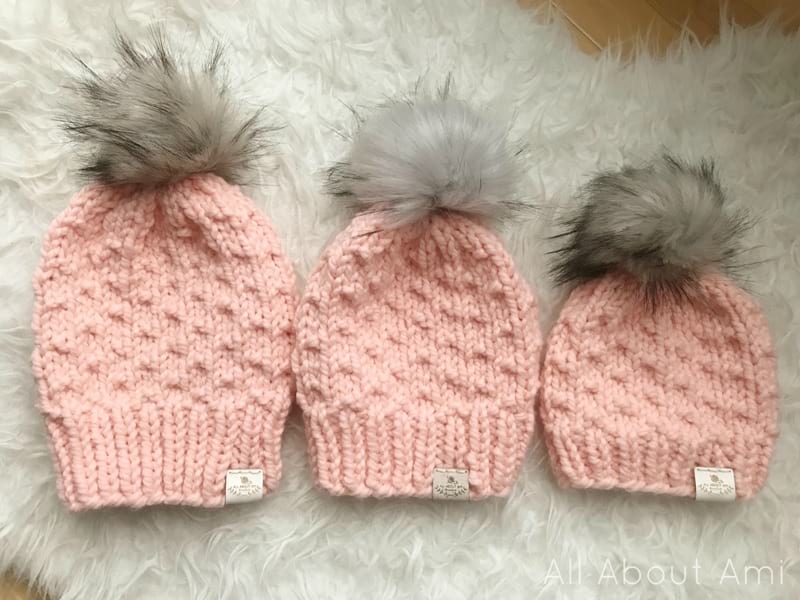
If you are interested in using a different weight of yarn, you can check out the Dotty Cowl using worsted weight HERE and the Bulky Dotty Cowl using bulky level 5 yarn HERE! There is a matching Chunky Dotty Beanie available HERE (sizing is available for adult, child and baby) and there is a Chunky Dotty Scarf also available HERE!
Happy knitting, everyone! Enjoy making your lovely Chunky Dotty sets!
{Thank you to Lion Brand Yarn for providing the yarn for this project!}
This pattern is an original pattern by Stephanie Lau of All About Ami. Please do not claim this pattern as your own. If you wish to share this pattern, you may link to this pattern but please do not reprint it on your site. You may keep a copy for your own personal use but please DO NOT sell the pattern or distribute it.
You may sell products made from this pattern but please clearly credit the design to me, Stephanie Lau of All About Ami, and provide a link to my blog www.AllAboutAmi.com. Permission is NOT granted for mass production or factory manufacturing of any kind. Thank you for being respectful and for your understanding!


