As you all know, I LOVE going through Ravelry and seeing all the beautiful projects that people have designed or are working on. While I was searching for crocheted baby items, I absolutely fell in love with these “Crochet wrap around button infant boots” designed by Ashlee of Ashlee Marie, and I was ecstatic that she was offering the baby and infant patterns for free! I really liked the gold yarn she used in her baby boots pattern, and it just so happened that I had plenty of gold yarn left over from the amigurumi Scarecrow that I designed last year for Halloween. And so, I began working on these adorable boots immediately! I decided to start with the infant pattern (0-3 months) because I wanted to make the smaller versions first 🙂
I started off by crocheting the sole of the boots. This reminded me of the Crochet Slippers I made a couple months ago, except of course these soles were much tinier!
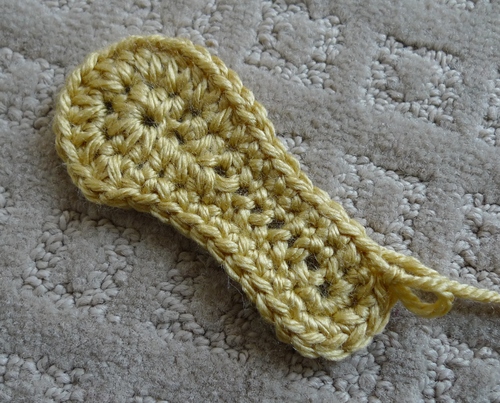
Next I worked on the shoe part: the boots were starting to get some height!
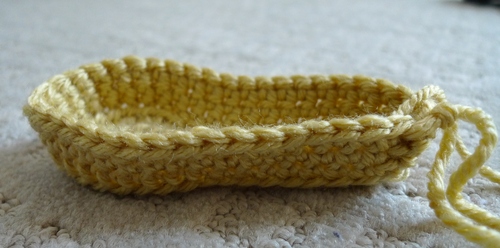
After some decreases in the front, the result was a beautiful little shoe/slipper! I think I just might make some more of these in different colours and maybe add some flowers or straps!
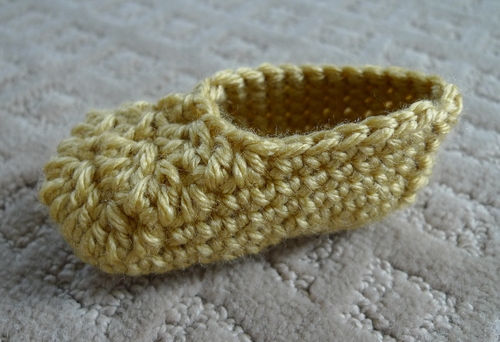
But of course these gold ones were going to be boots! Next I crocheted the boot cuffs that would wrap around the other side…
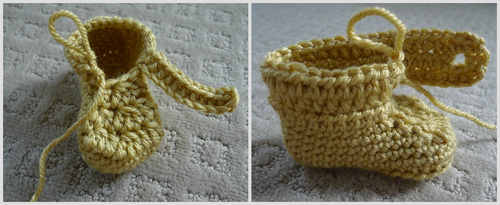
For this pair I decided to go with the scalloped edging. This makes the boots look very lady-like, don’t they?
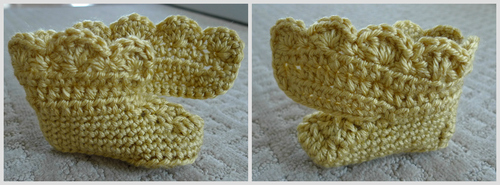
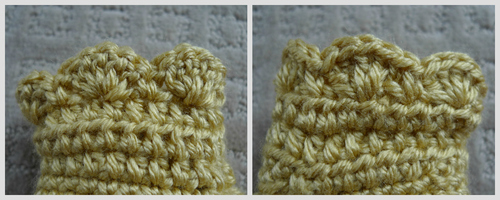
Since the boot cuffs need to wrap around opposite sides (i.e. you can’t crochet the right and left boots the same otherwise the boot cuffs would wrap around the same side), you’ll notice that one scalloped edge is the “right side” and one scalloped edge is the “wrong side”. When you start working on the boot cuff, the pattern states where to slip stitch to join the yarn back, but it does not explicitly state which direction you should crochet. To clarify, for the right boot you need to “sl st in the 7th stitch from the seam“ and crochet counter-clockwise while for the left boot you need to ”sl st in the 11th stitch from the seam“ and crochet clockwise.
And to finish off the boots I sewed on these little wooden buttons! I love picking buttons for crochet projects 🙂 Buttons add such beautiful embellishment!
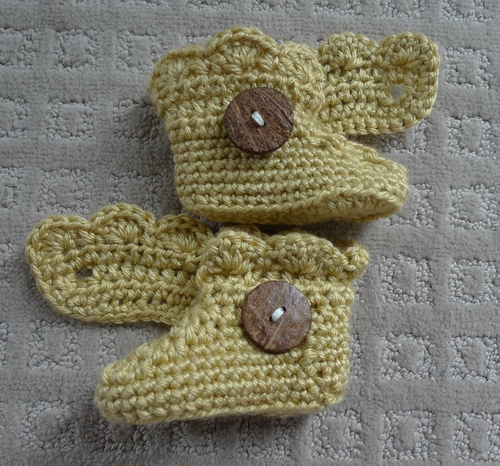
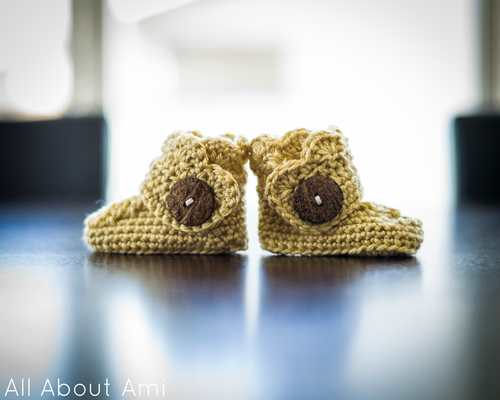
Ta-da! The finished product: my gold infant button boots with scalloped edging!
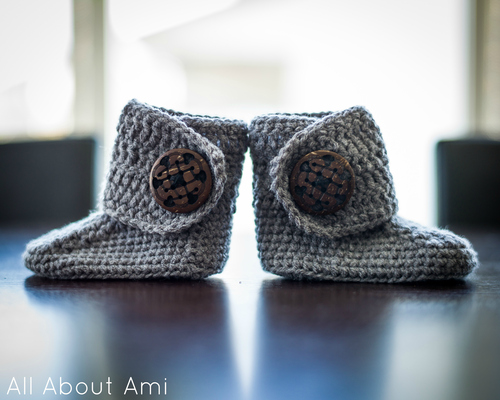
Since I loved the look of my finished infant boots so much, I wanted to try making a bigger version without the scalloped edge, so I used Ashlee’s baby boots pattern(closer to size 4 as stated in the pattern). However, I made some modifications to this pattern, including:
- adding three extra rows to the boot cuff to give the boots more height (1 row of sc, 1 row of dc and then 1 row of sc)
- I used very large buttons (don’t they remind you of Tory Burch?) so I had to make the button hole much larger. This involved leaving a gap that was 1 stitch wide and 2 rows in height. I had to cut off the yarn and rejoin at different locations in order to crochet around the hole. This also allowed me to have the “right side” of the last row facing outwards as I was crocheting around the edge.
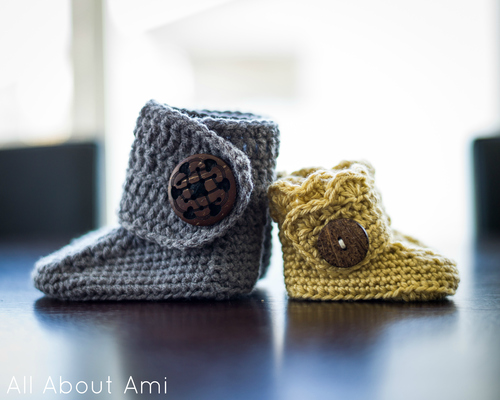
The grey baby boot compared to the gold infant boot! These grey baby boots turned out larger than I expected, probably because the grey yarn I used was thicker than the gold yarn…
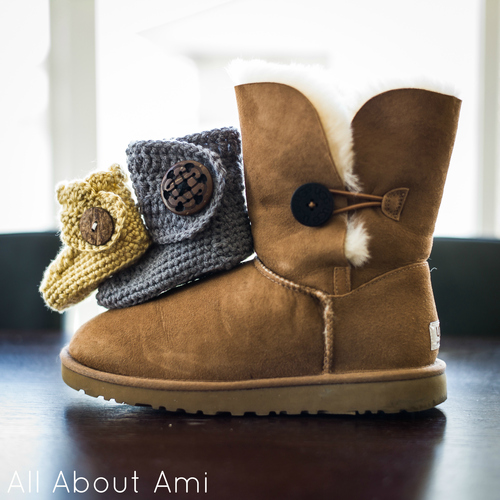
I thought it would be really cute to compare MY button Ugg boots with these baby ones I just crocheted! I really love my warm, comfy Uggs and I get a lot of wear out of them since it is very snowy and cold where we live in the winter! Now our baby can match me with these stylish crocheted button boots 🙂 It looks like I have giant feet when you see these delicate little booties balancing carefully atop my boot!
If you are expecting or if you have friends who are expecting, give these beautiful boots a try! They are absolutely adorable, and I can’t wait to see our little one wearing these! Don’t forget to follow me on facebook, twitter and instagram (@AllAboutAmi) to get updates on my latest projects ^-^ Happy crocheting!


