When I first saw Kat Goldin’s “Lake’s Edge Hat” on her blog “Slugs on the Refrigerator” HERE, I loved the zigzag look and was curious to see how this effect was achieved. As I glanced through the pattern, I saw that it was surprisingly simple, and it came with a handy “how to read the pattern guide” showing what each round meant in case people were unfamiliar with crochet terminology or how to read patterns.
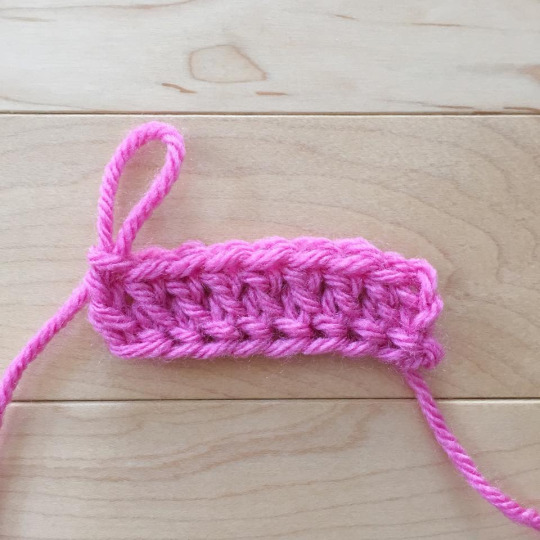
This hat is worked bottom up, and the ribbing is created by starting with foundation double crochets. I had previously seen a tutorial by Tamara of Moogly showing how to do the foundation double crochet (see HERE), but I had never come around to actually trying it out. Since this pattern specifically called for it, I thought now was the perfect chance to learn! I practiced with pink yarn since it can be hard seeing which stitches you are working in using black yarn. After trying it out and getting the hang of it, I LOVED this technique as you can skip the series of chain stitches and work the chain stitches and Round 1 all at the same time! We all know how hard getting your crochet hook into chain stitches can be, and it is always frustrating when you end up with the incorrect length- instead of frogging your work and starting over, you can determine your length as you go using this method. It also results in a much stretchier edge which is important for hats as the traditional chained edge can be very restrictive. I highly recommend checking this technique out and learning how to do it HERE as it’s a game-changer! I posted the photo below to Instagram and was delighted to hear that many of you love using the foundation single and double crochet as well!
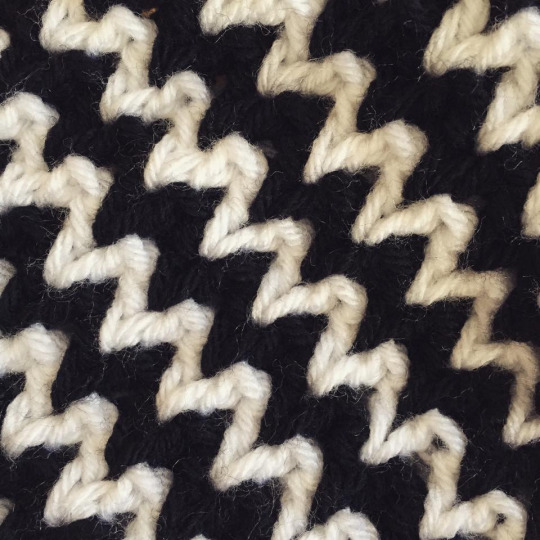
After the foundation double crochet and ribbing is finished, you get to begin the fun ric rac pattern! I decided to use black and white yarn for a modern and contemporary look- I had Lion Brand Yarn’s Vanna’s Choice on hand, so that’s what I used. Kat provides the pattern for 6 different sizes, and I went with the 6-12 month old hat since I was making this for a friend’s baby boy to wear this upcoming fall and winter. Kat also provides both the UK and US patterns as downloads!
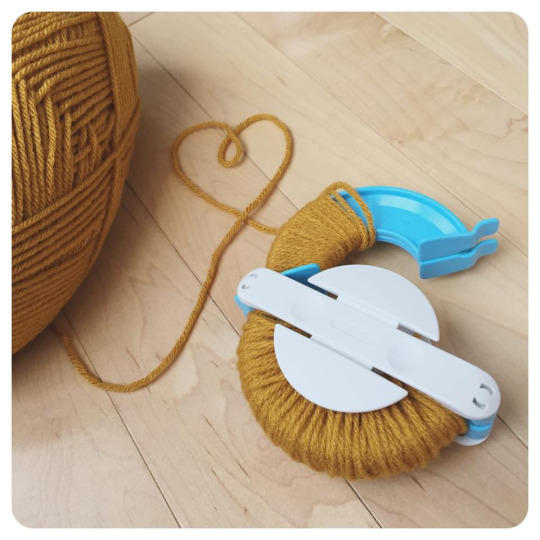
To add a fun pop of colour, I made a mustard-coloured pom pom using my Clover Pom Pom Maker! At first I used the smaller pom pom maker (the set comes with two sizes), but the resulting pom pom looked too small when I placed it atop the beanie. Thus, I ended up using the larger pom pom maker, and I think that oversized pom poms look really cute on baby and toddler hats! I must say that my Clover Pom Pom Maker has been such a great buy as I have put it to use so many times!
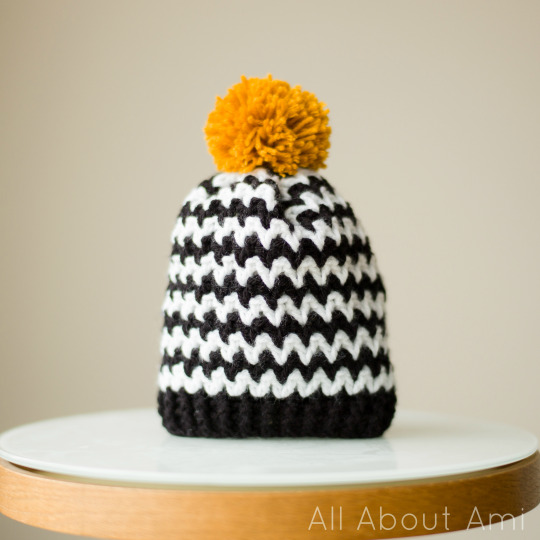
Here is the finished black and white zigzag beanie! It’s very striking, isn’t it? It has a very modern and stylish look to it and it will match with any outfit!
This hat was for a little boy, and I also made a black and white beanie for a little girl using a very simple pattern that I made up- you can read the full post and access the free pattern for this beanie HERE!
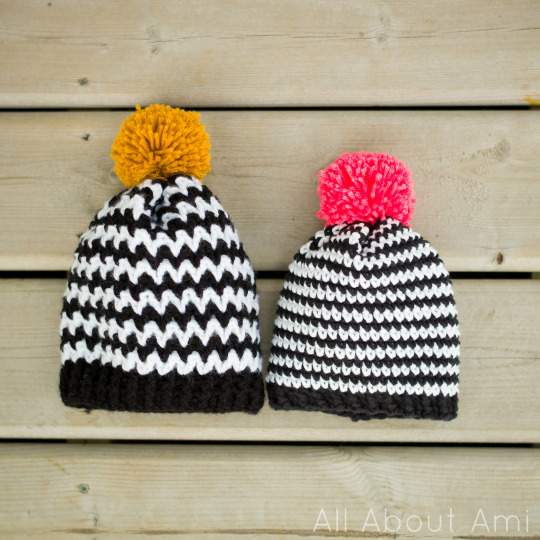
Do check out Kat Goldin’s free pattern for her “Lake’s Edge Hat” HERE! It’s easy to follow and the results are awesome! The sky’s the limit for the different colour combinations you could use for the zigzag pattern and for the pom pom! Have fun!


