This is the second tutorial of my three-part cell phone cozy series (Check out Tutorial #1 here and Tutorial #3 here). With this second method, we crochet a “sock” for our cell phones. There are no seams and no joining of edges required. This is actually my favourite way of crocheting cell phone cozies because I think it is the most simple and quick method.
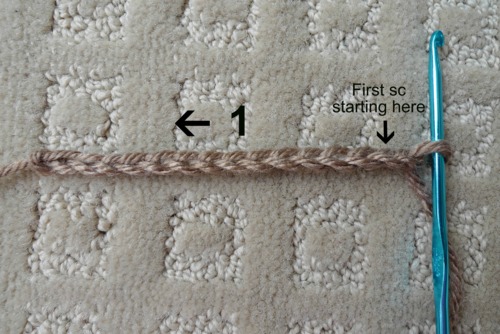
To begin, you make a series of chain stitches that is about the width of your cell phone (or a little bit longer if your device is thick). Once you are done, single crochet to the left side (1) starting from the second chain from the hook as shown below in the top loops (aka back loops).
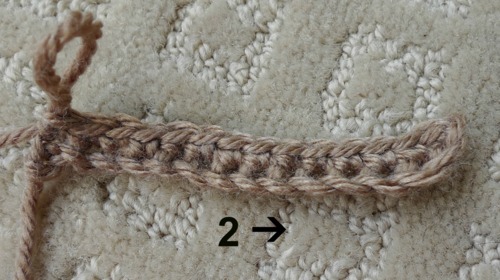
Once you have reached the left side, begin single crocheting in the bottom loops (aka front loops) of the beginning chain going towards the right side (2). In essence, we will be crocheting around and around the beginning chain.
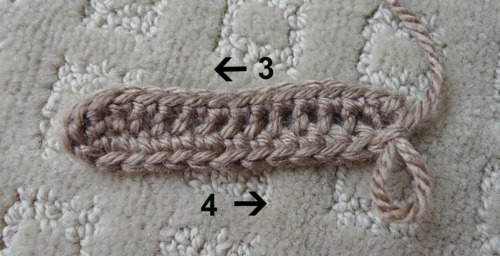
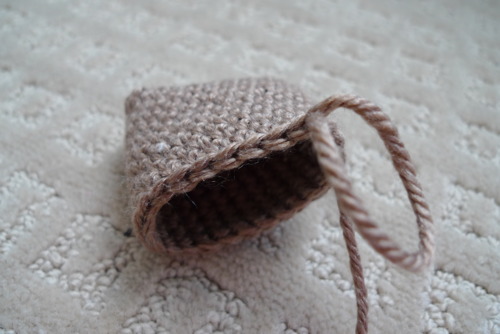
From here on in, we will be crocheting in both loops (top and bottom or front and back loops). We single crochet towards the left side at the top (3) and then towards the right side on the bottom (4). This is similar to crocheting around a circle for amigurumi, except now we get a long, oval-like shape.
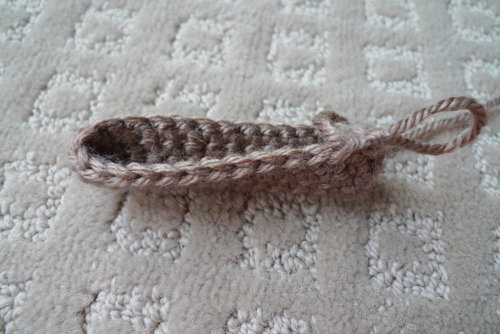
Once you keep crocheting around and around, the edges will start to curl up on itself since we are not increasing at all (the number of stitches in each row is the same). Be sure that the right side of your piece is showing outwards (see my “Right Side of Amigurumi” post).
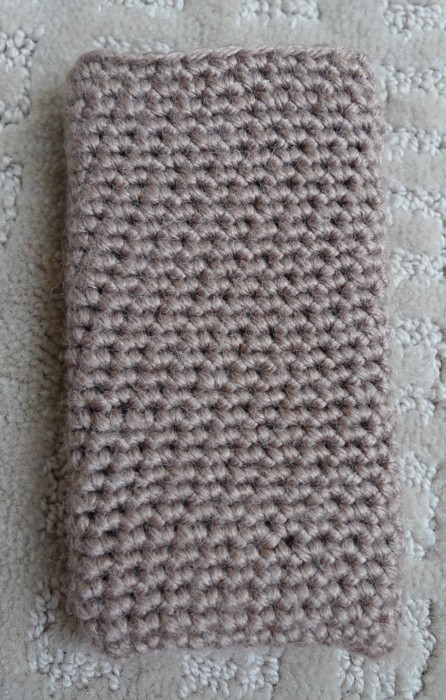
After many more rows…
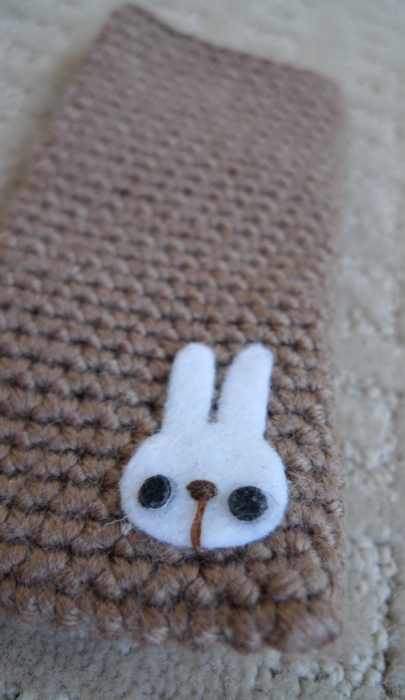
The finished product with the cell phone inside! The cozy really fits like a glove with the cell phone snugly tucked inside.
To make the cozy cuter, we added this little bunny (reminiscent of the Spring Bunnies!). See my tutorial on how to add felt shapes to your cozy here.
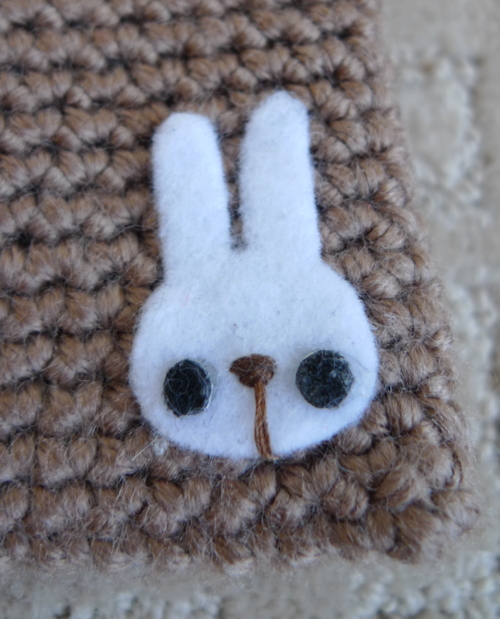
The bunny adds a nice touch 🙂
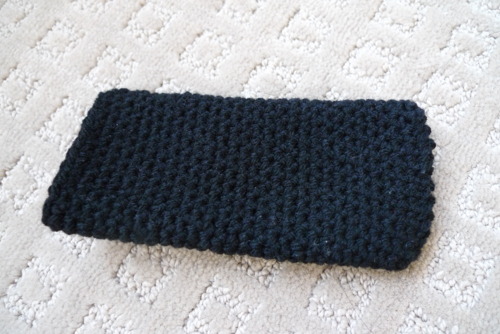
Next, I will talk about some other ways you can decorate or add some closure to your cozies. Here, I’ve crocheted a plain black cozy using the “sock” method.
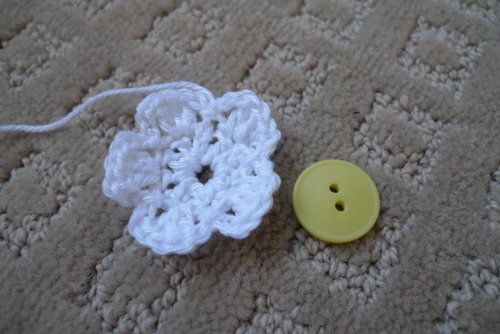
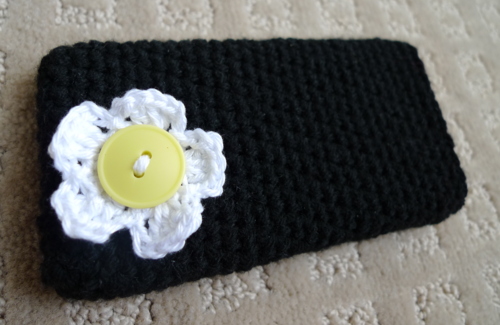
I crocheted a 5-petal flower (click here to learn how to make them) and found a cute colourful button.
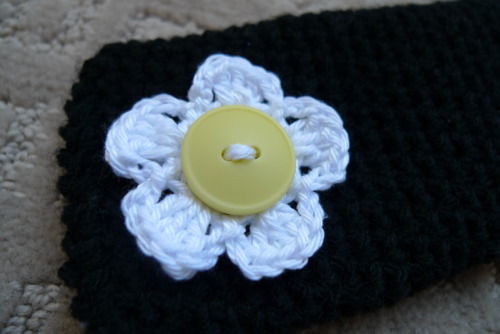
I sewed the button in the centre of the flower and sewed the flower onto the cozy for a pop of colour.
If you want your cell phone to be extra protected, you could use some form of closure at the top. For example, you could put the flower/button near the top front of the cozy and make a series of chain stitches on the back of the cozy to loop around the flower/button.
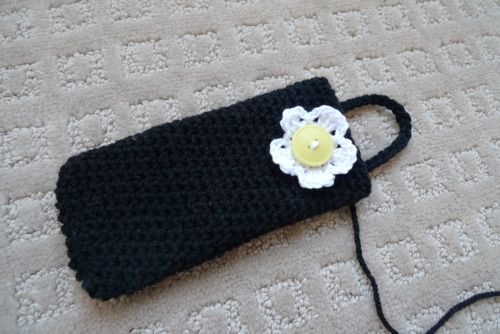
I opted to use the flower as a decoration in the corner.
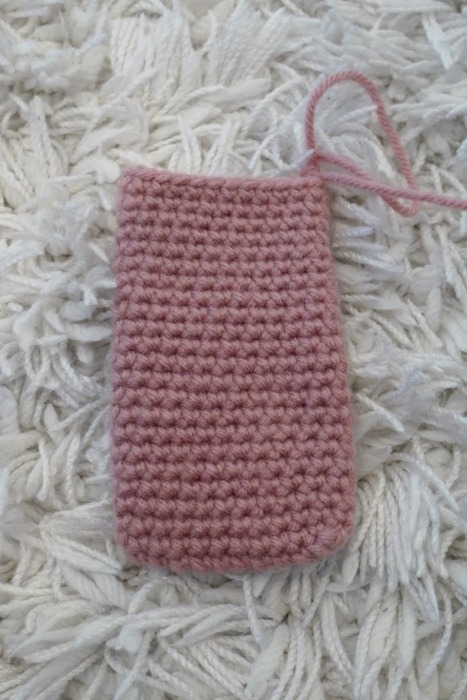
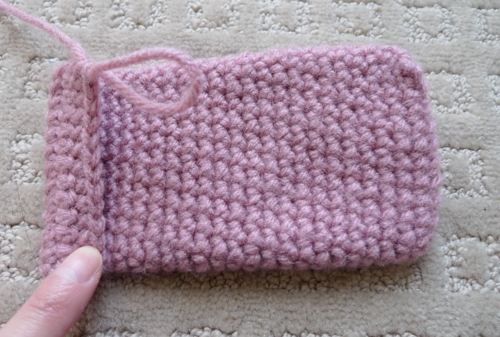
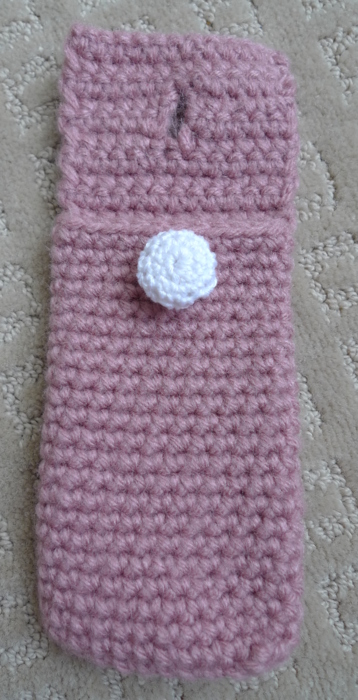
Another option is to make a full front flap with a button for even more secure protection. Here, I’ve crocheted a pink cozy that is the length of my cell phone.
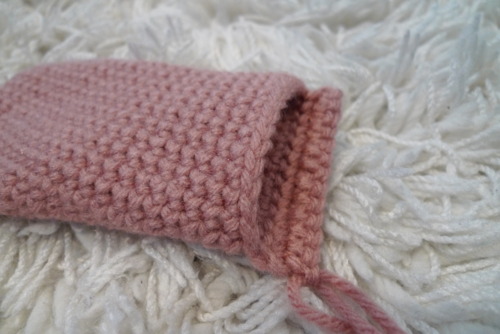
Next, I crochet across half of the sock (the back), chain 1 and then turn instead of continuing to crochet around in a loop.
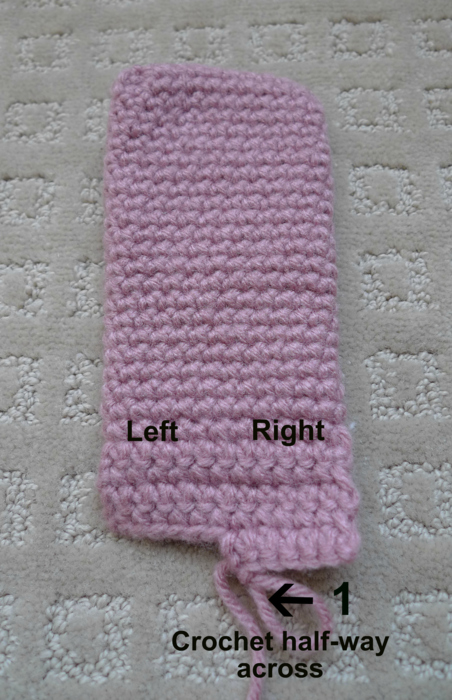
Once the flap is long enough, we will get ready to create a hole for where the button will go through.
To create a hole or gap in our flap, we will single crochet half-way across on the right side (1) and stop. Do not continuously go across to the left side to complete the row.
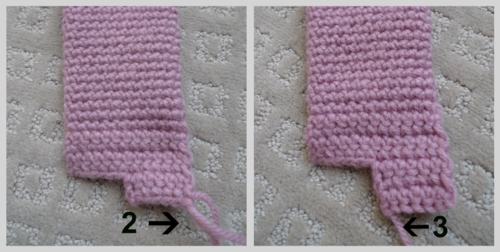
Next, we chain one and go back across to the right side (2). Then we chain one again and go back halfway towards the left (3). Bind off here (or keep going a few more rows depending how big your button is).
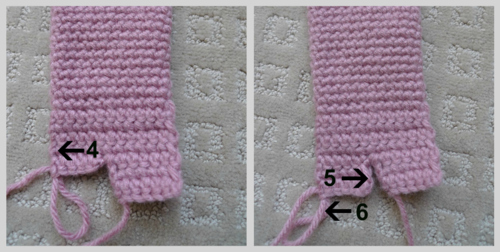
Join yarn with slip stitch at the point indicated in the picture below. We will now work on the left side.
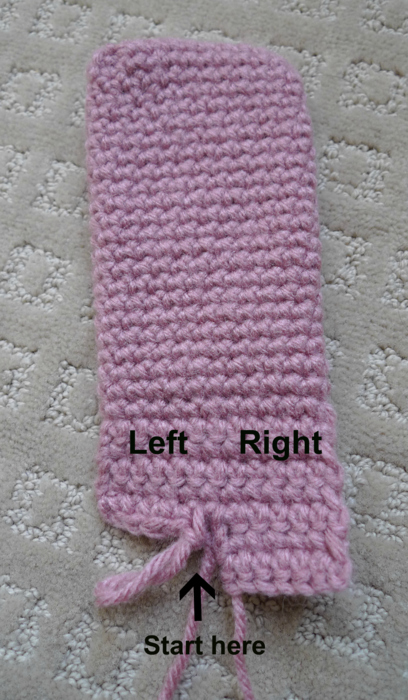
Single crochet across the left side (4), chain one, crochet towards the right side (5), chain one, then crochet towards the left side once again (6). Both the left and right sides should be even now.
Now, you can single crochet straight across the row (not stopping halfway), forming a hole in our flap.
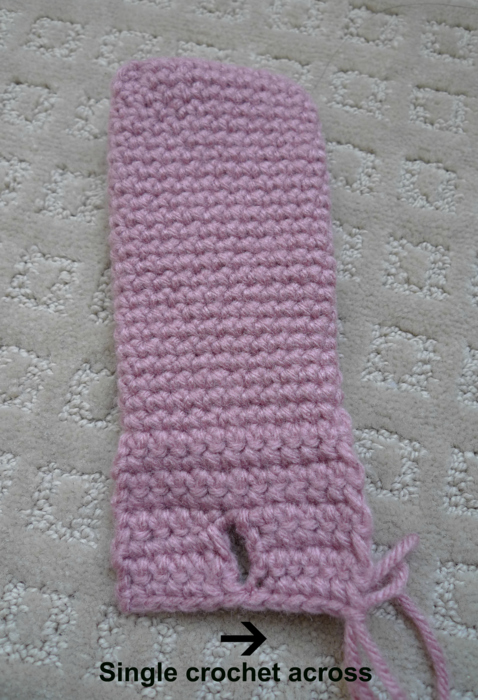
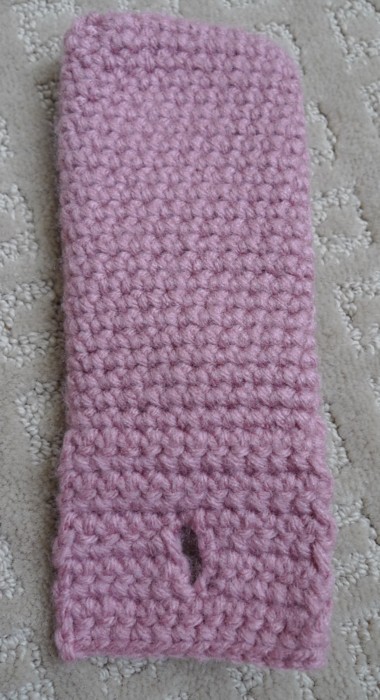
Keep single crocheting rows until you’ve reached your desired length.
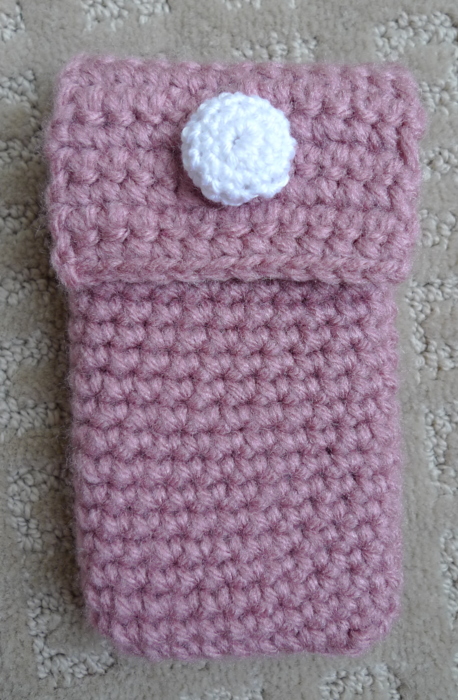
Next, it’s time to add our button. There are so many cool buttons out there, but I thought it’d be cute to add a crocheted button. To do this, I started off with a magic circle and crocheted around a small button (increasing then decreasing rows).
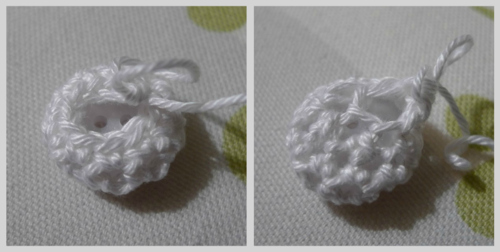
I then sewed the crocheted button onto my cozy.
And here it is with the button slipping through the hole we created very nicely 🙂 You could also use a piece like this to hold credit cards and ID. Add a crocheted strap to the corner and you’ve got yourself a cute wristlet for days when you don’t feel like carrying a big purse!
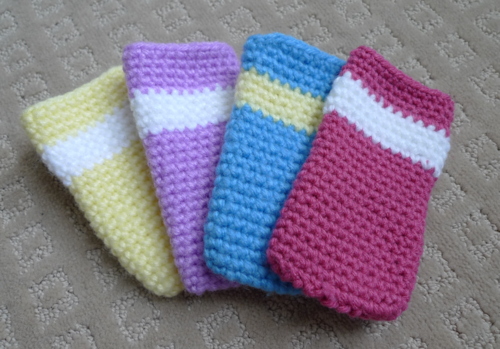
While on a long road trip, I made these striped cozies because I was trying to think of ways to use up my old yarn from when I was little. There are so many different colour combinations to try! If changing colours, be sure to make the change towards the edges of the cozy so that the switch in colour is not readily visible.
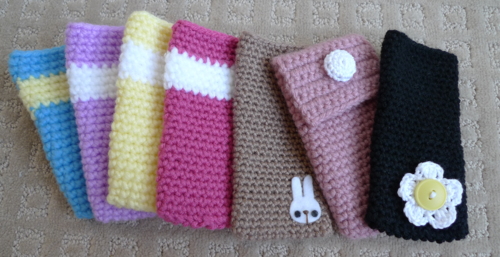
Here are all the cozies we talked about using the “sock” method. Of course, you could add a button or do the same flap technique using Tutorial #1 (with the single crocheted edges) as well. Be sure to also check out Tutorial #3 which is what I actually used for my own cell phone!